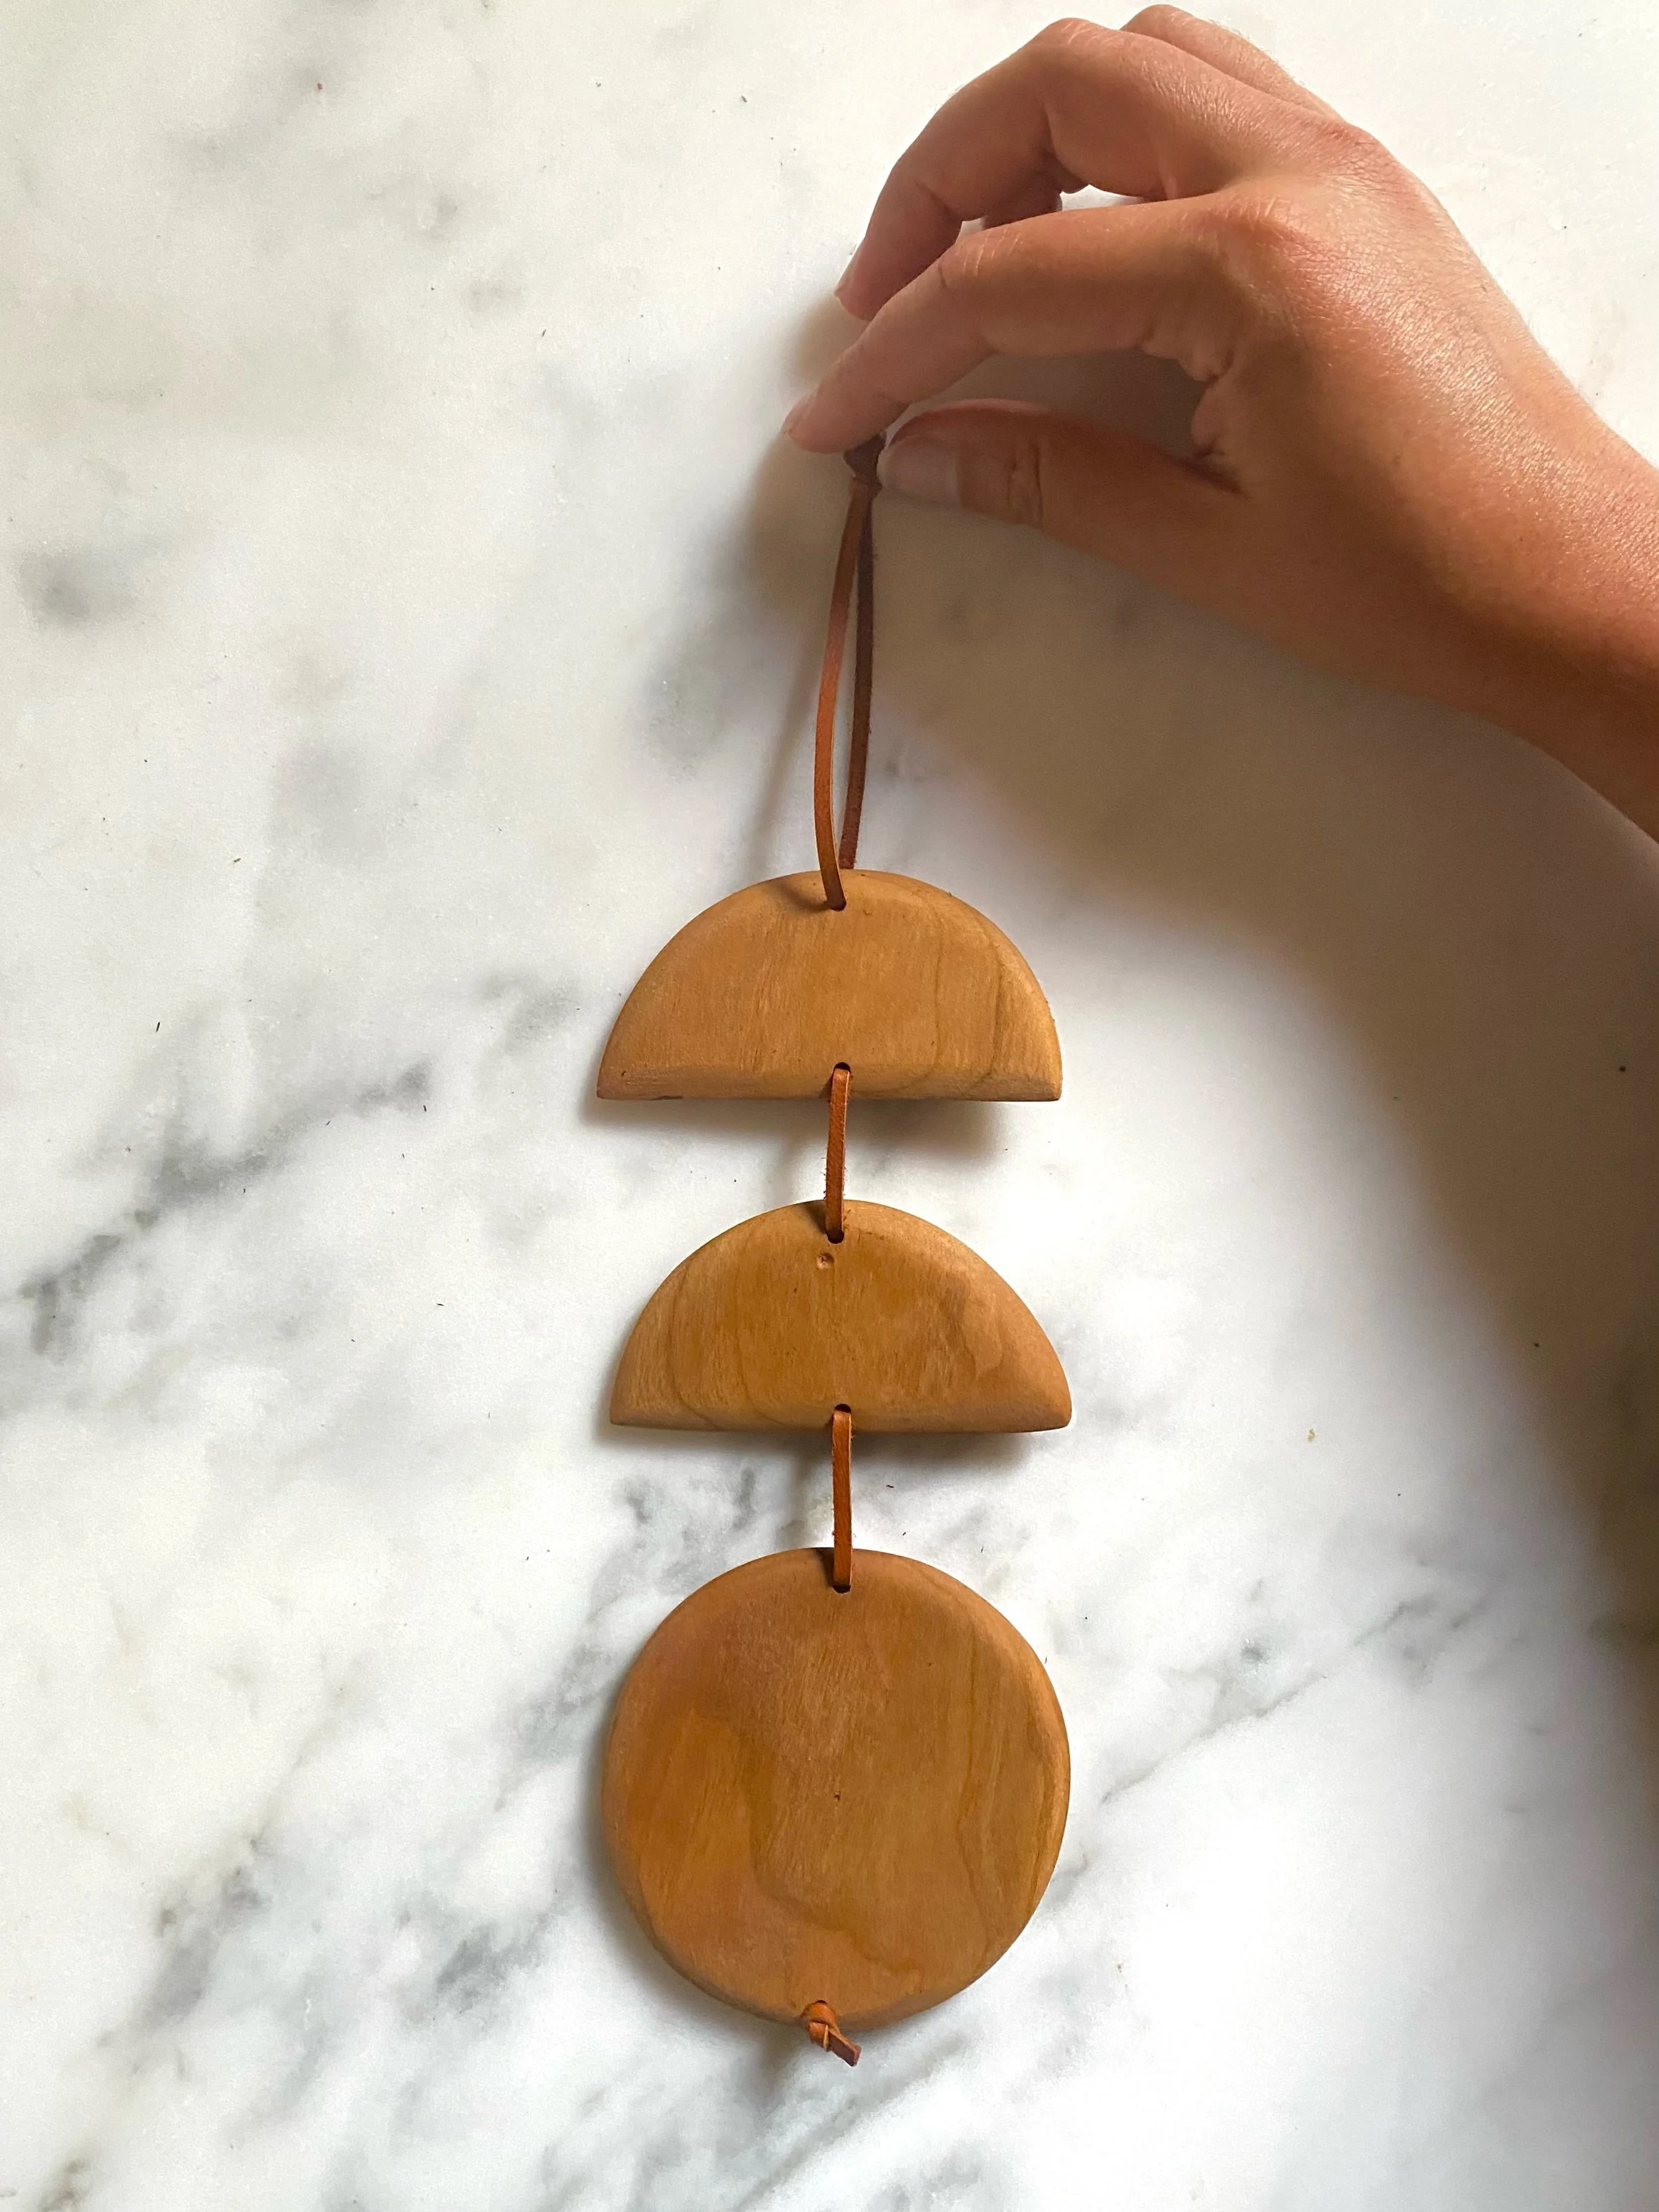
FREE DIY SERIES #4 - wall hanging
SAFETY TIPS:
Always keep the blade pointed away from you when carving.
Keep your tools sharp for easier and safer carving!
WARNING: Tools are extremely sharp and may cause injury. Please handle with caution.
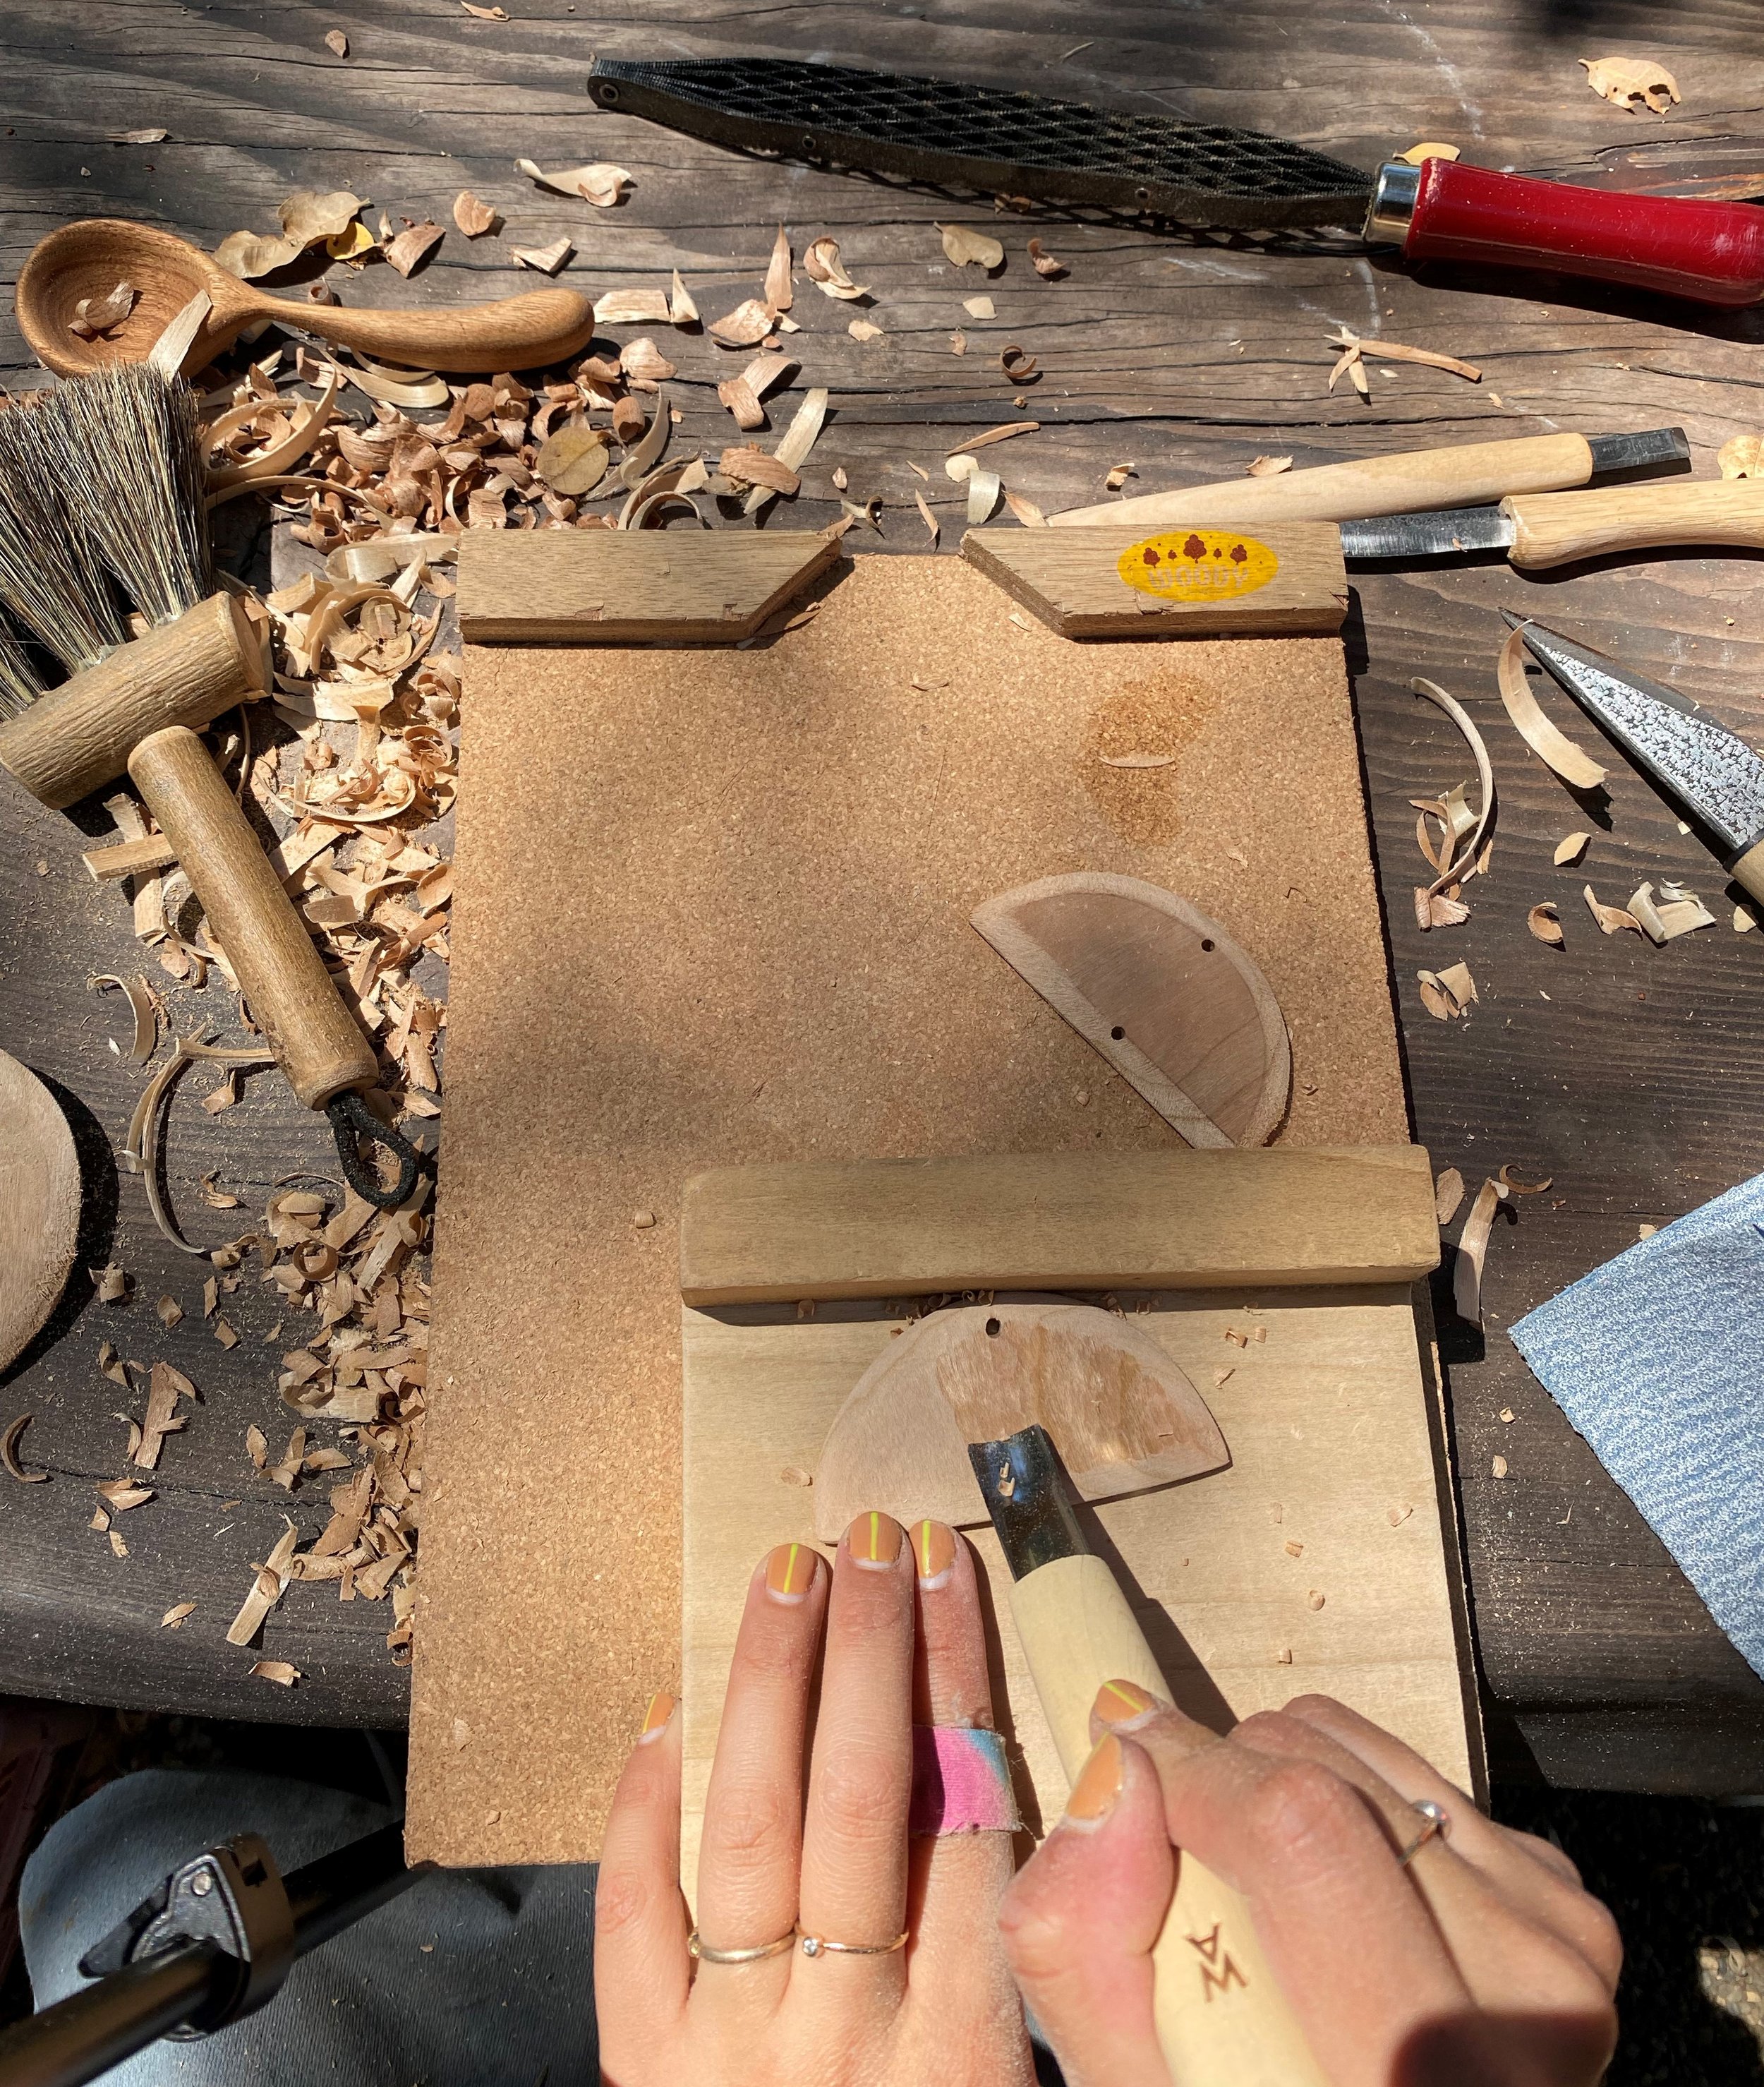
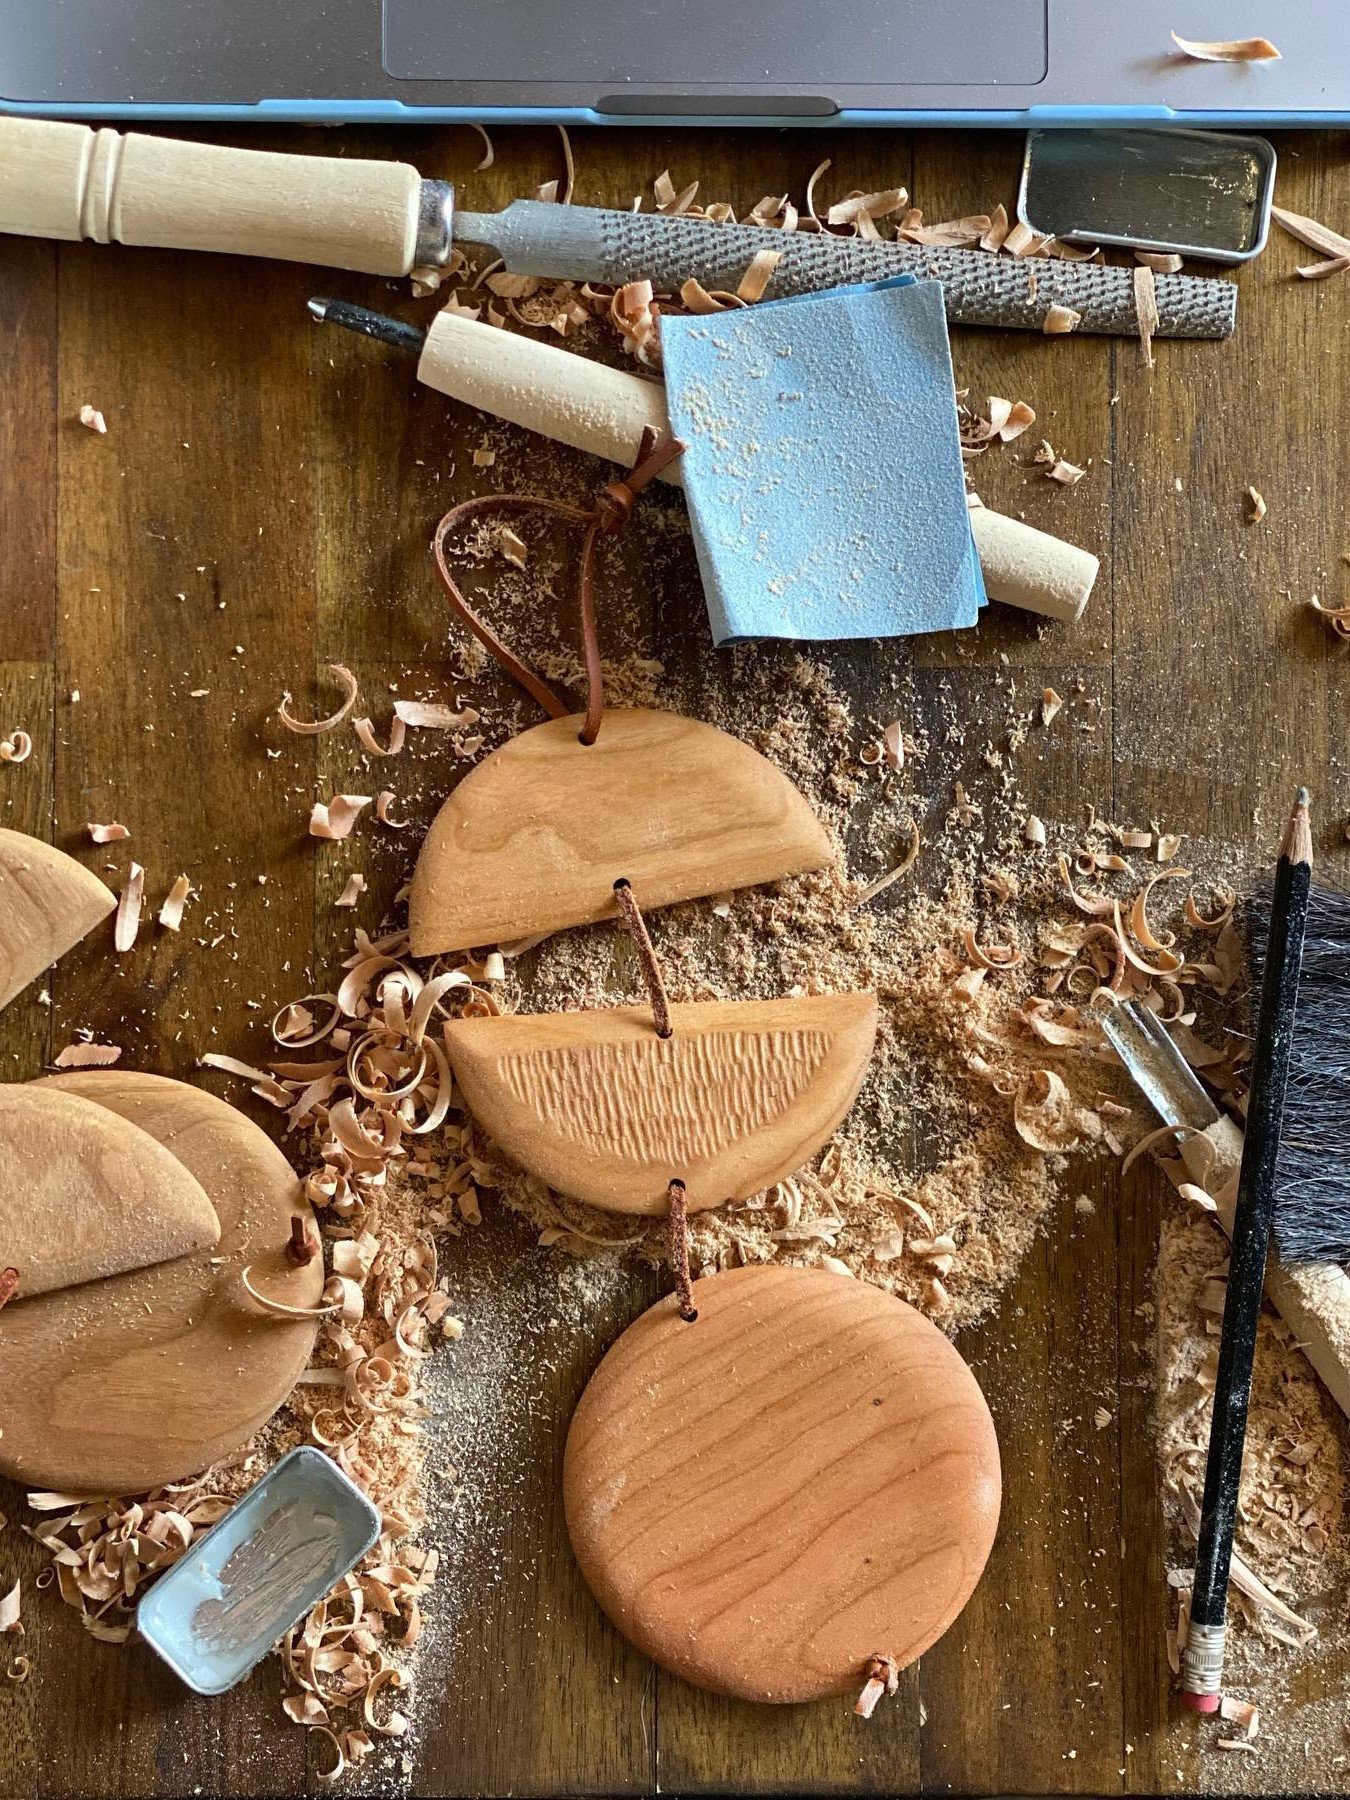
Step 1: ROUND OUT THE EDGES
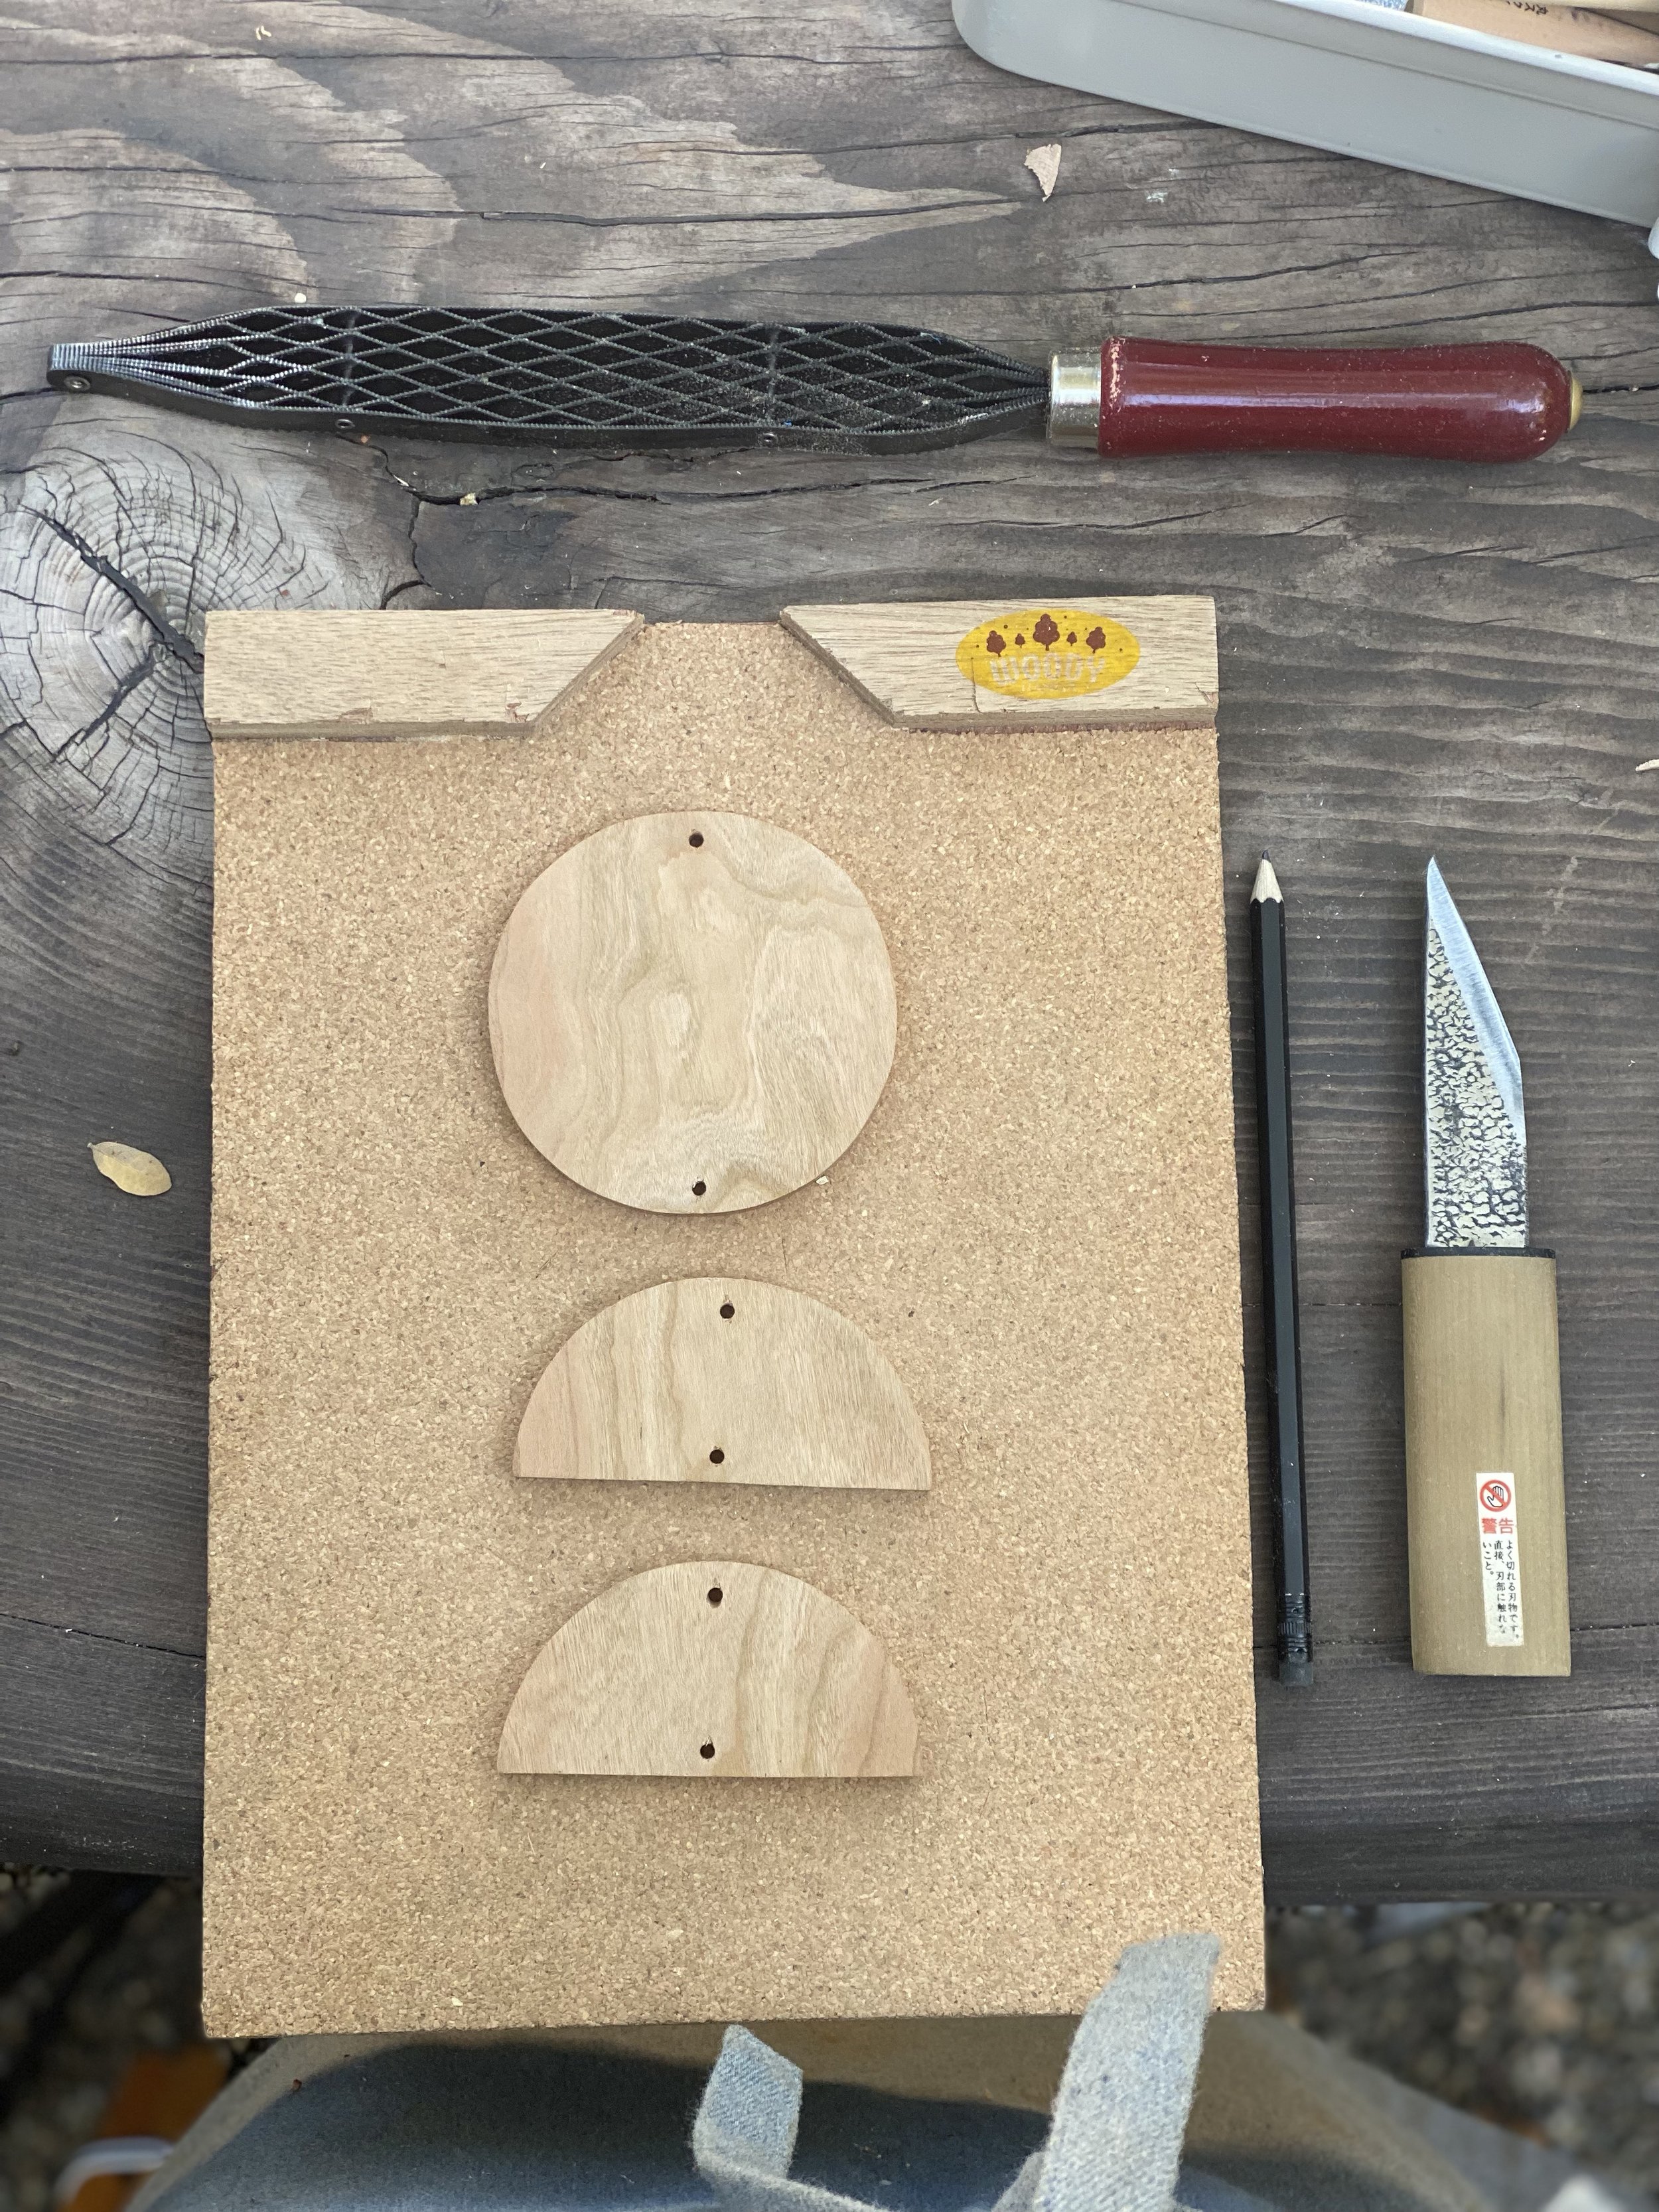
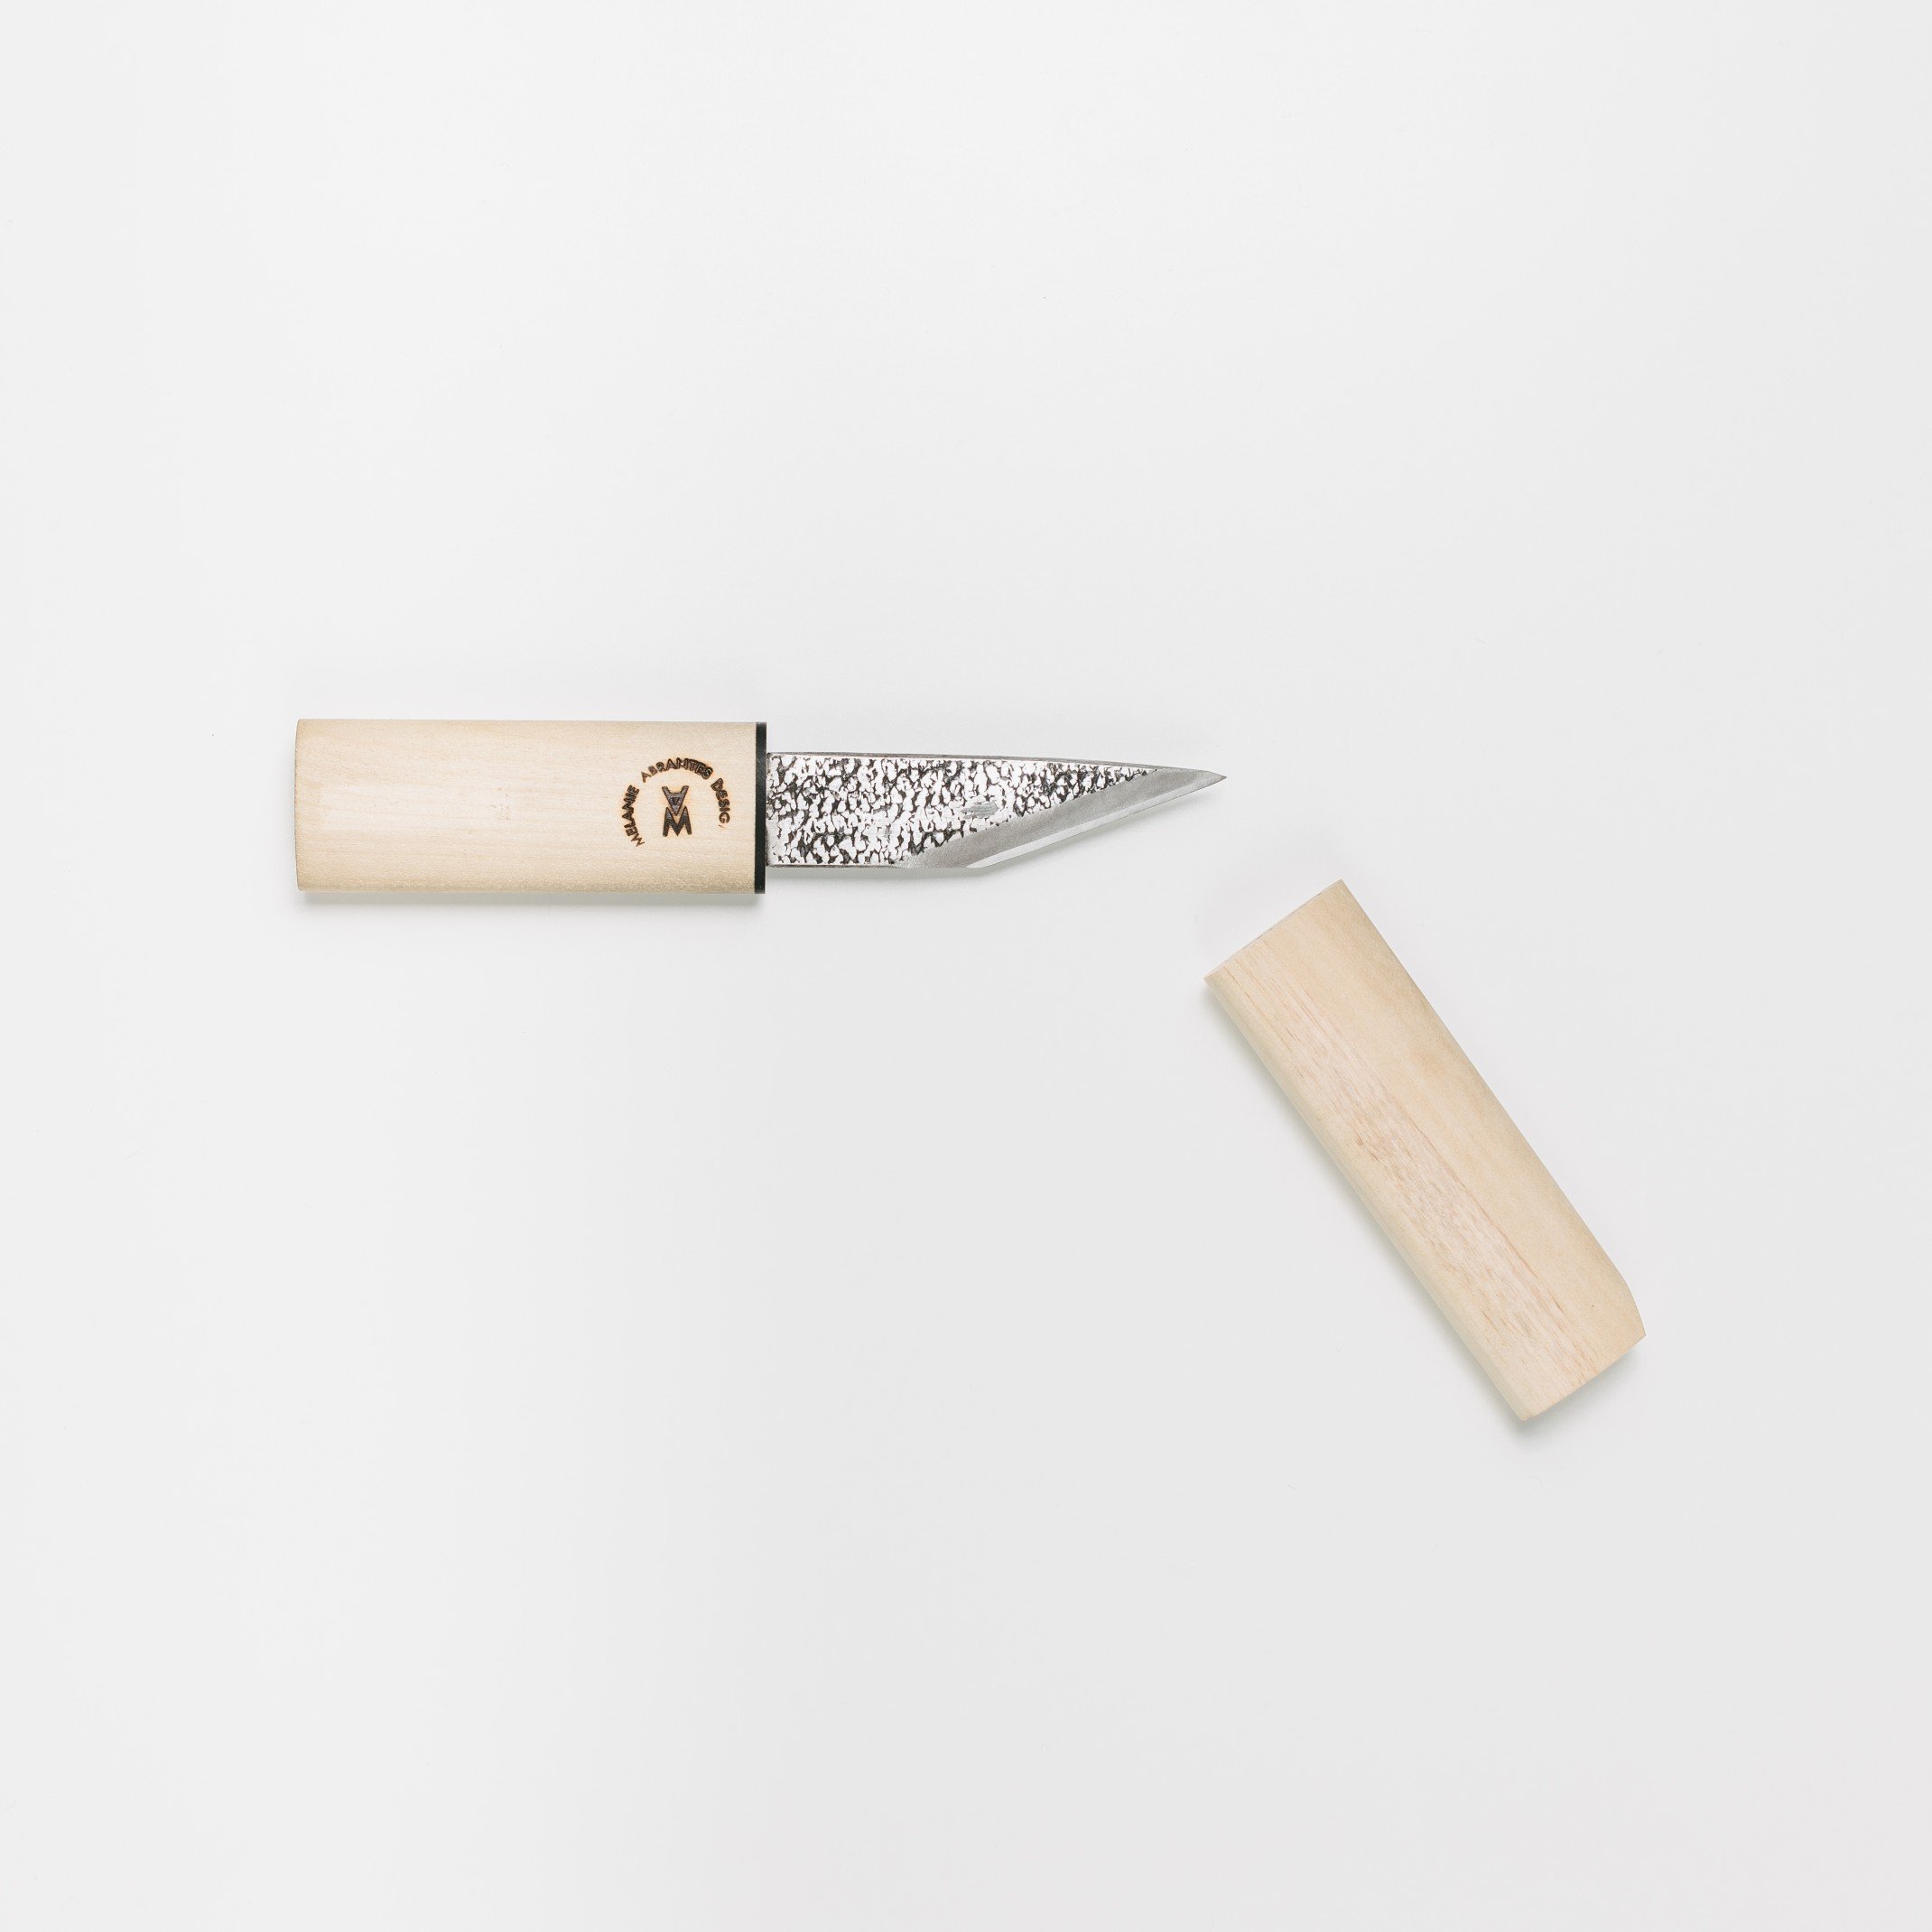
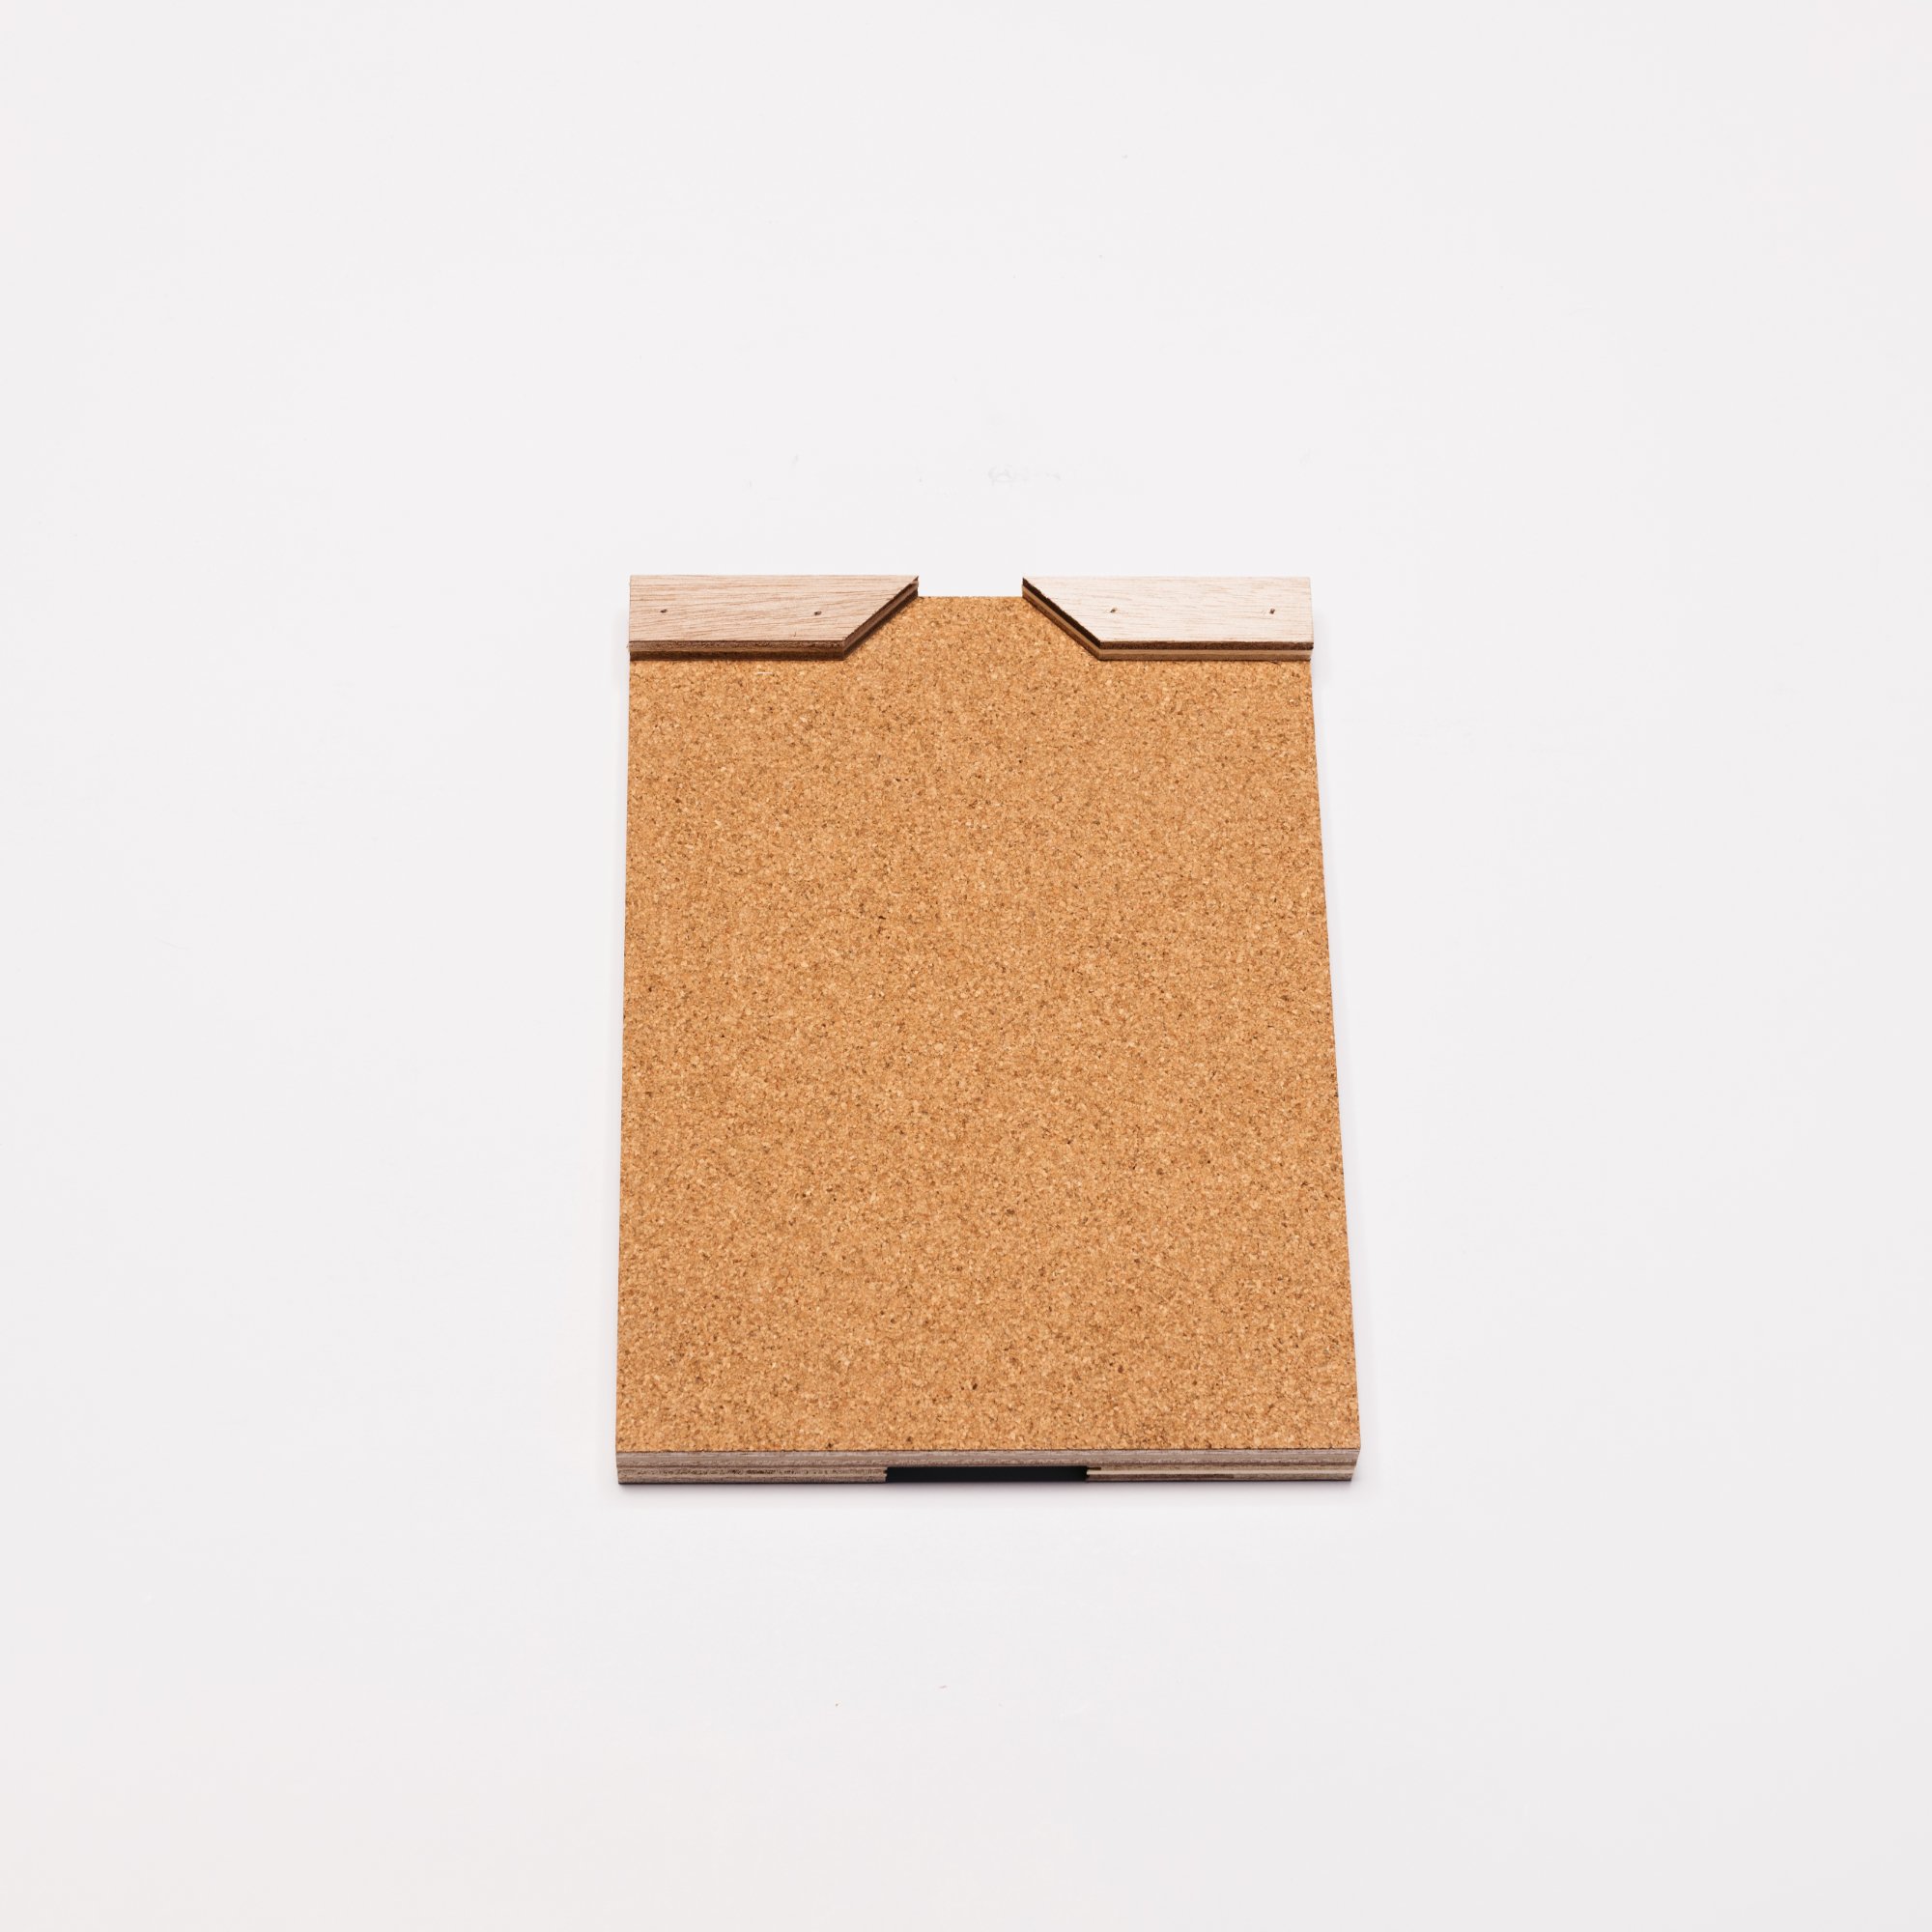
To make this wall hanging, you will need a knife, rasp, pencil and a clamp or bench hook to secure the piece.
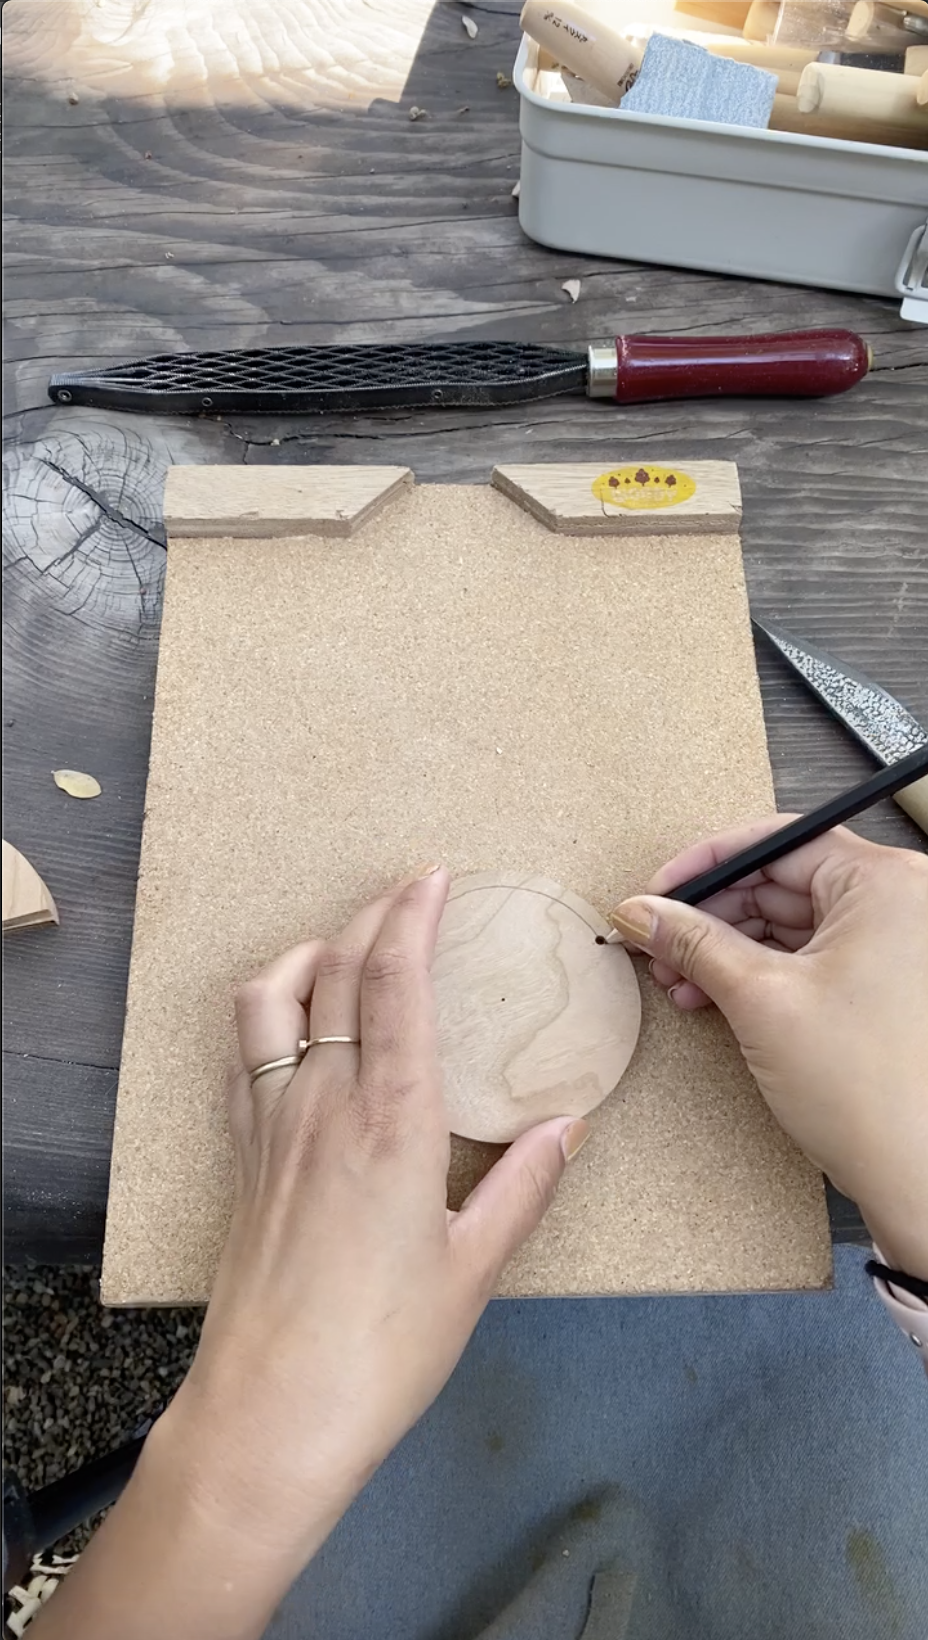
Draw a line about 1/8”-1/4” from the edge of each wooden shape to serve as an outline for rounding the edges of the pieces.
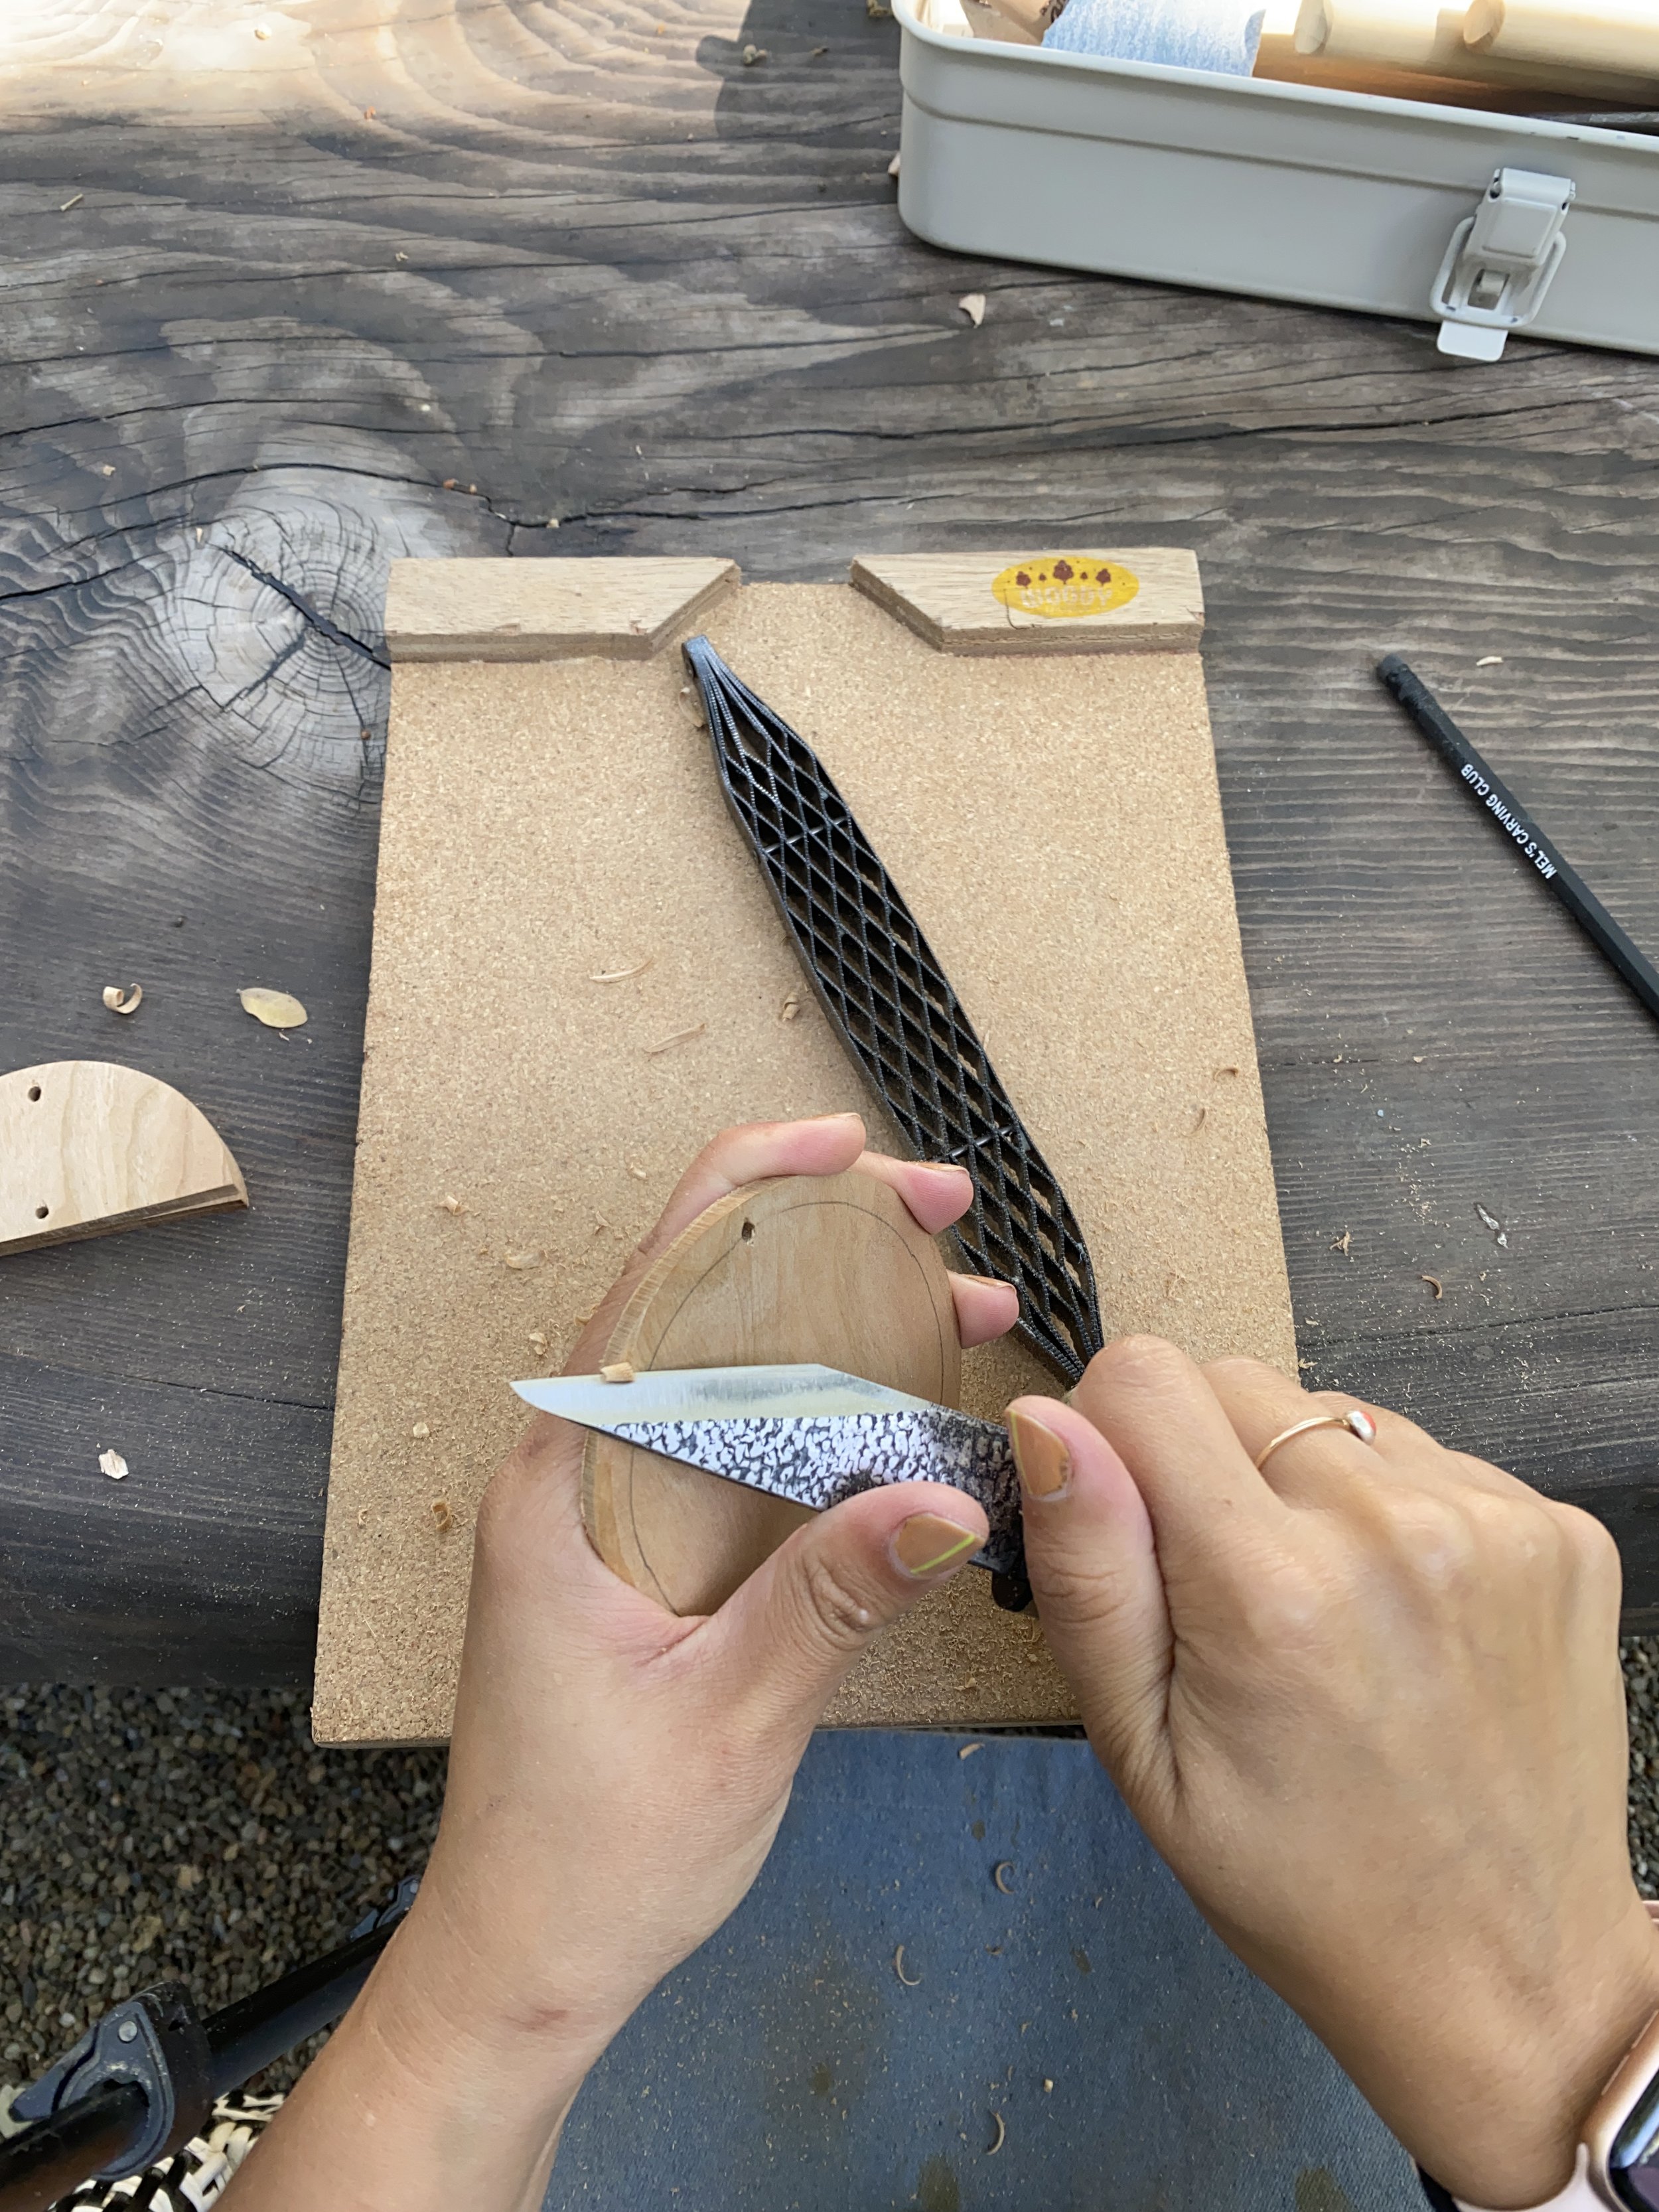
Hold the knife in your dominant hand. To carve the wood you will be using the push cut. Make sure to carve with the grain. Cut off small slivers of wood around both sides until the edges are rounded and meet the lines you drew. Repeat steps 2-3 on the other two shapes.
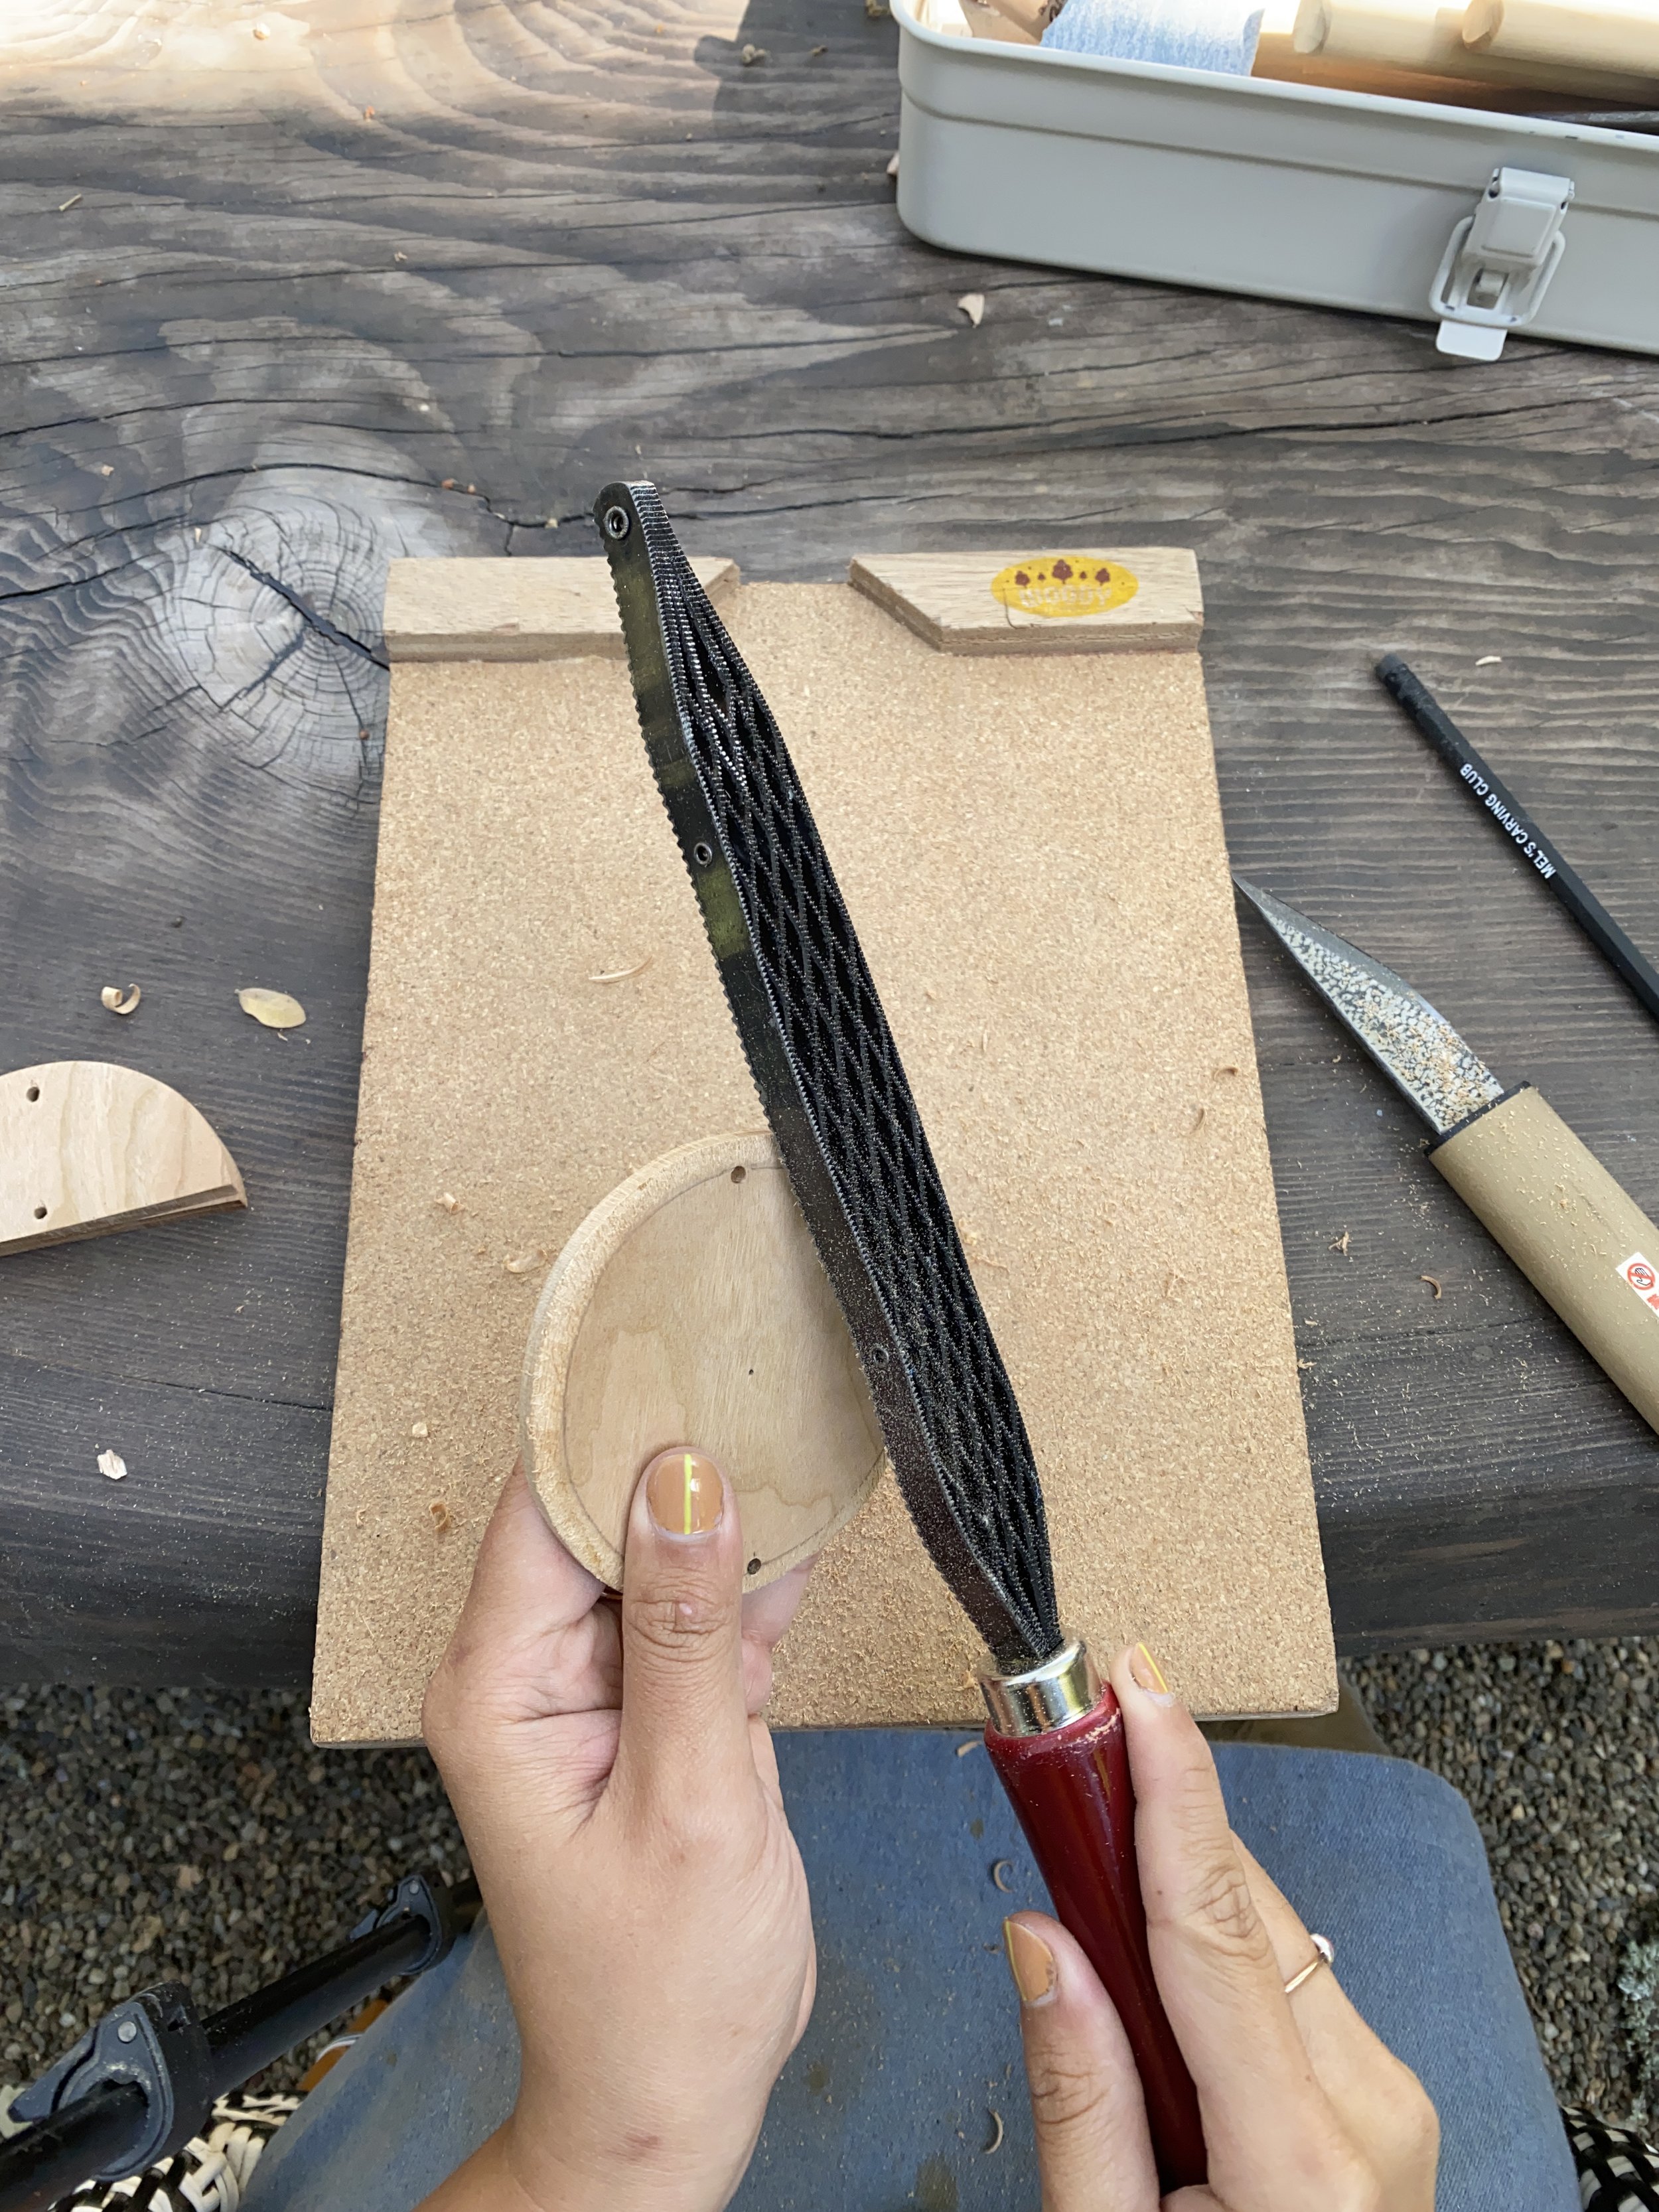
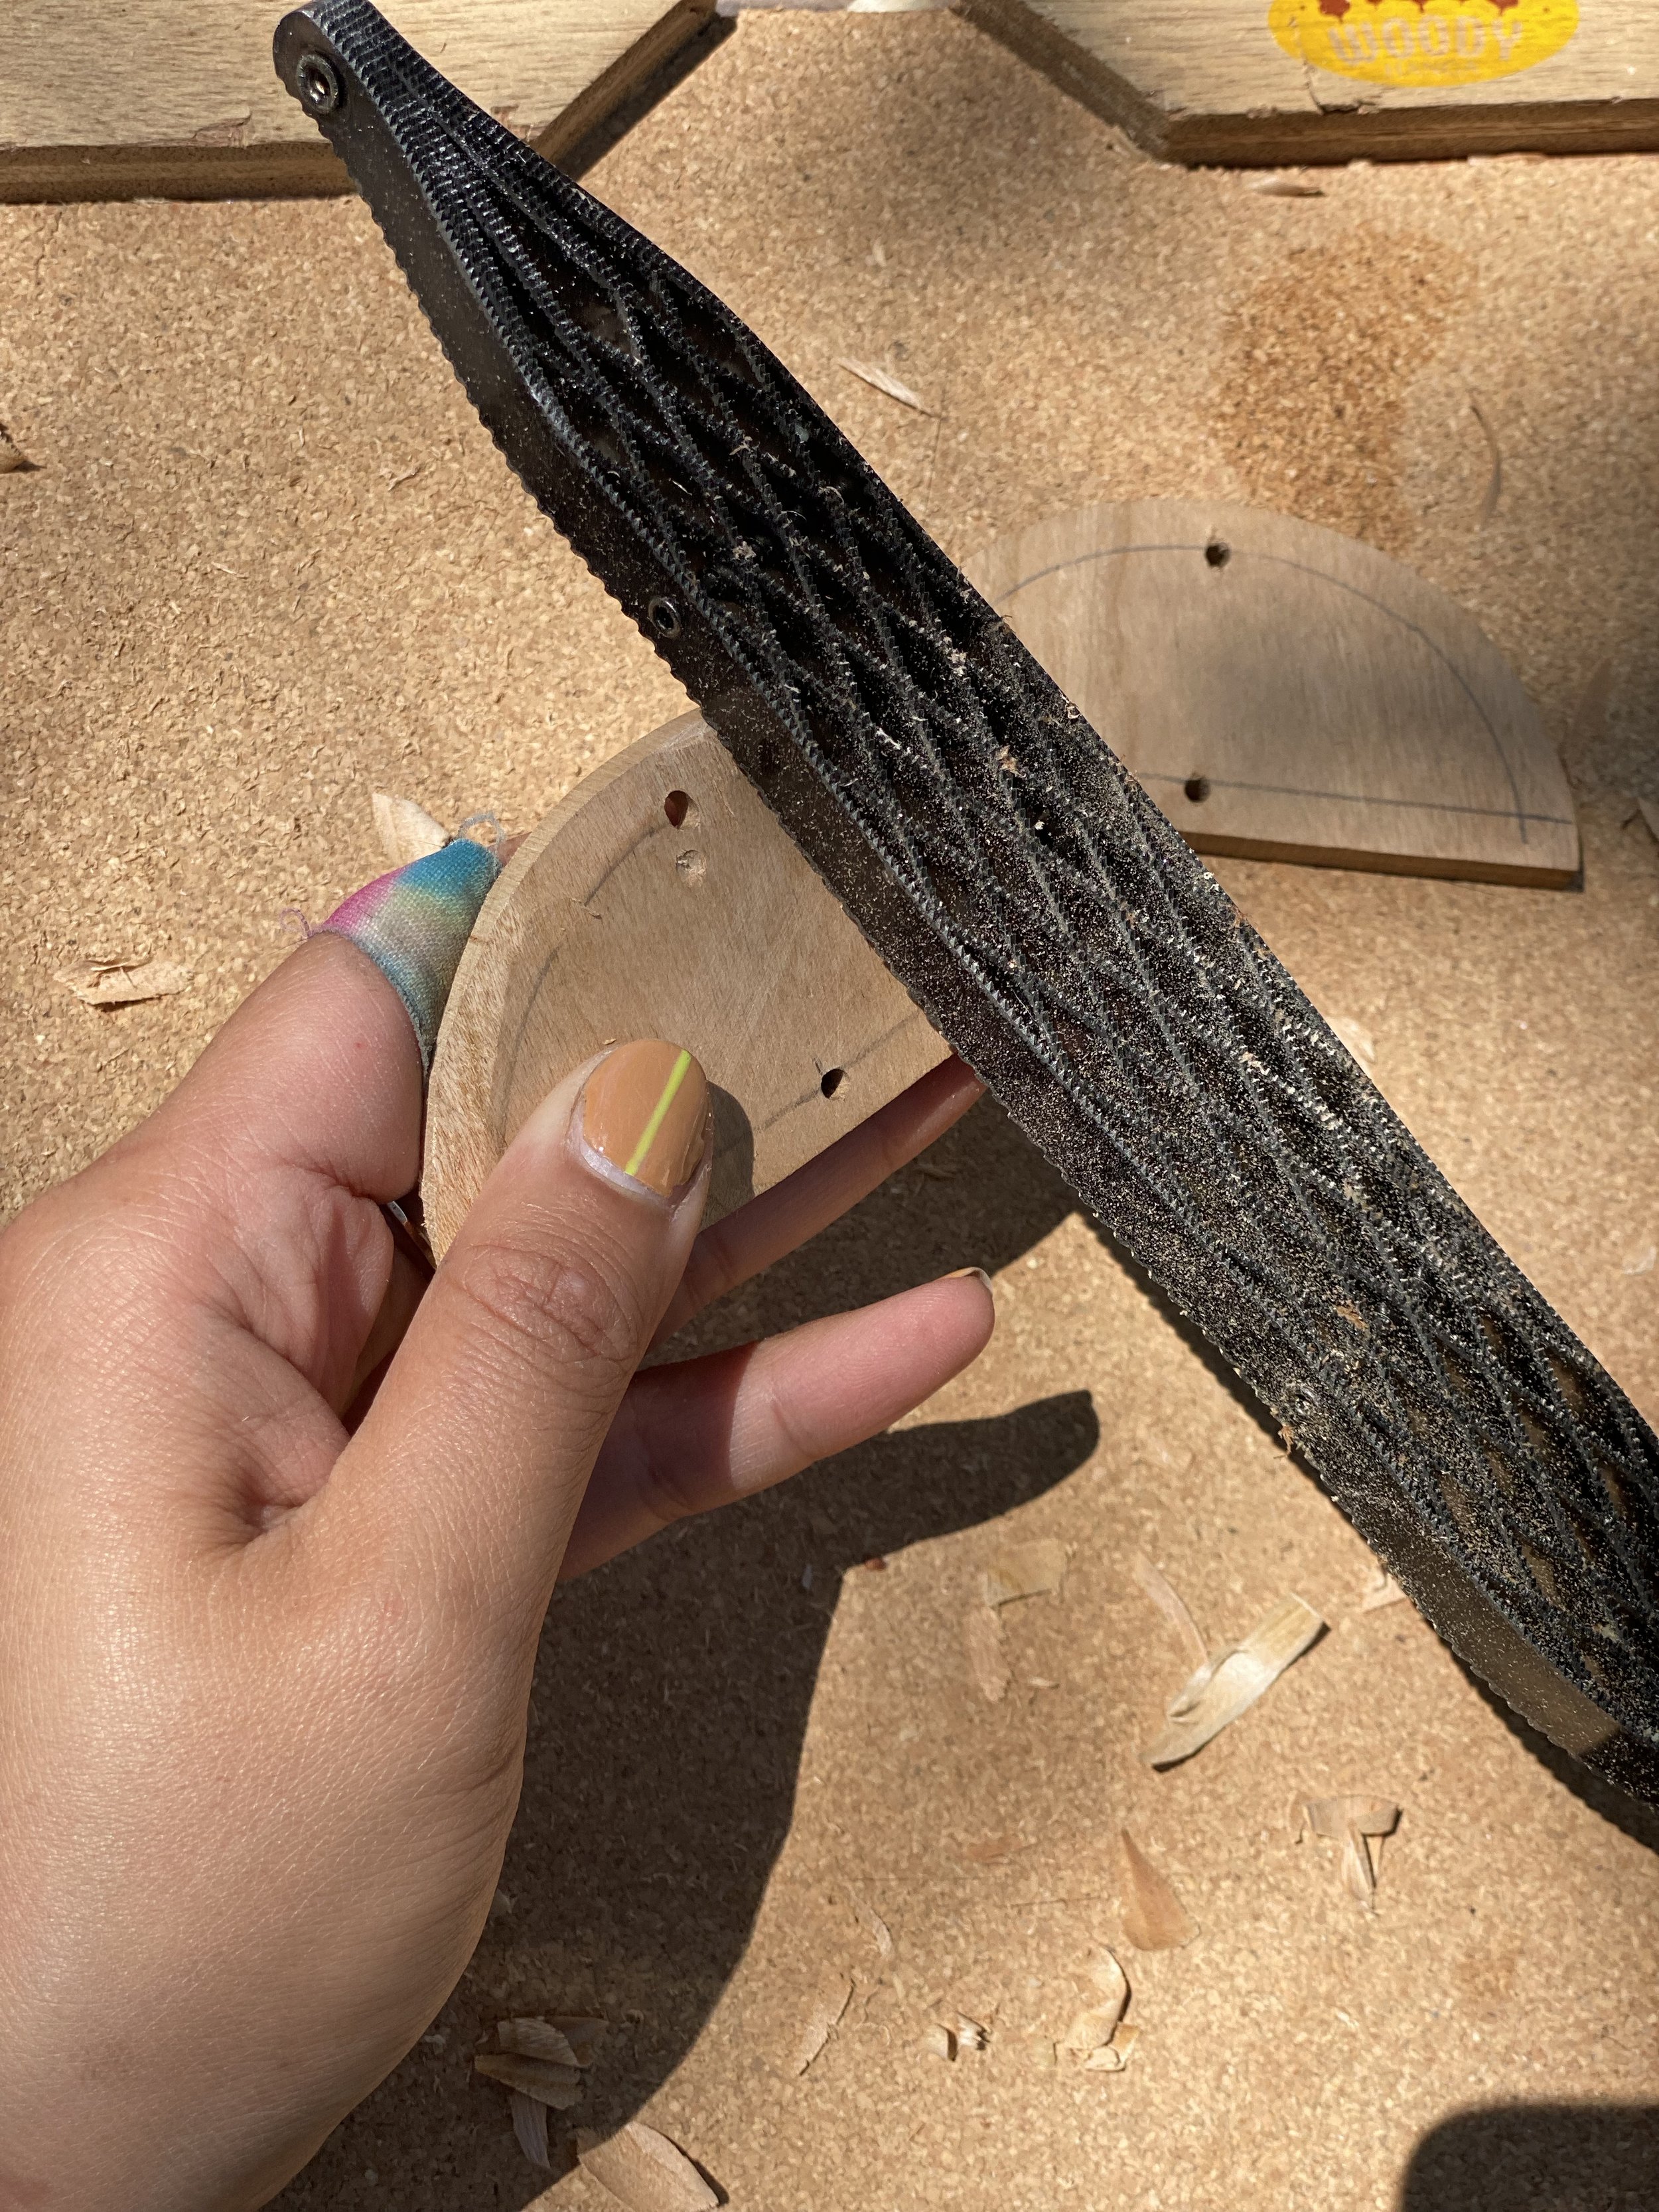
sTEP 2: WHITTLE + RASP
Once you have you have finished the rough shape with your knife, take your rasp and smooth out all the edges. We like to use the Shinto rasp, but any rasp will work. To use the rasp, hold the wood piece in one hand and use the other to push the tool up and away from you so it cuts the fibers. This is great for working the end grain of your wood.
Repeat step 4 on the other two shapes. When you’re finished, the pieces should be even all around and match each other.
Optional: Once all the sides are rounded, you can use a gouge or v-tool to add decorative texture to the wood. This is really fun! With your piece on the bench hook, start on one side and work your way slowly to the other, using small cuts to create grooves in the wood.

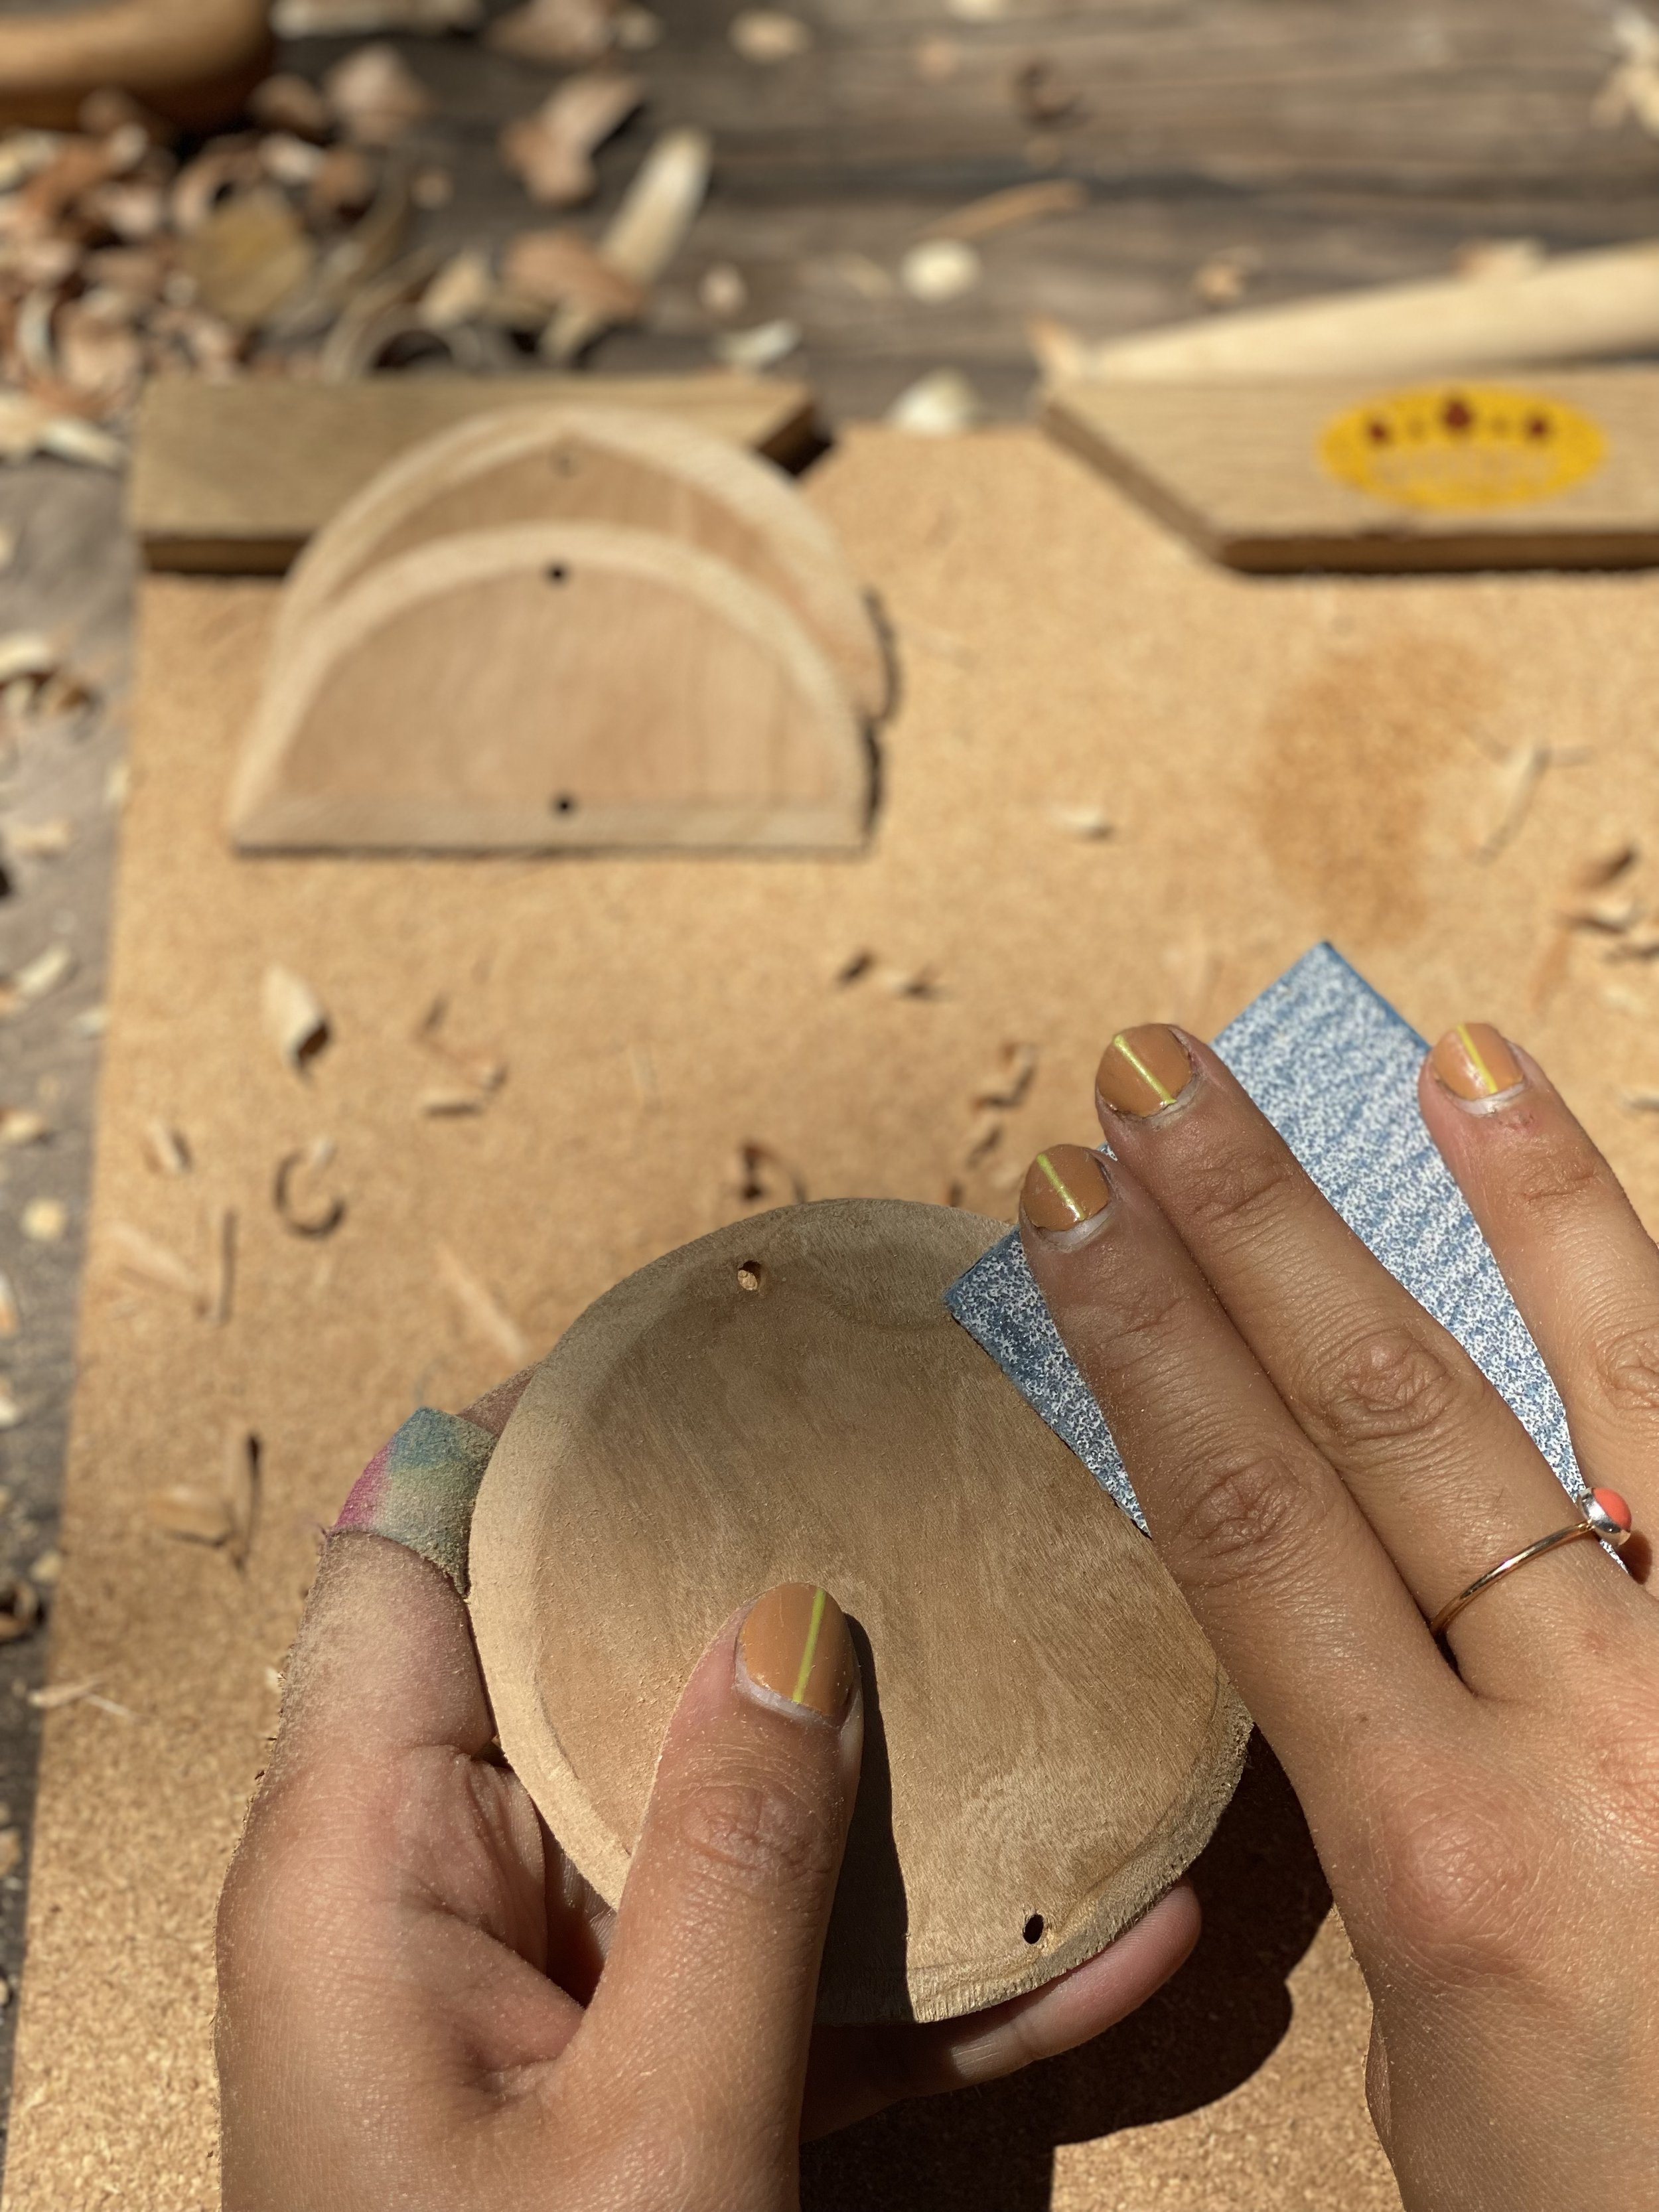

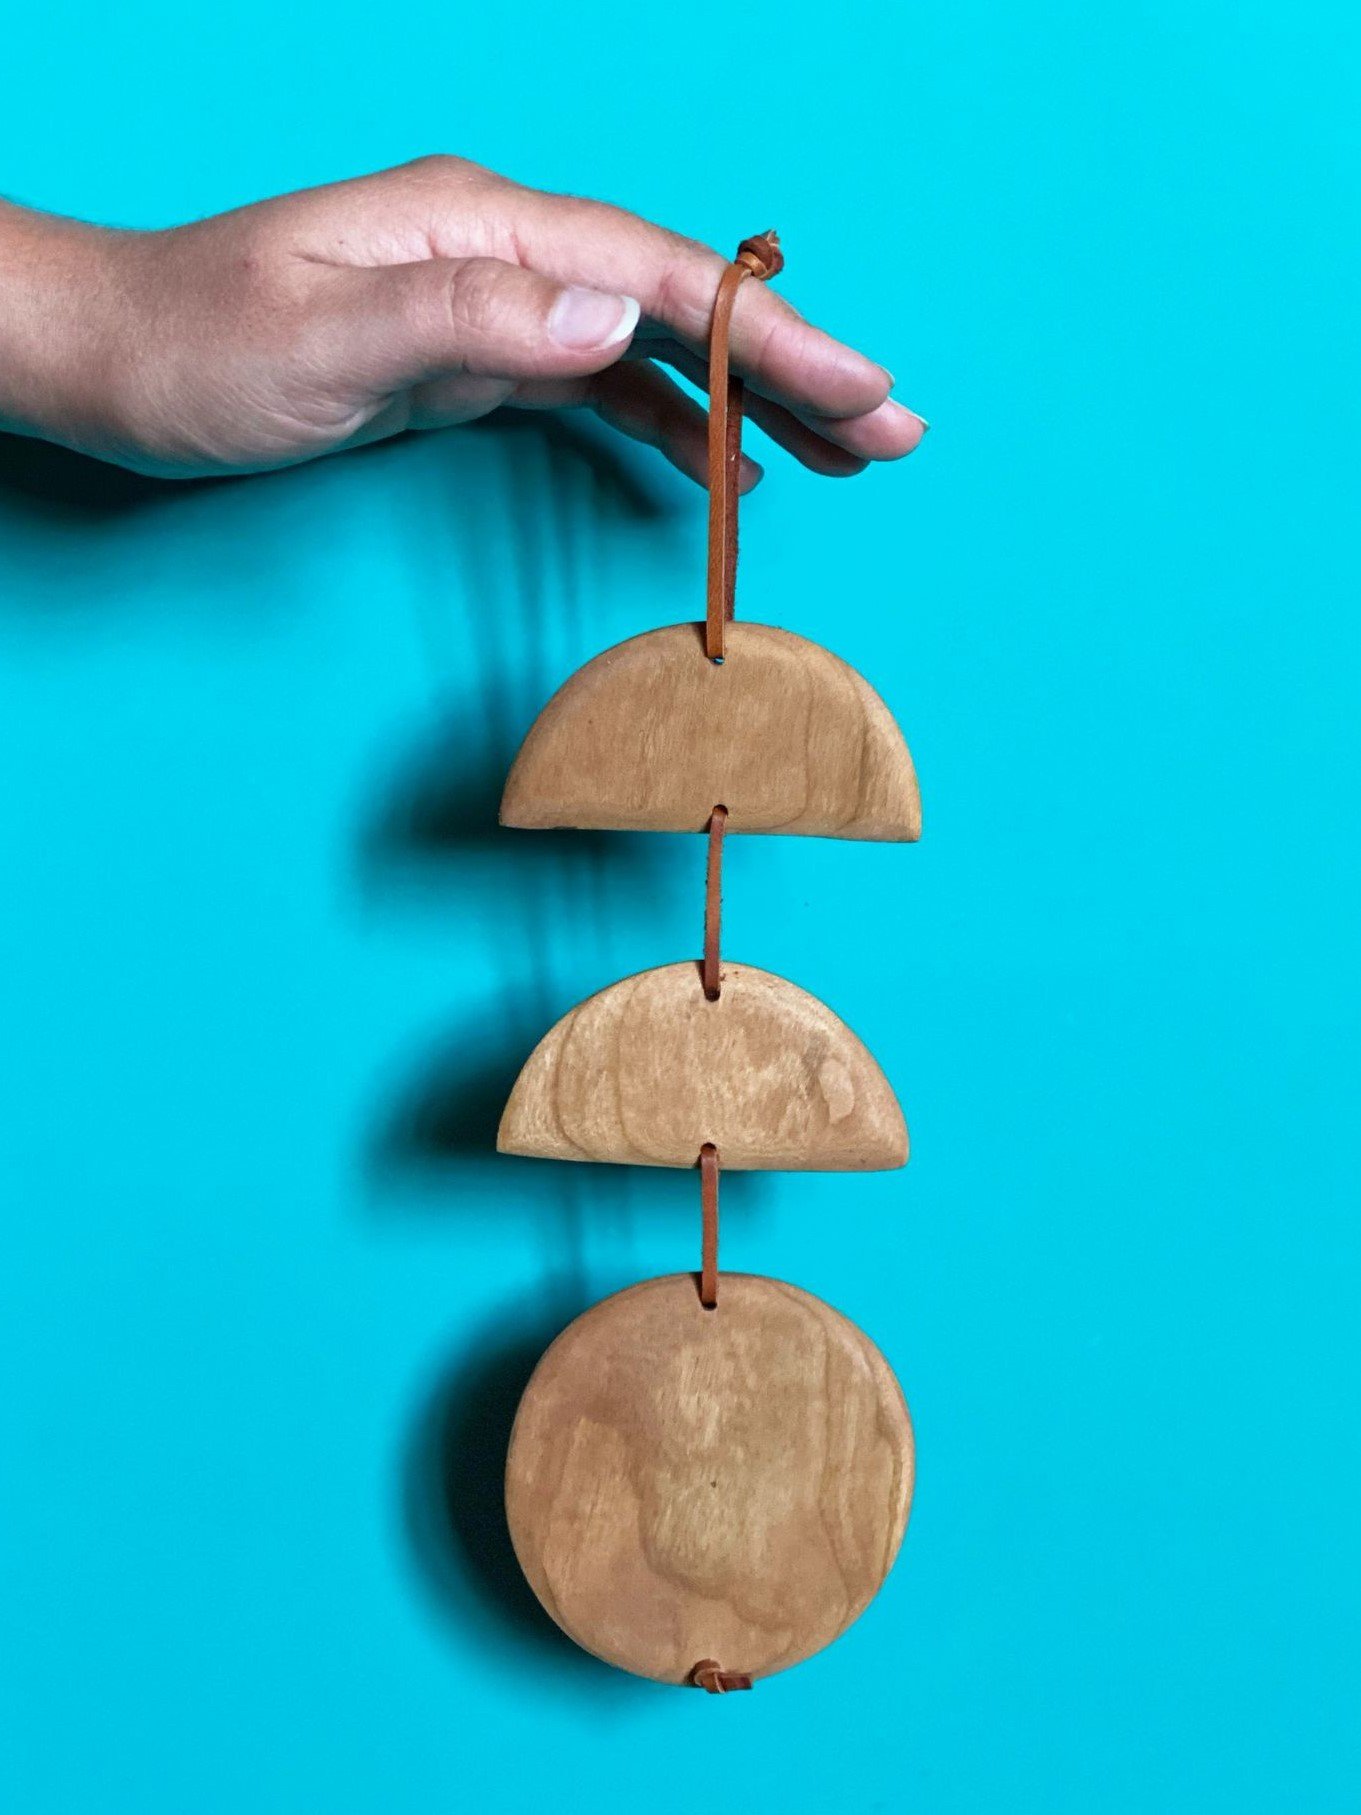
Step 3: SAND, FINISH AND STRING WITH LEATHER
Sand each piece with the grain until the wood is even and smooth. Begin sanding with 80 grit and work your way up to 150 then 220 grit as each sandpaper dulls.
Use a cotton cloth to seal your pieces with a layer of wood butter.
String your wall hanging with the leather cord provided. Choose which piece you want as the top, string your shortest piece of leather through the top hole and tie both ends together to make a loop. Take the other piece of leather and tie a knot on one end, then string through the rest of the shapes from back to front.
REQUIRED TOOLS


ENJOYED THIS PROJECT?
See what’s coming up next! All summer long we're offering free carving DIY tutorials. Every week we'll have a new project to try. Check our calendar to see what's in store!