
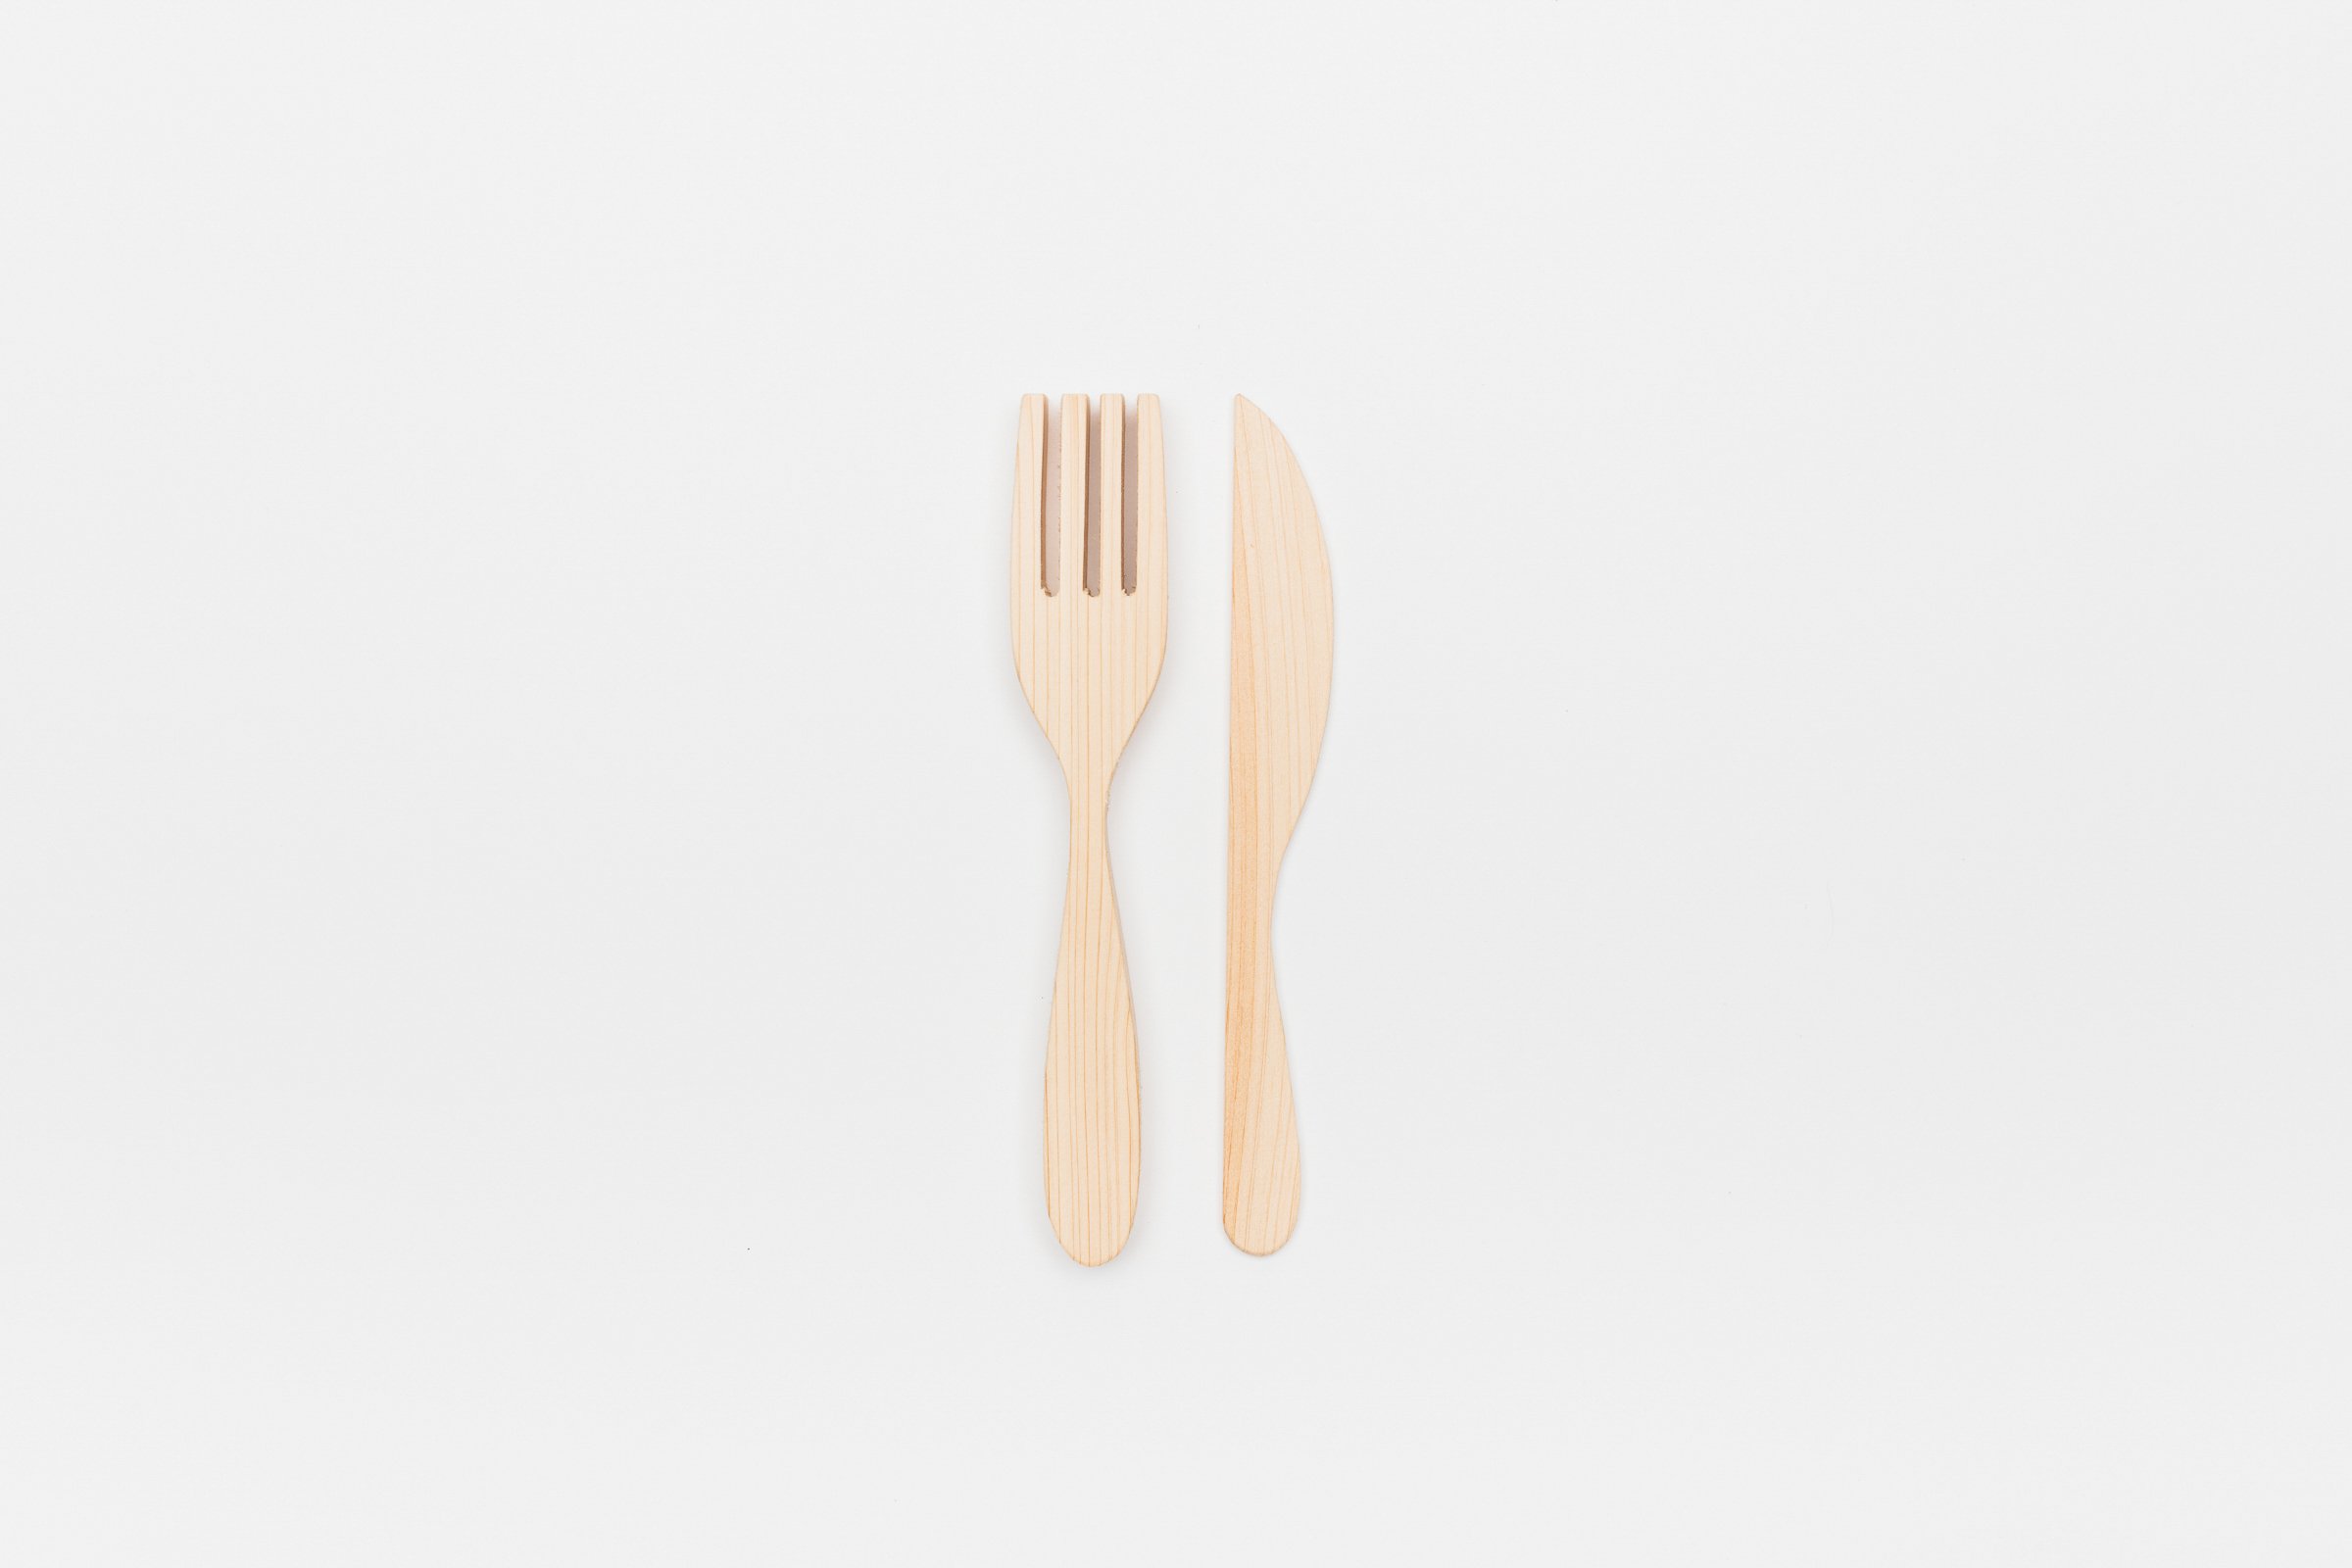
FREE DIY SERIES #7 - camping flatware
SAFETY TIPS:
Always keep the blade pointed away from you when carving.
Keep your tools sharp for easier and safer carving!
WARNING: Tools are extremely sharp and may cause injury. Please handle with caution.
If using your own wood blanks, please check online to make sure your wood is food-safe.

Step 1: PREP Your BLANKS
For this project, you will need a knife blank (available here) and a fork blank (you can make your own!)
For your fork, cut your blank to roughly 7.5” x 1”. The piece of wood should be about 0.5” thick. Make sure the grain direction follows the length of the fork. Draw an outline resembling a fork along your blank (pictured left).
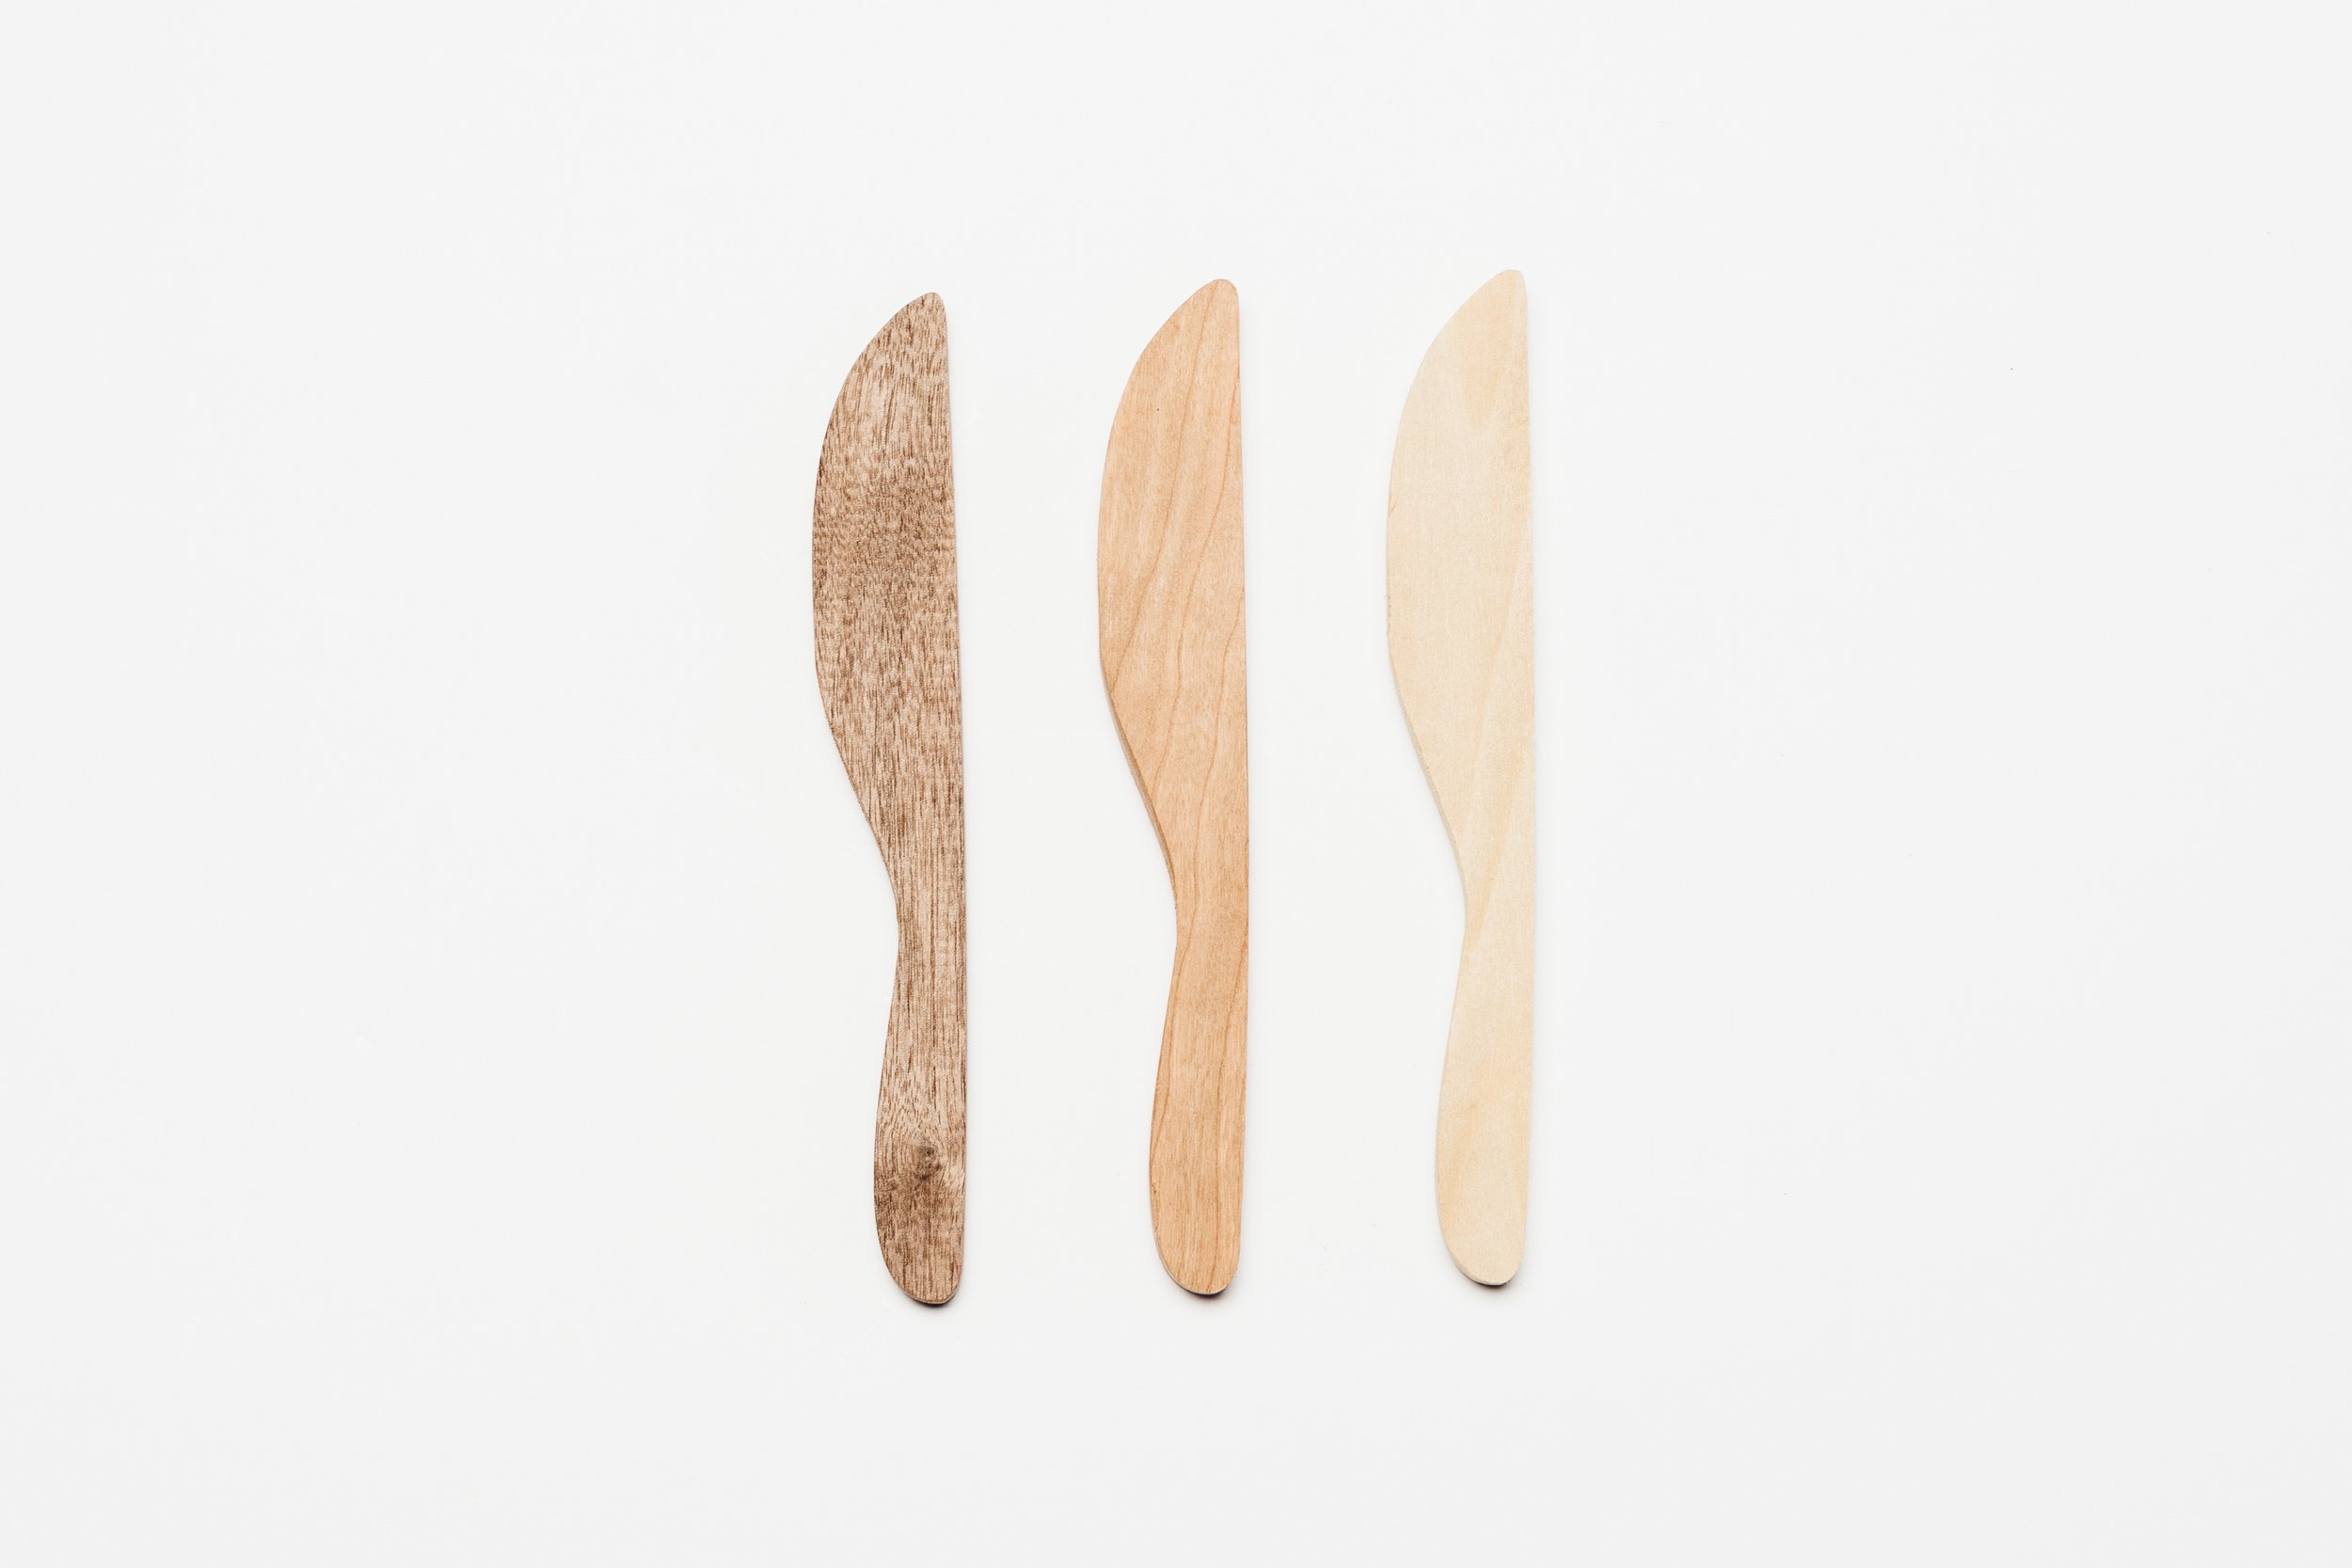
If you choose to make your own knife blank, cut the knife to roughly 7.5” x 1”. The piece of wood should also be about 0.5” thick. Make sure the grain direction follows the length of the knife. Draw an outline resembling a butter knife along your blank (pictured left).
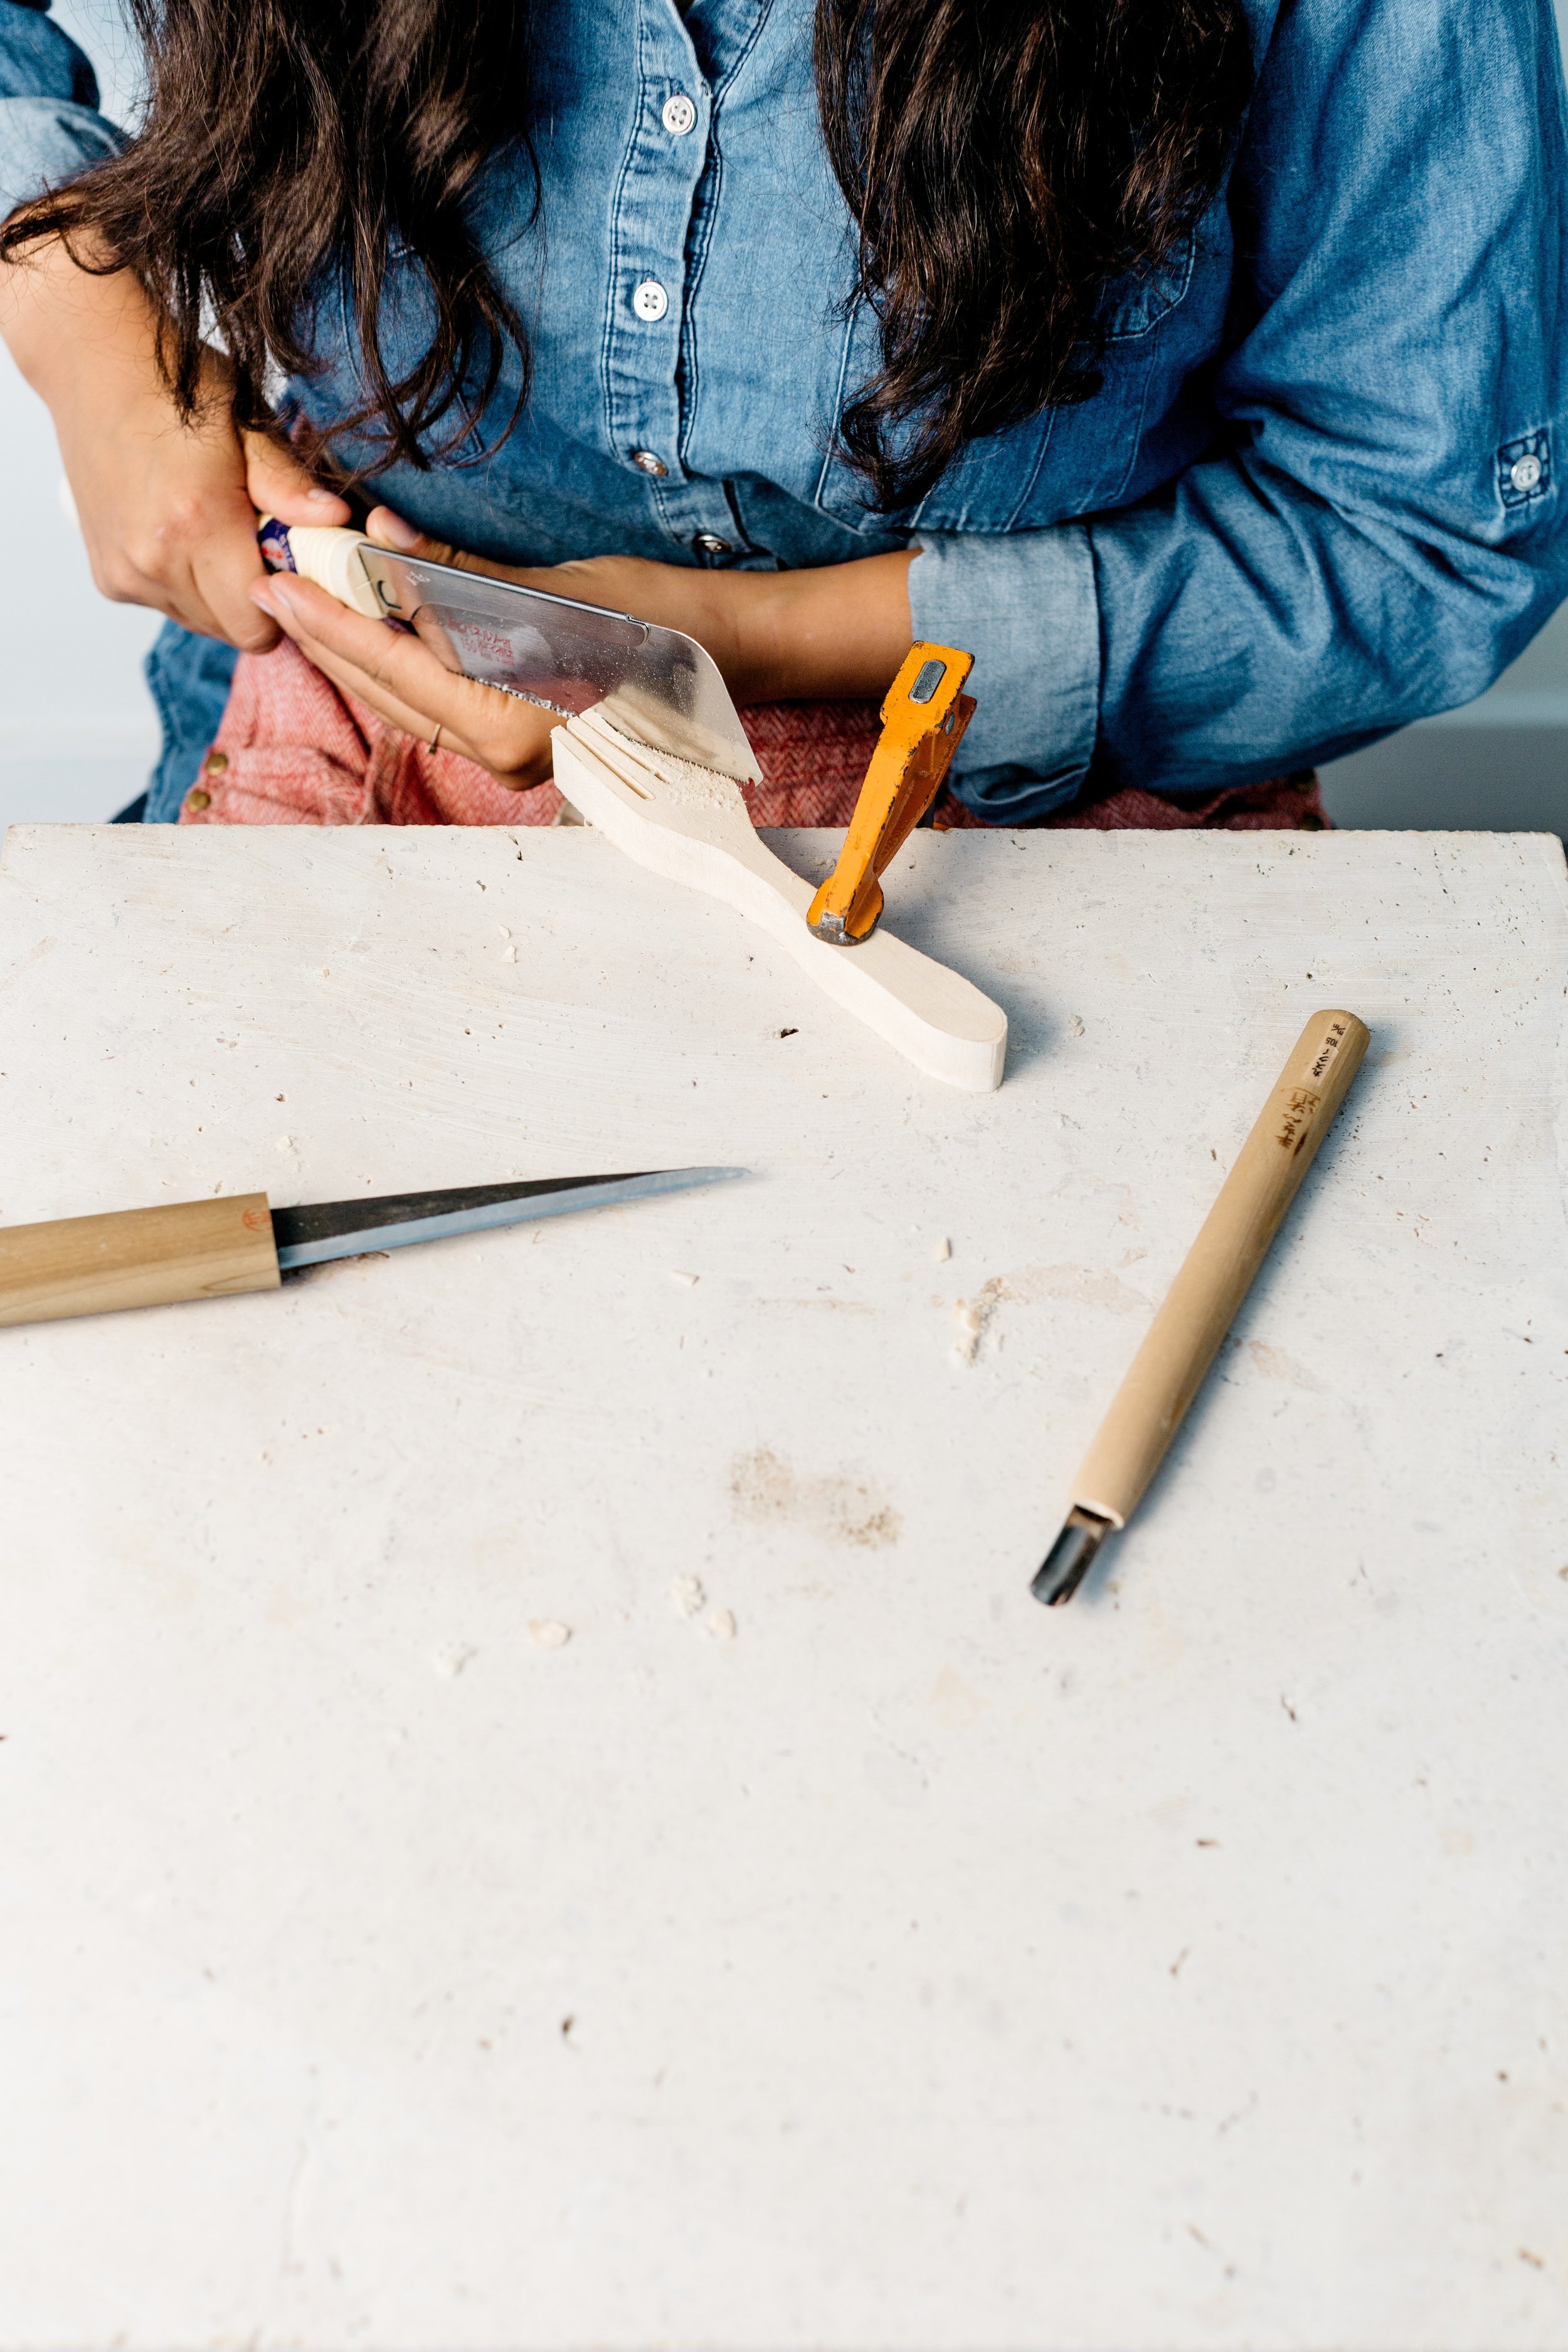
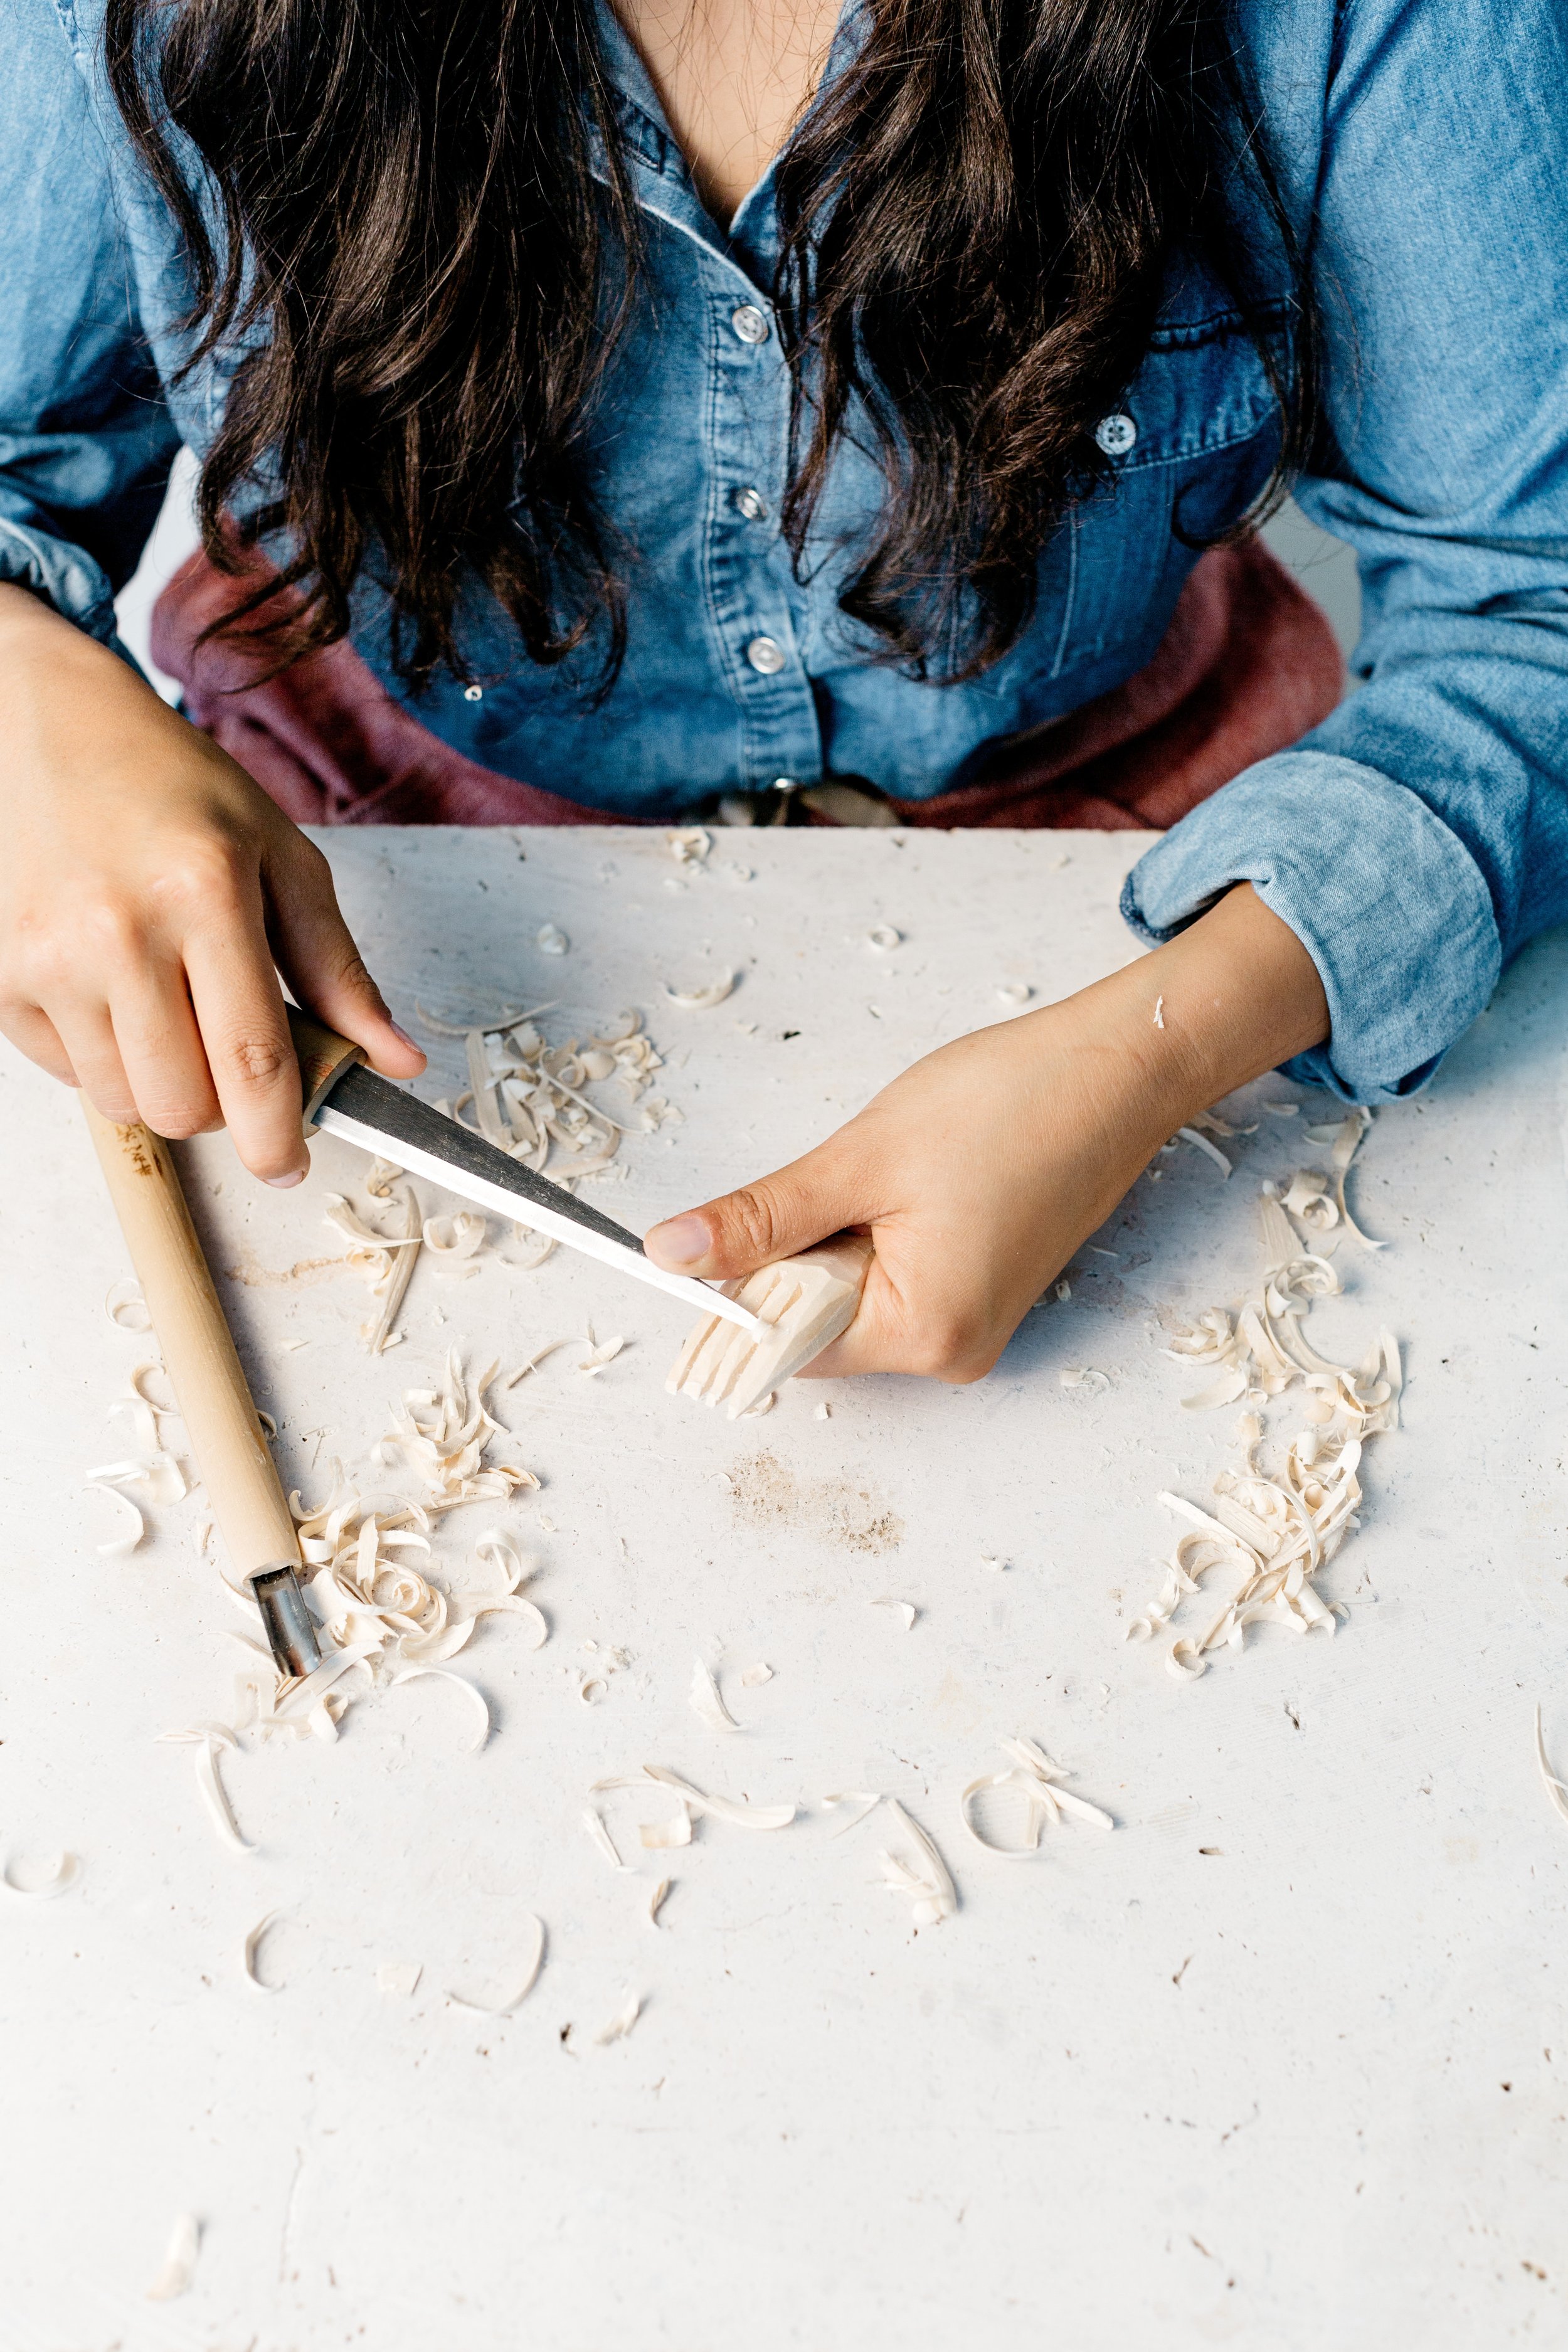
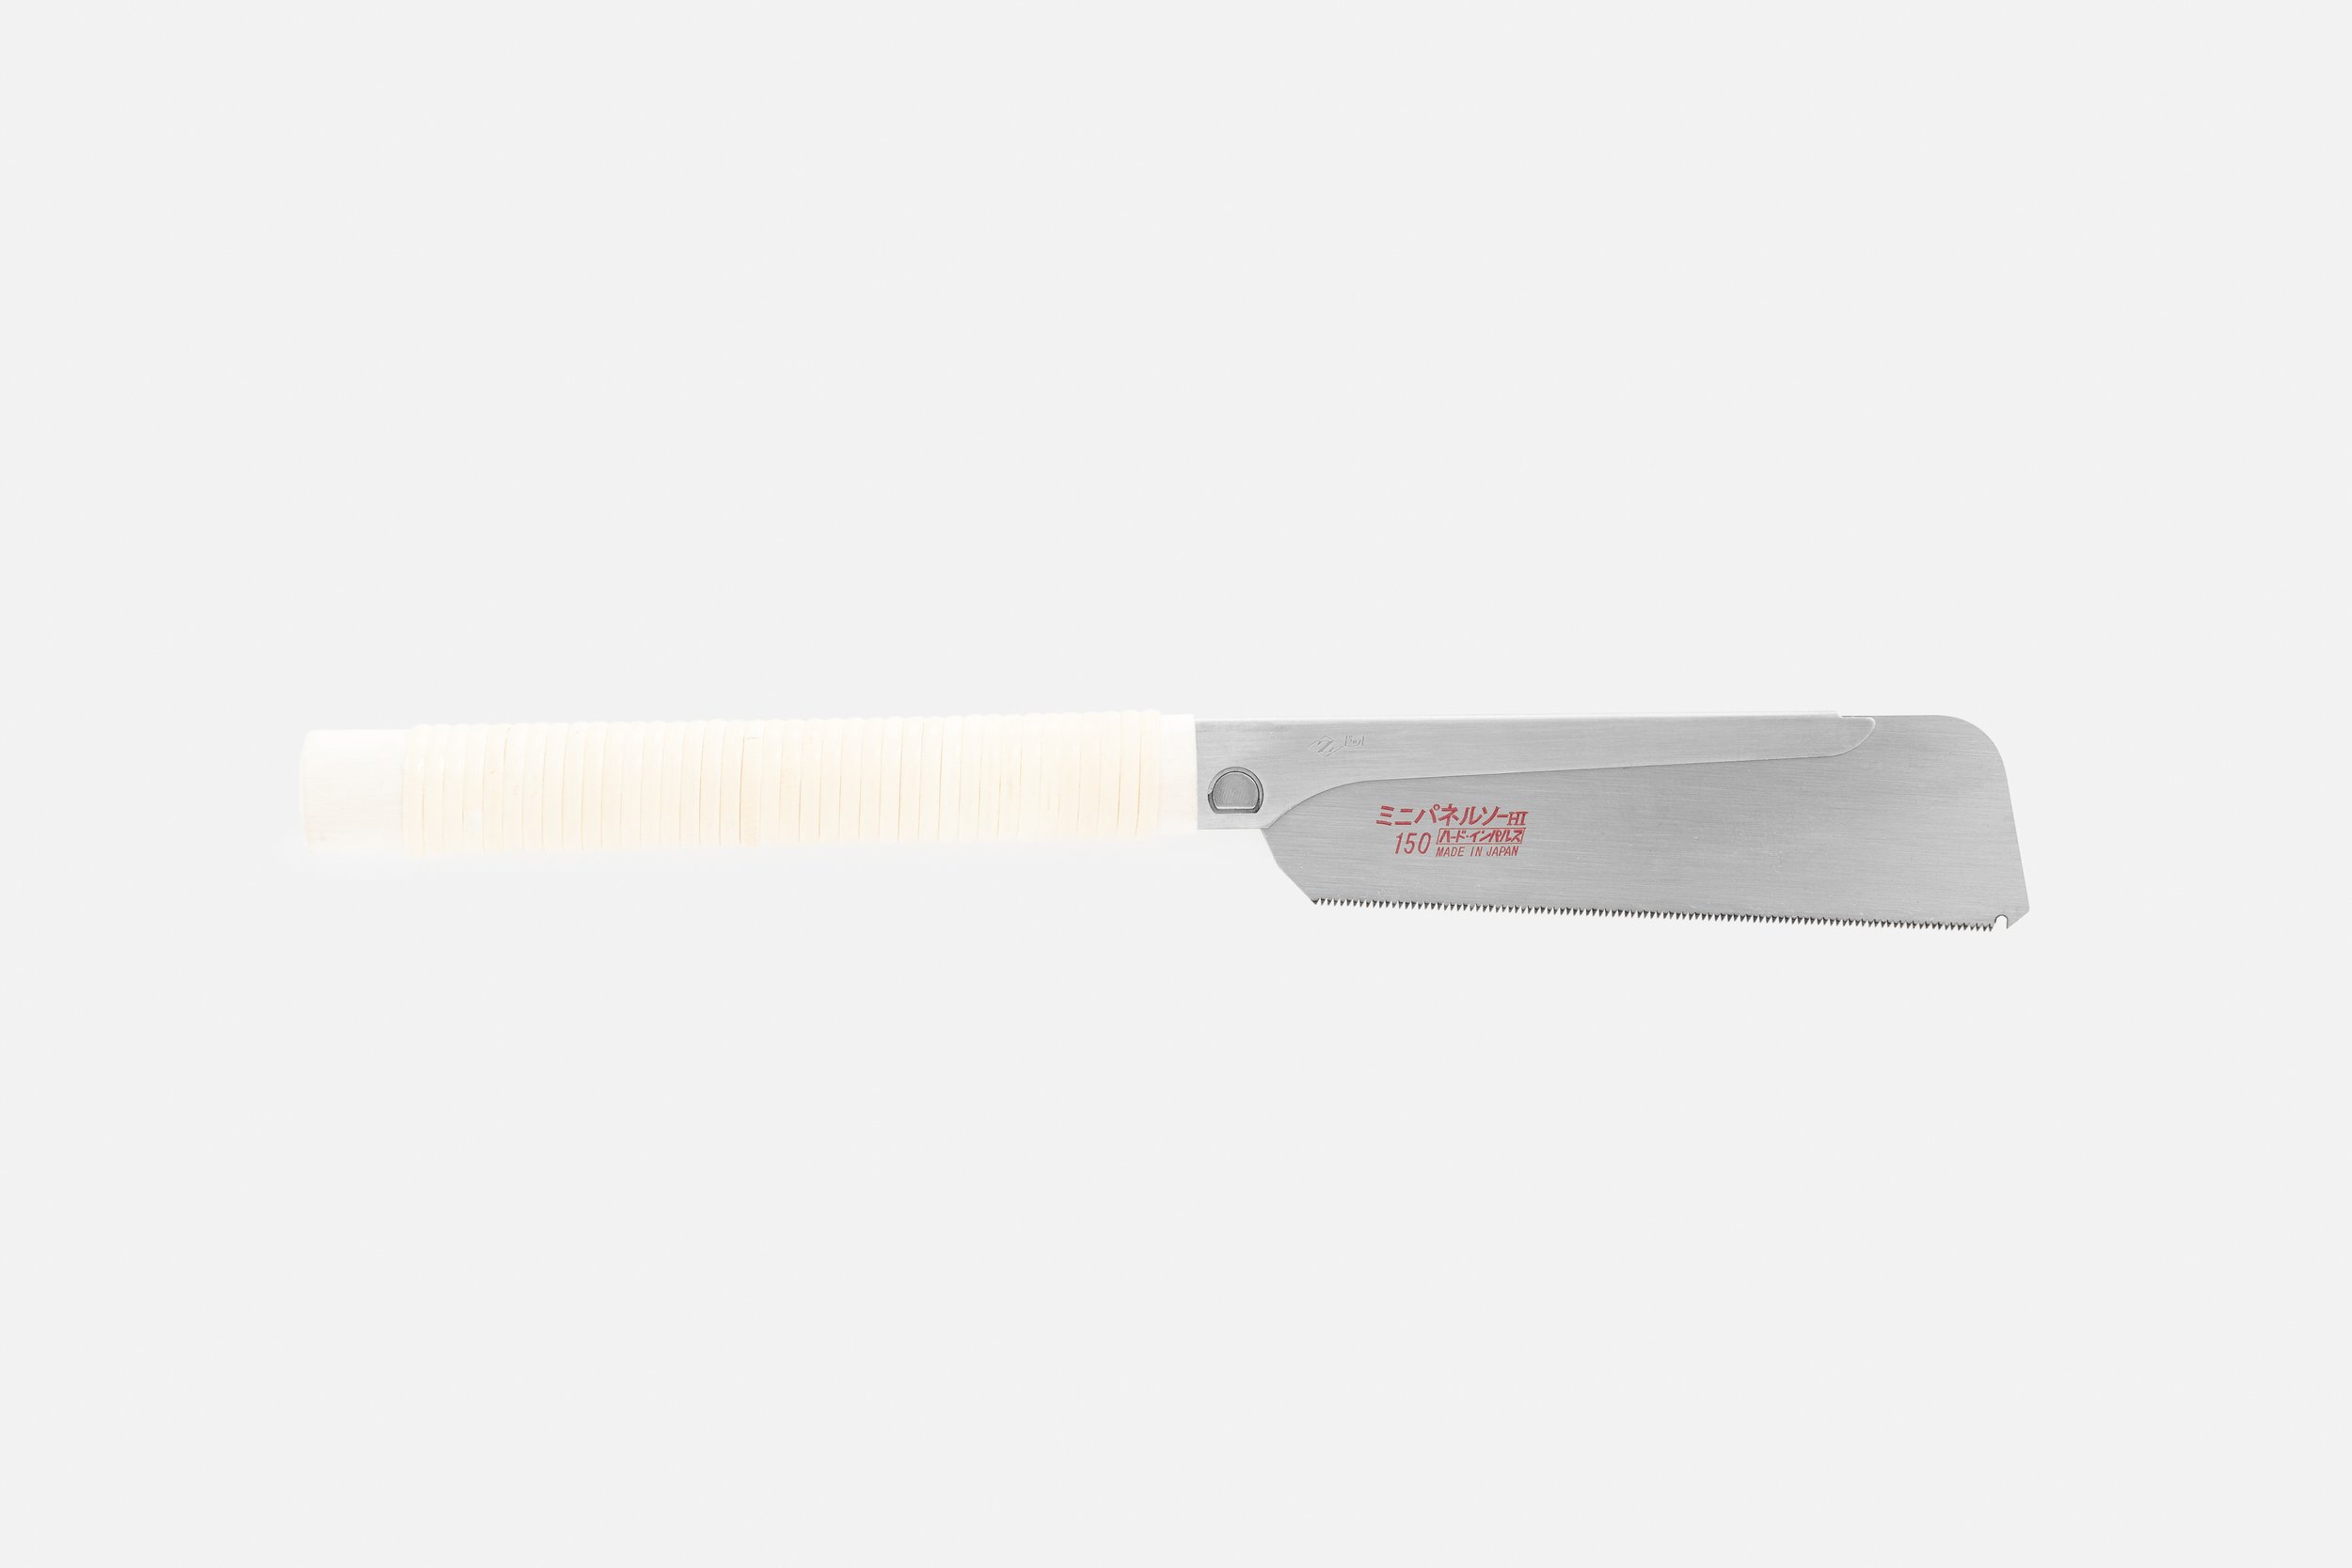
With your carving knife, use the power-cut to whittle your wood down to the rough lines you drew. You can also use a handsaw to shape the wood.
Step 2: CARVE the fork
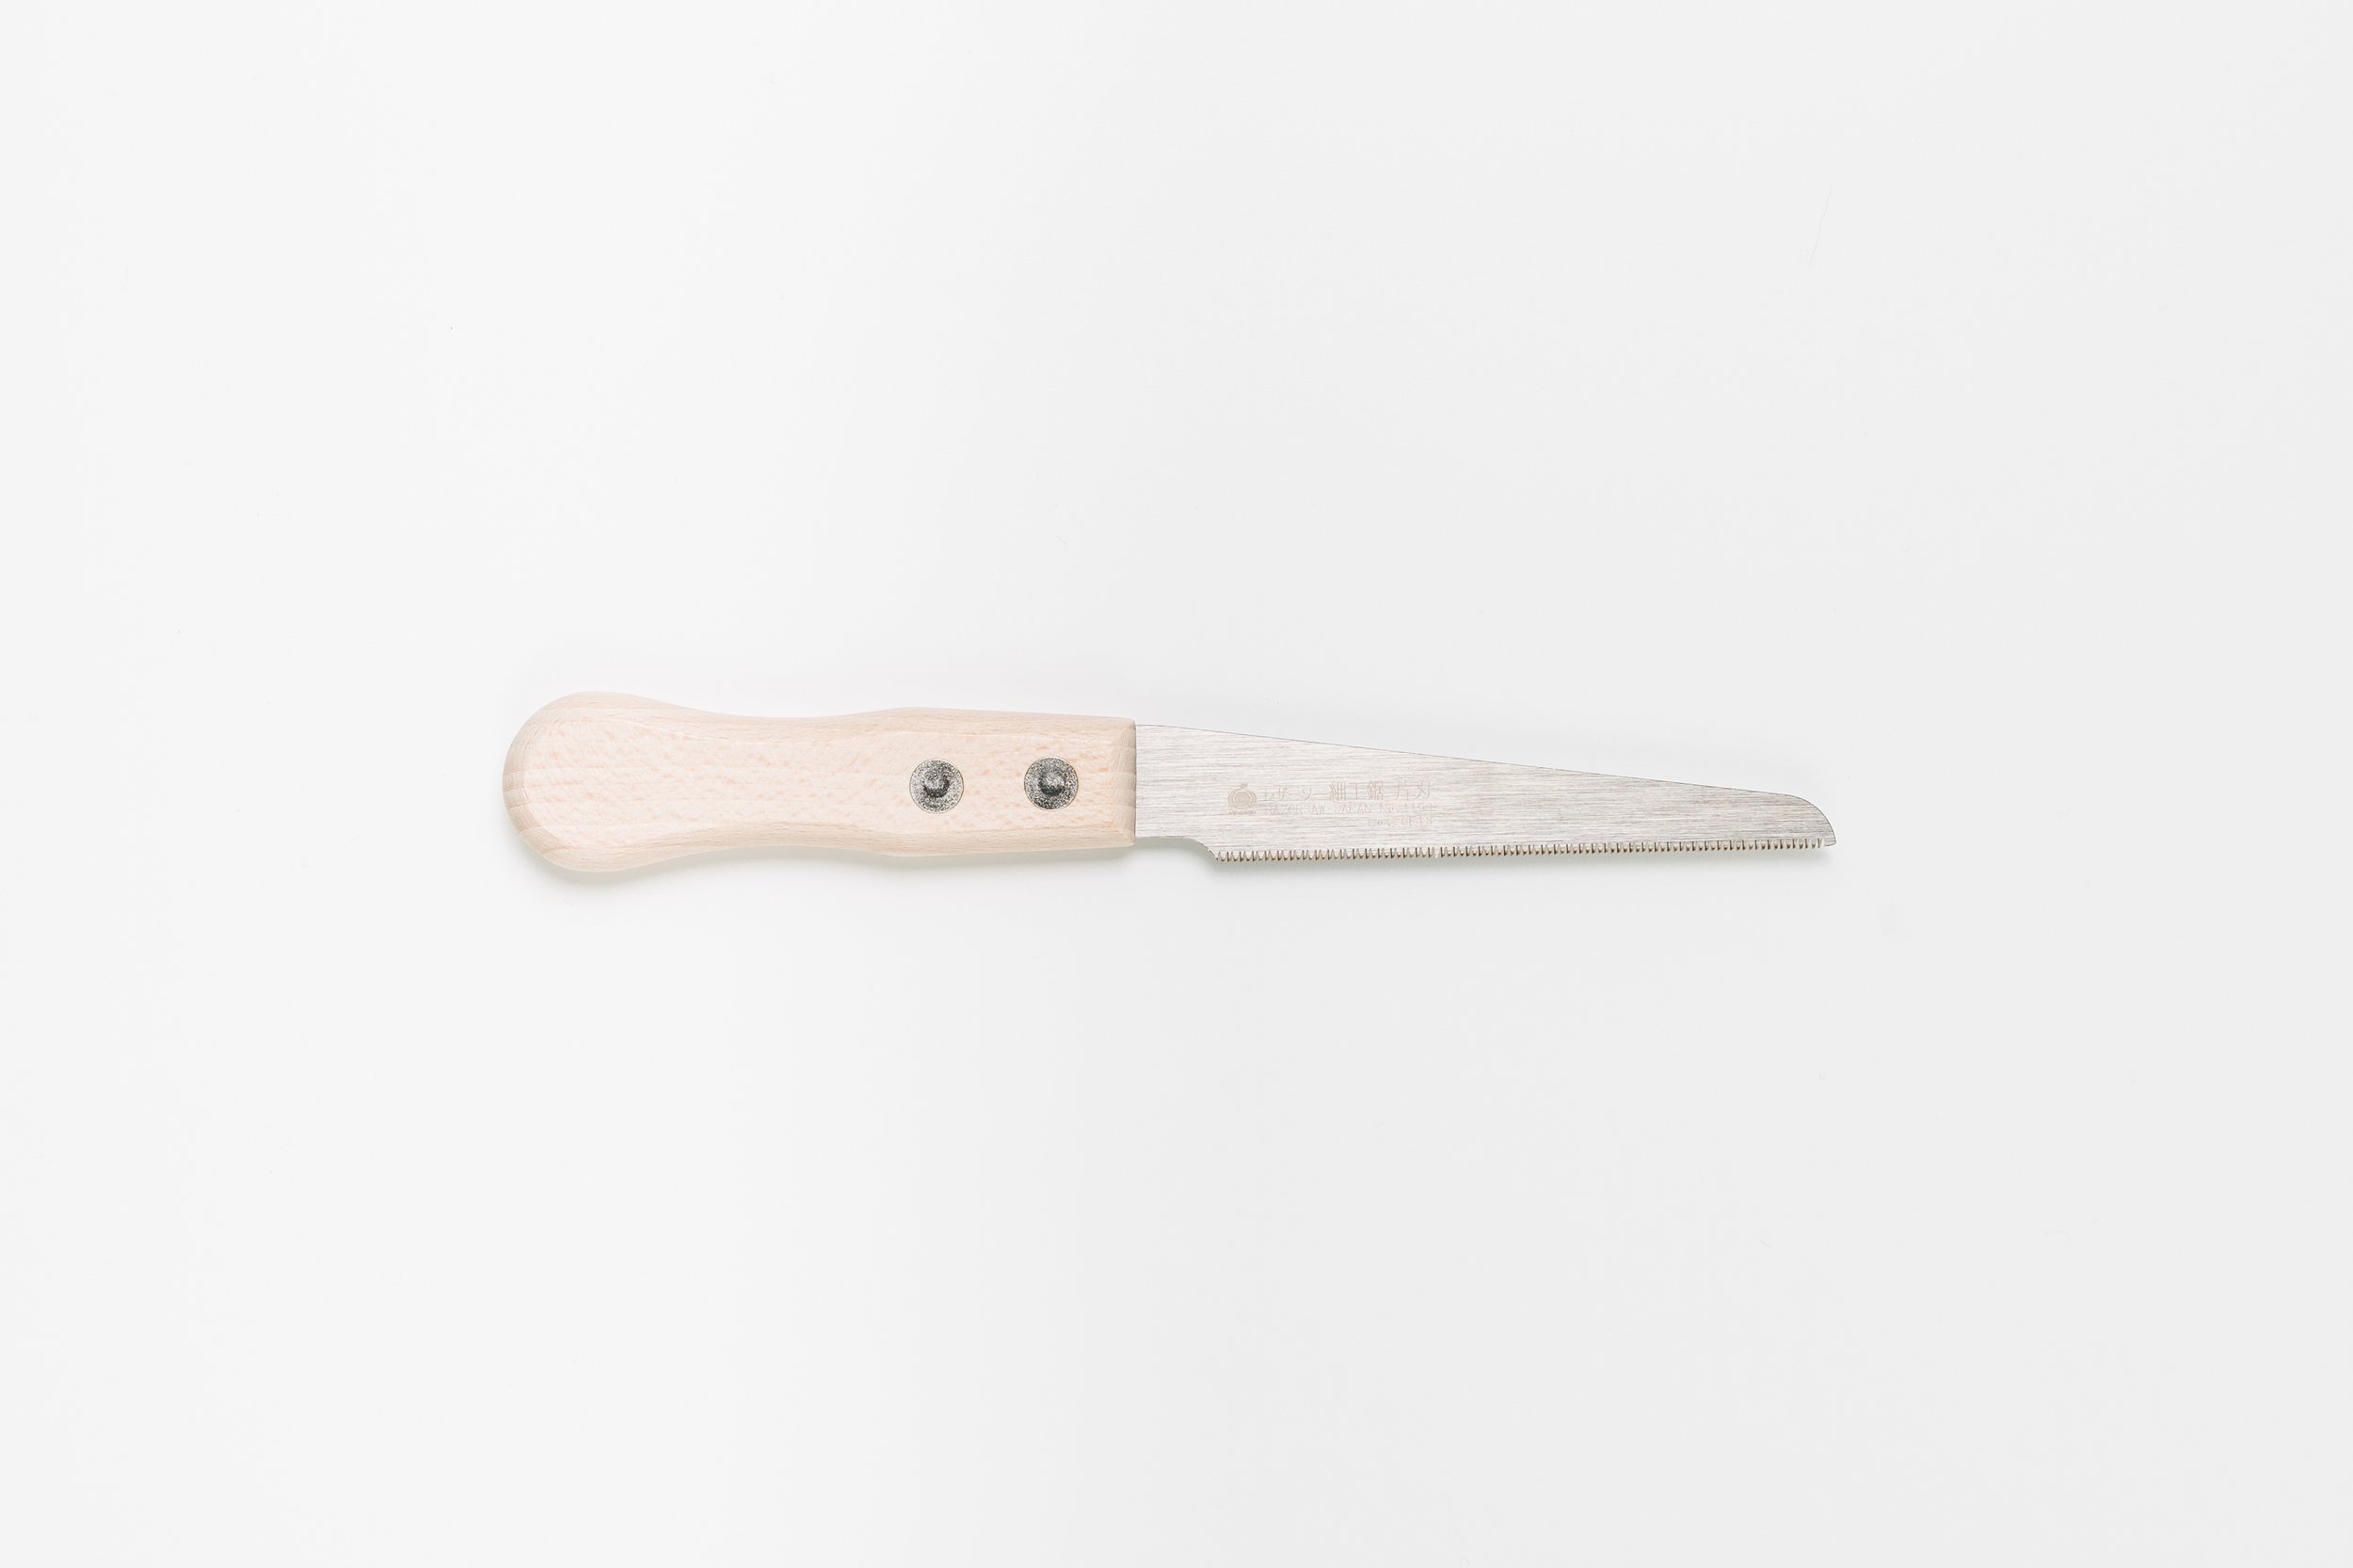
Clamp the wood to your work surface with the fork prongs hanging off the edge. Carefully saw along the drawn lines of the prongs; use a very delicate touch because the prongs are thin.
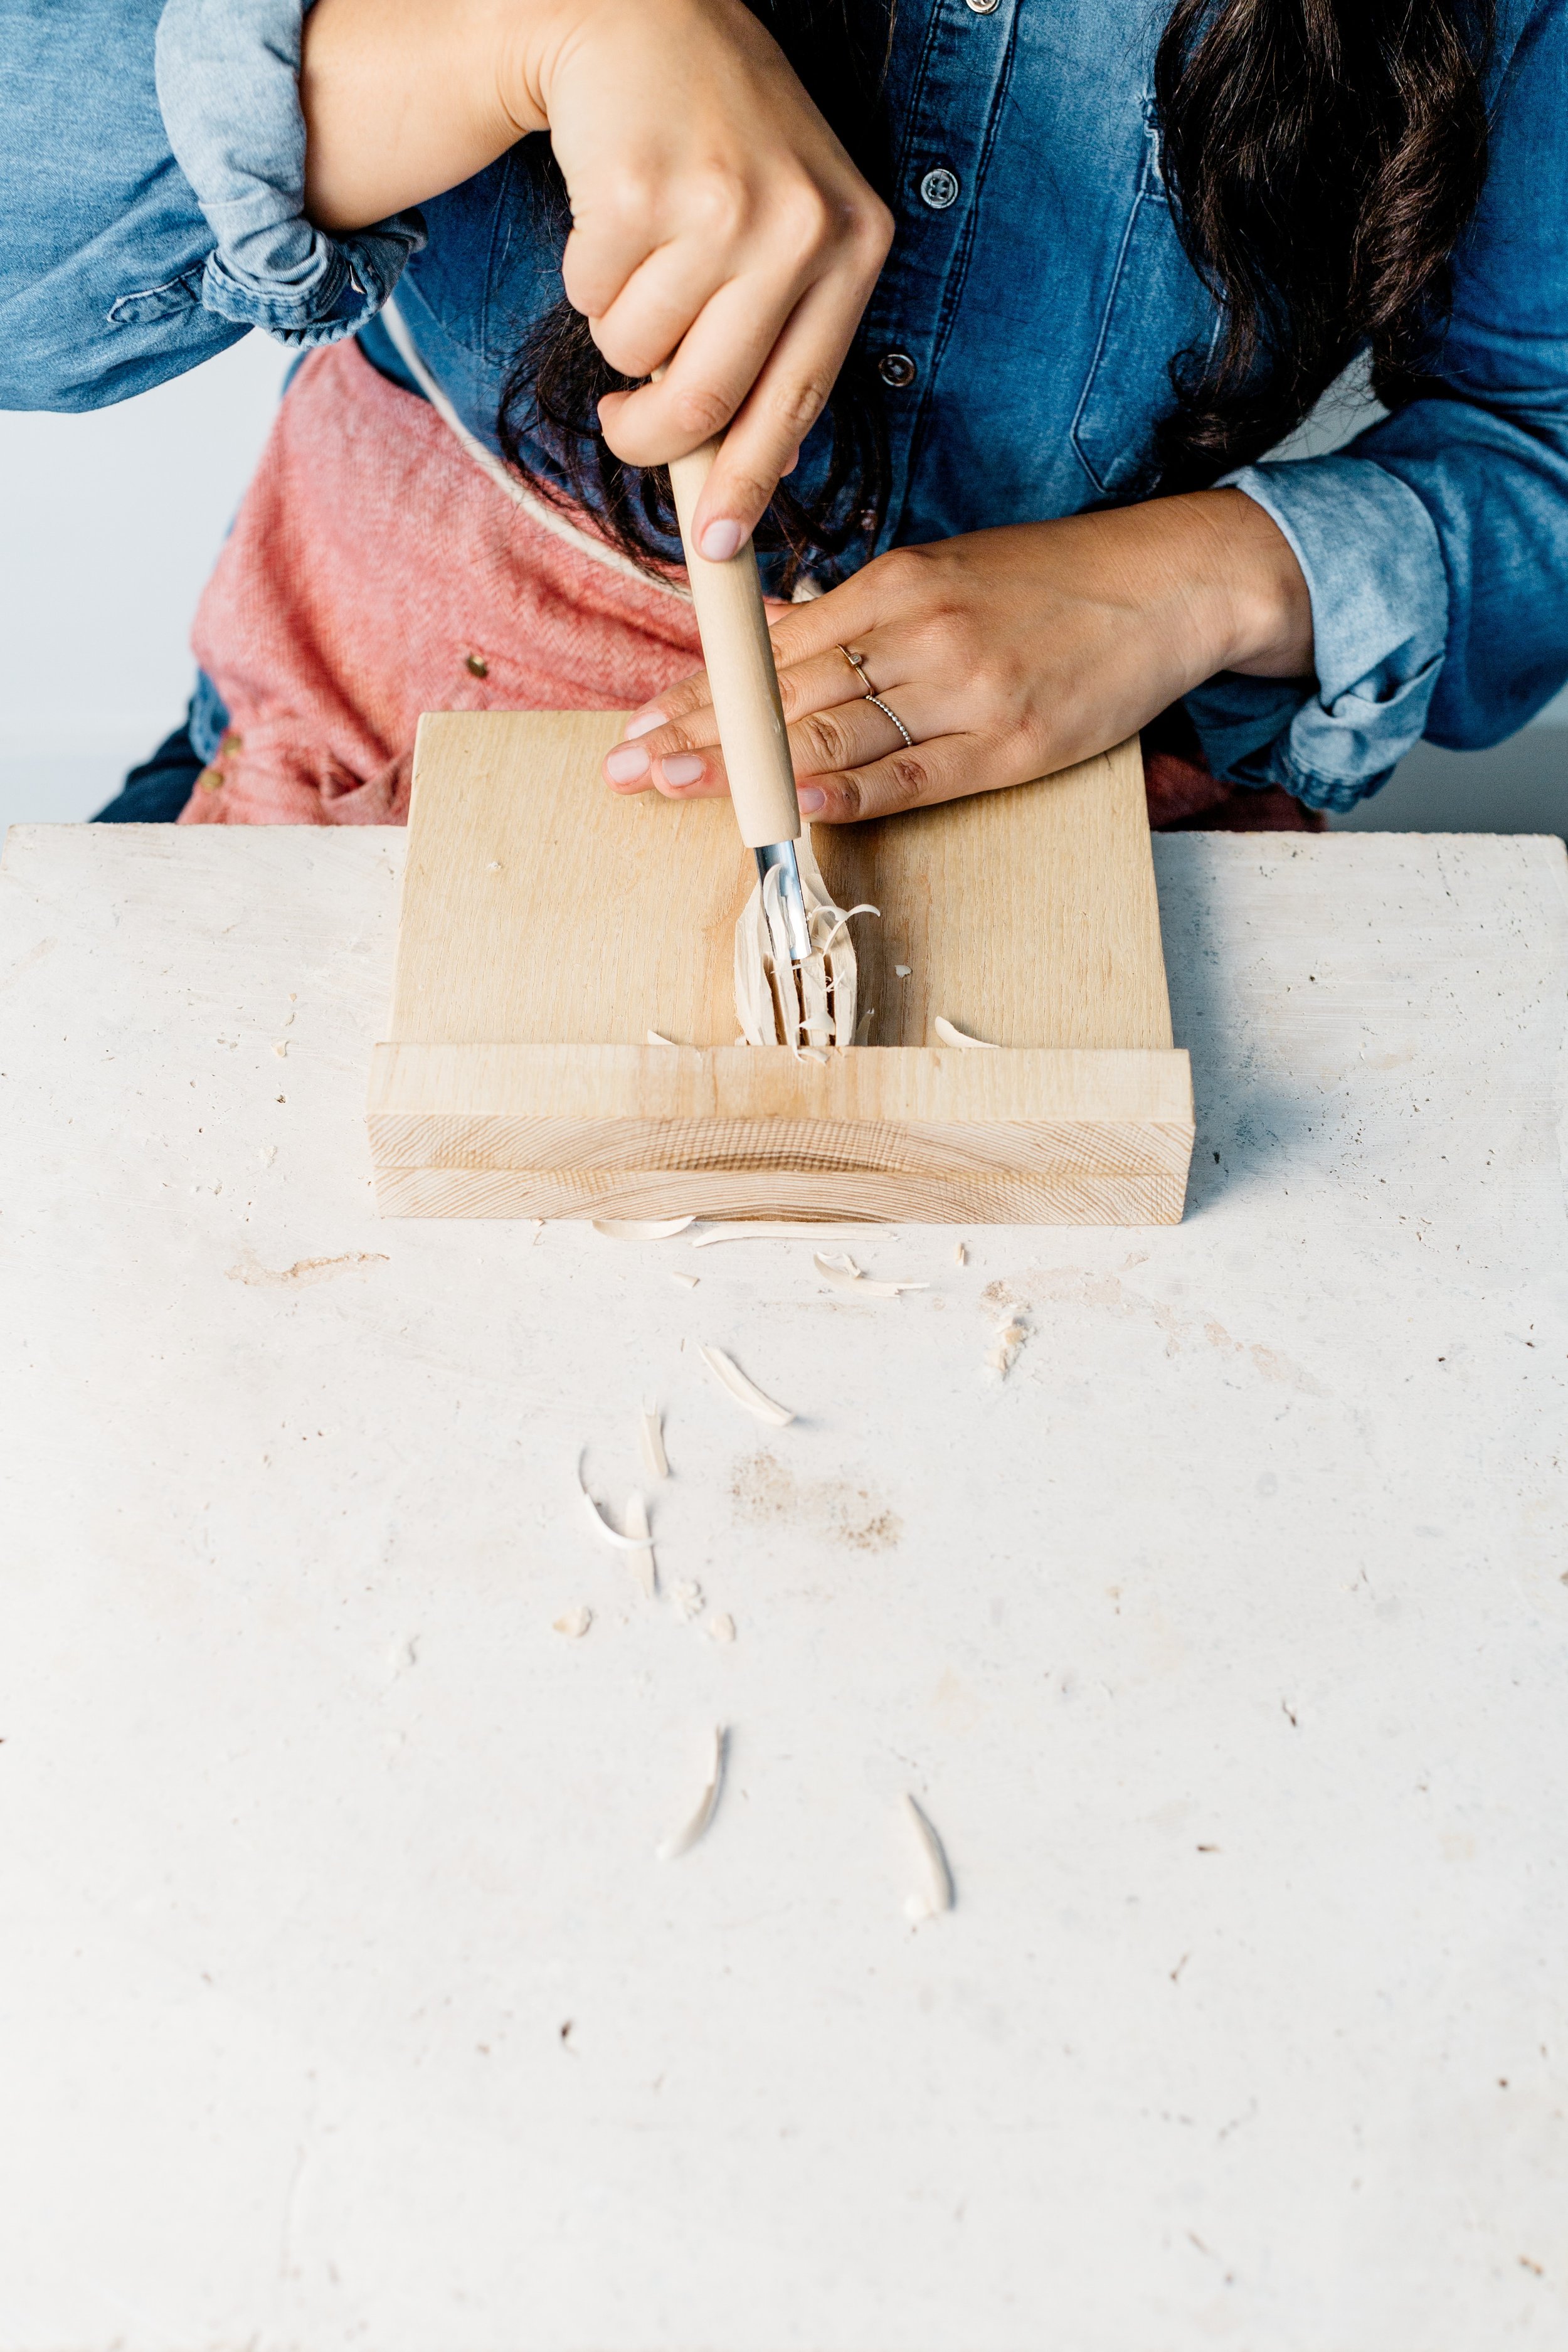
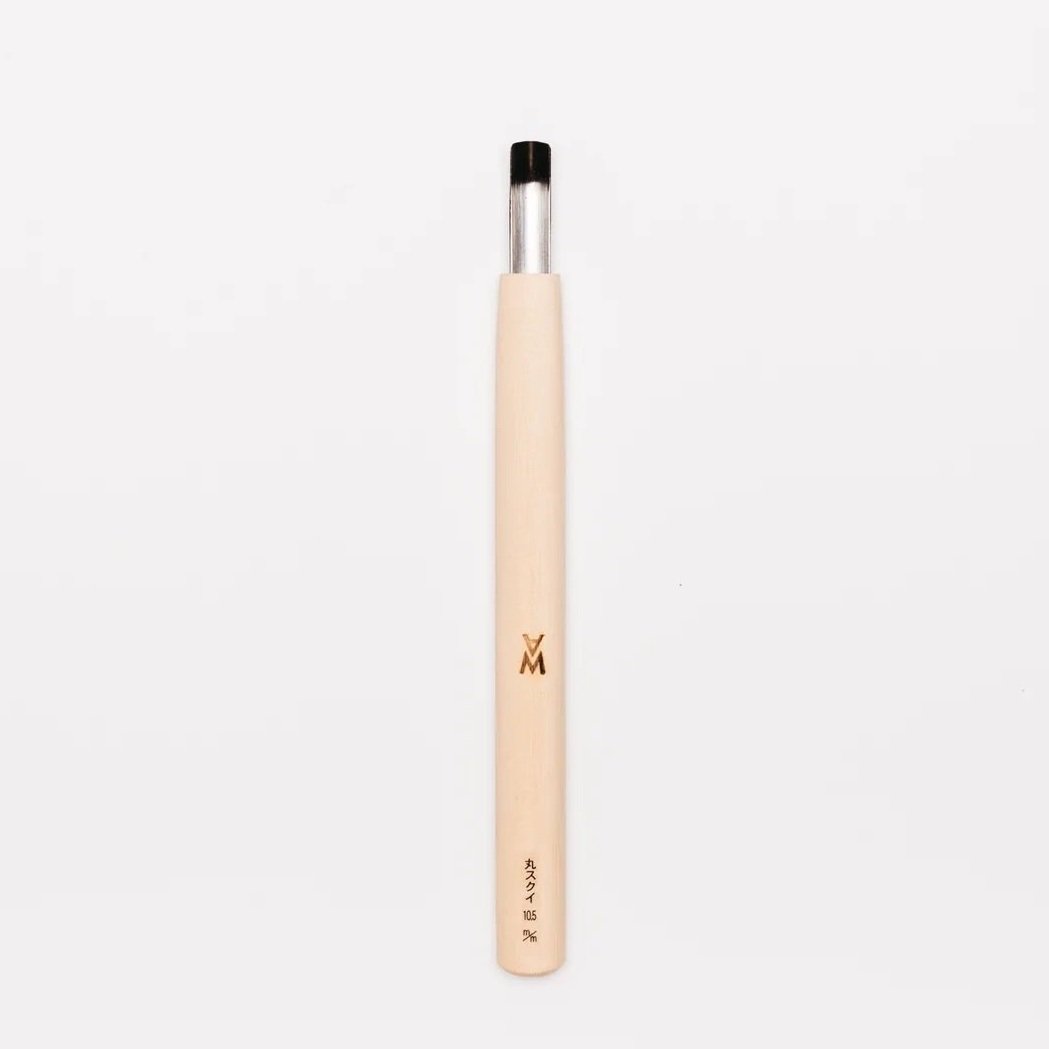
Using the spoon gouge, cut into the base of the fork's head to give it a slight scoop, until it is 1/8 “ thick.
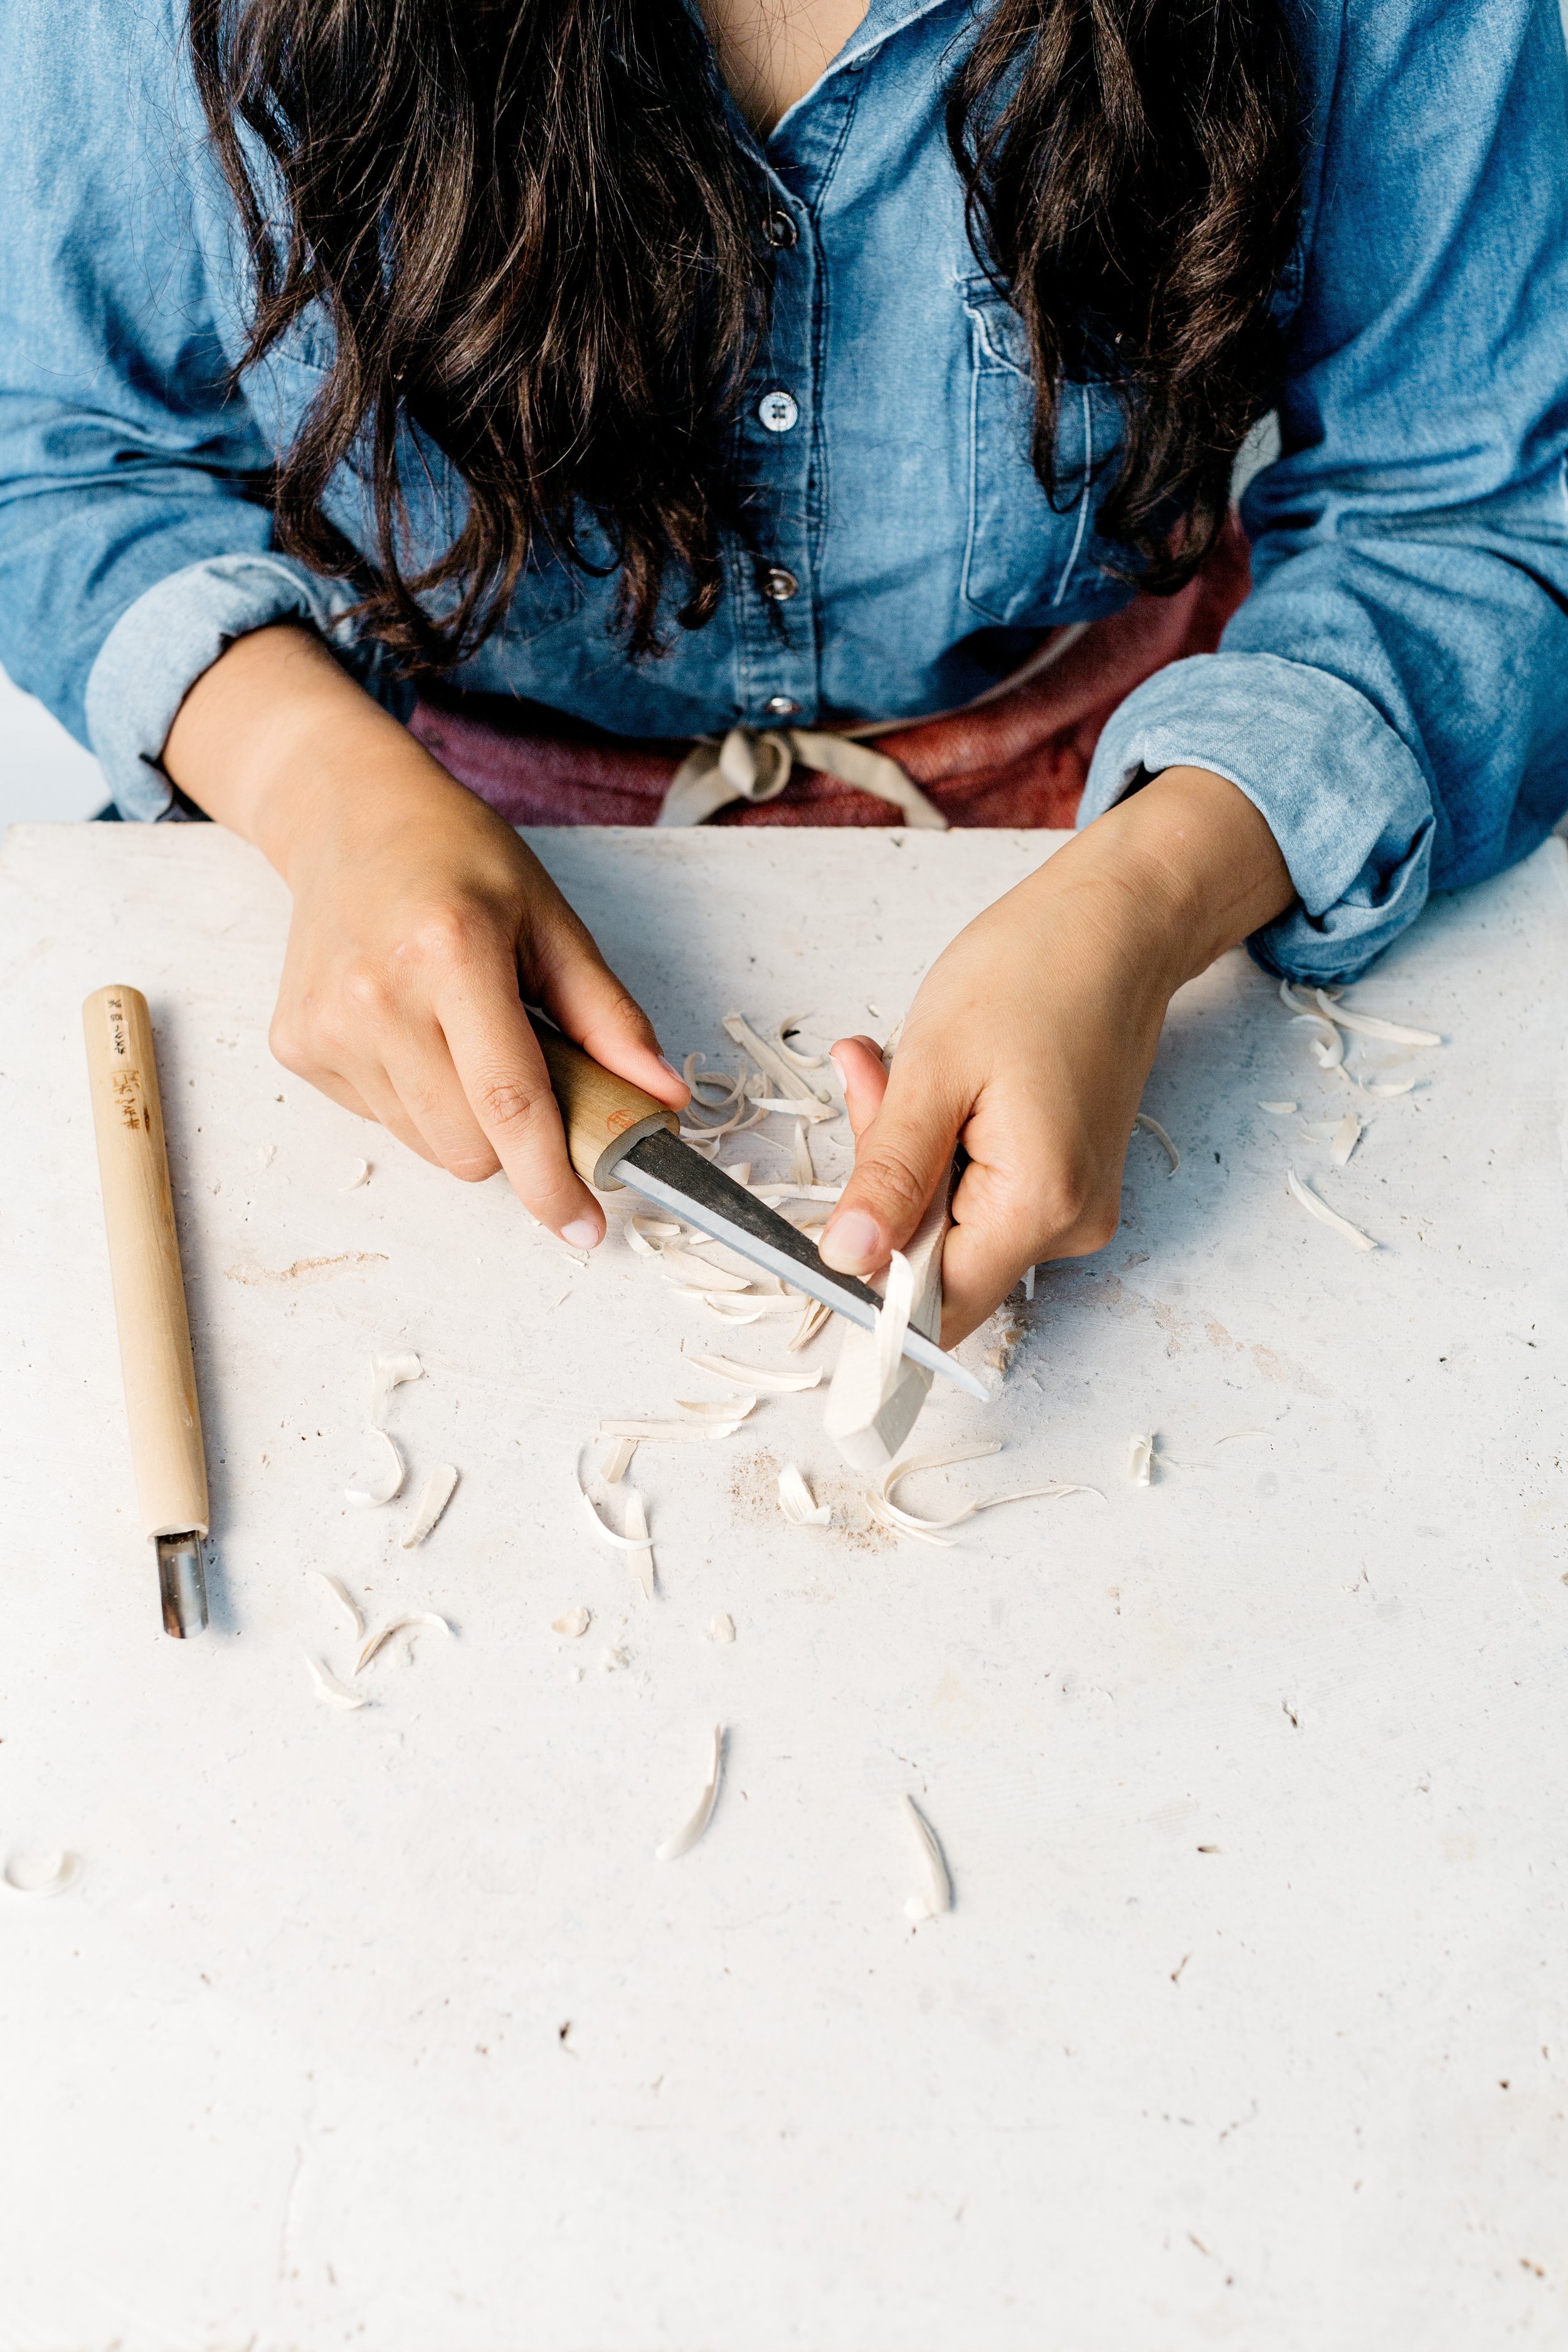
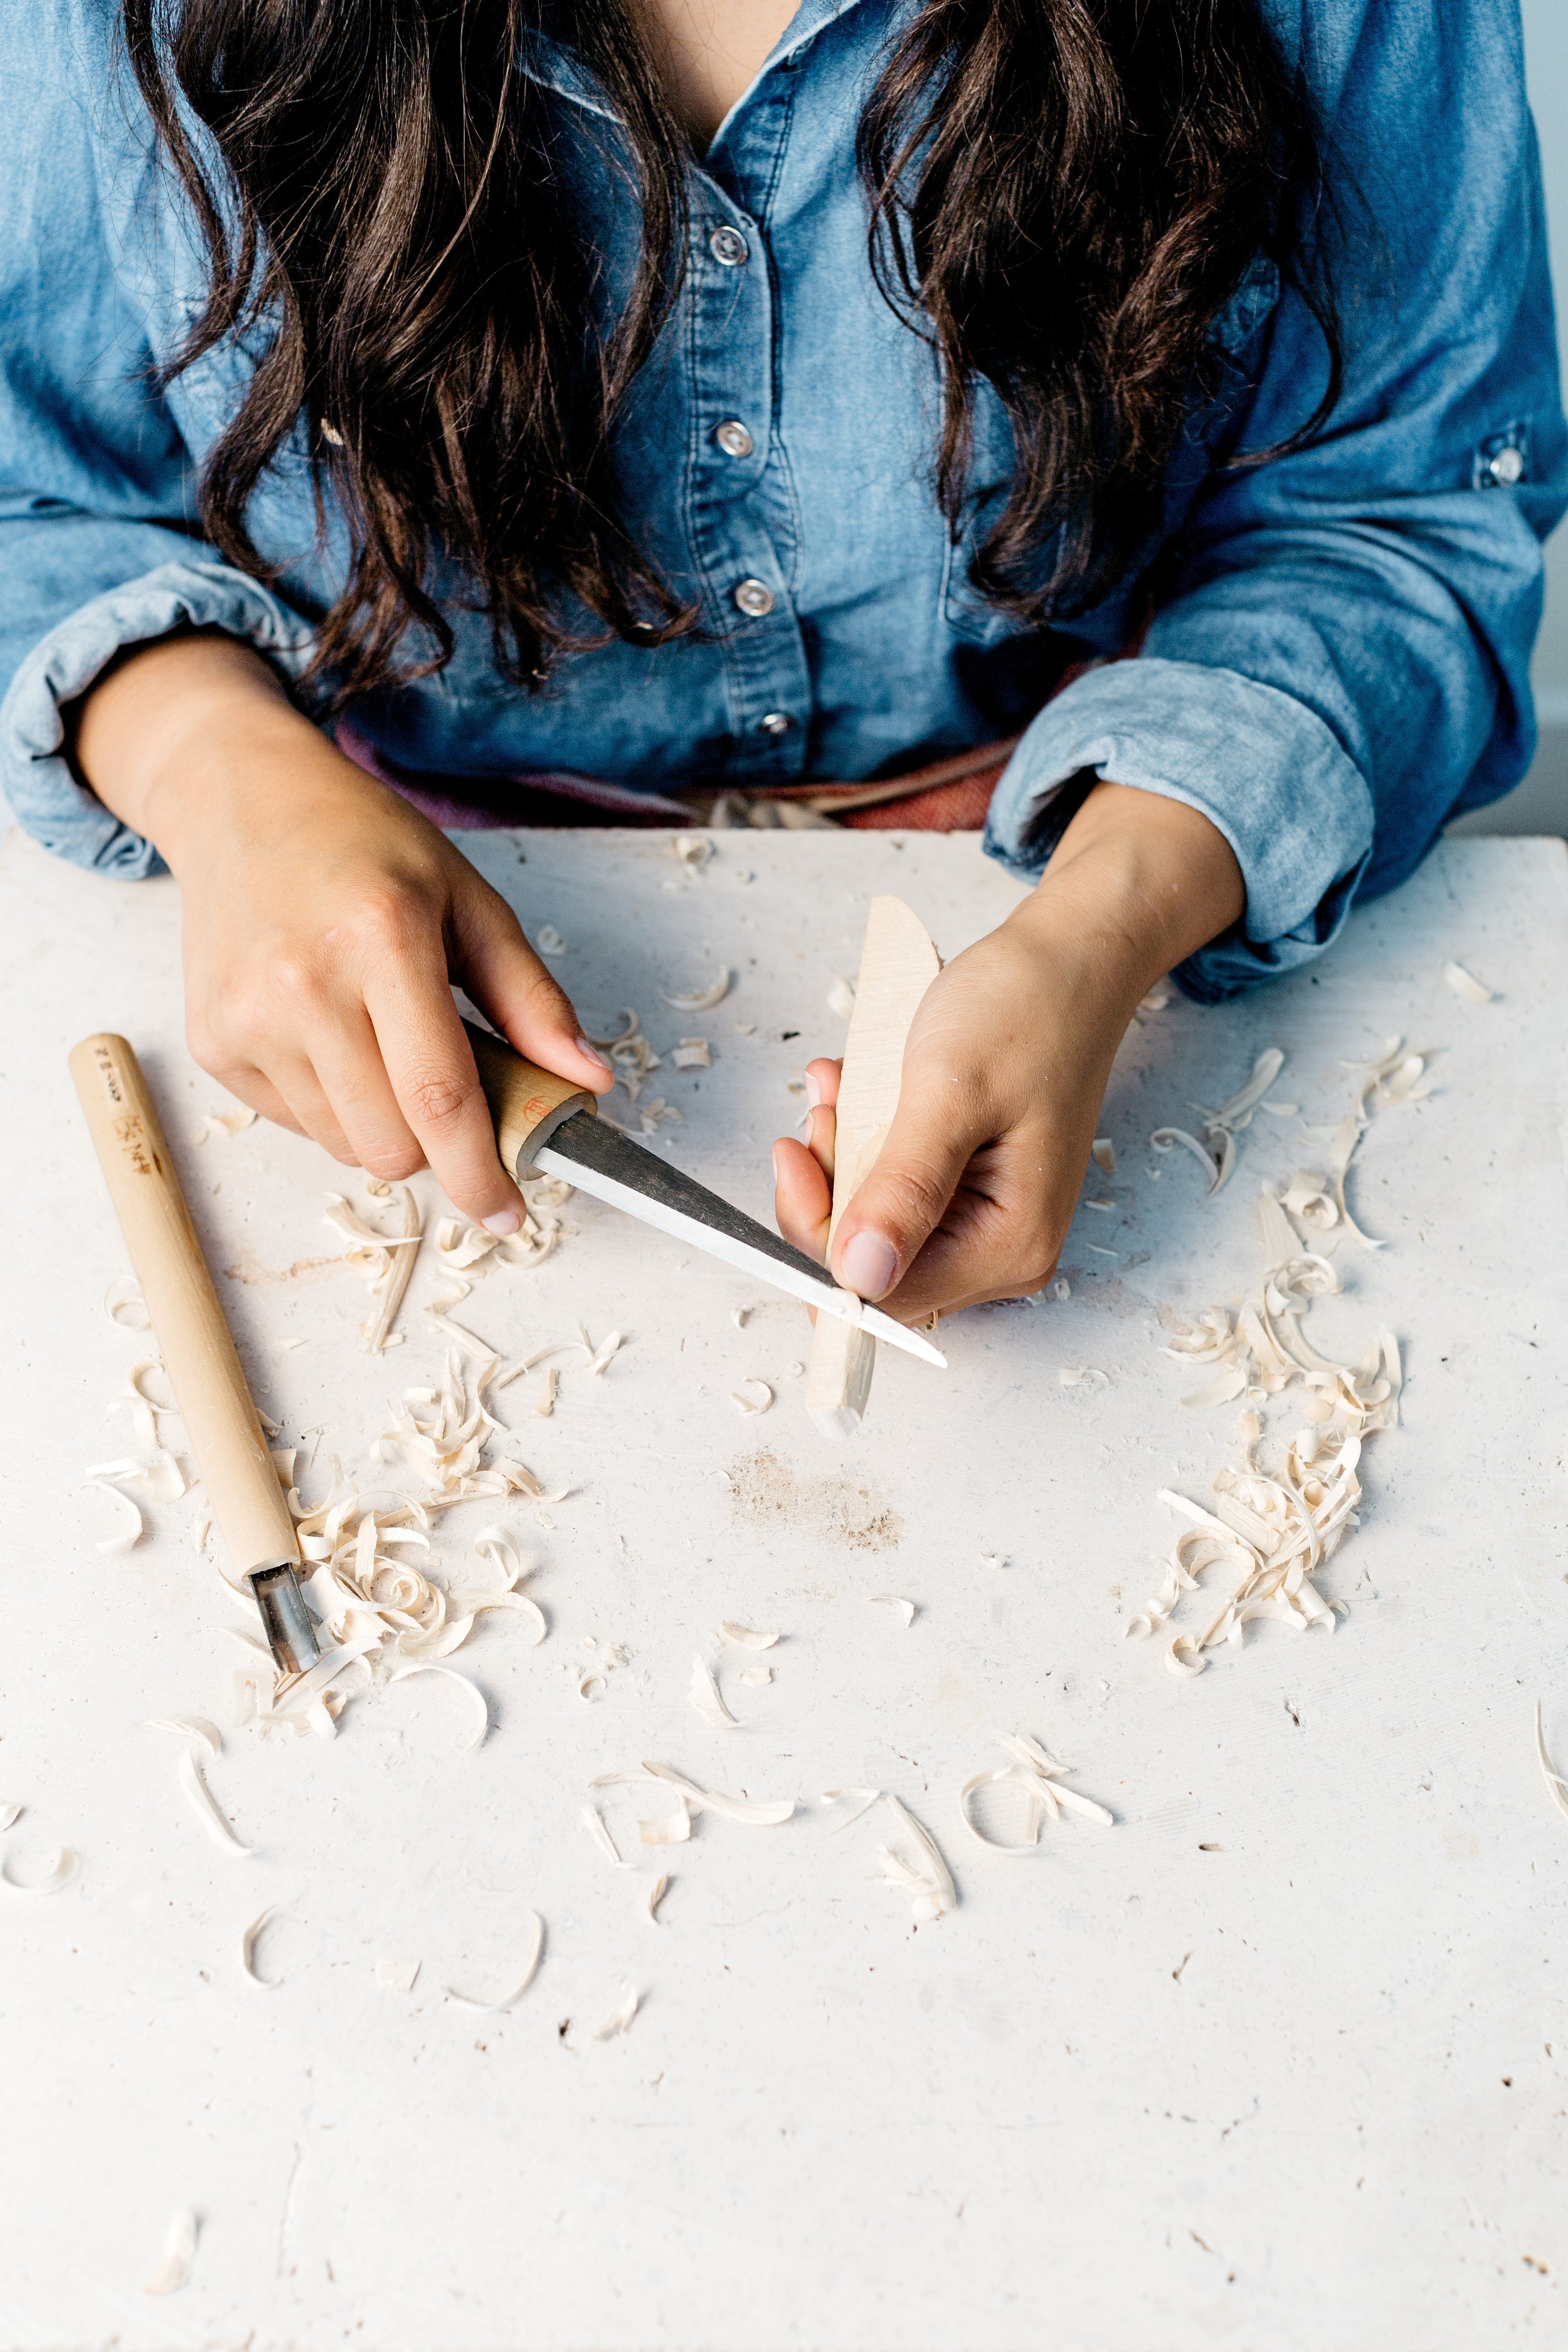
Using the carving knife, push-cut to round out the edges and end of the handle. Refine the transition from the handle to the head so it tapers.
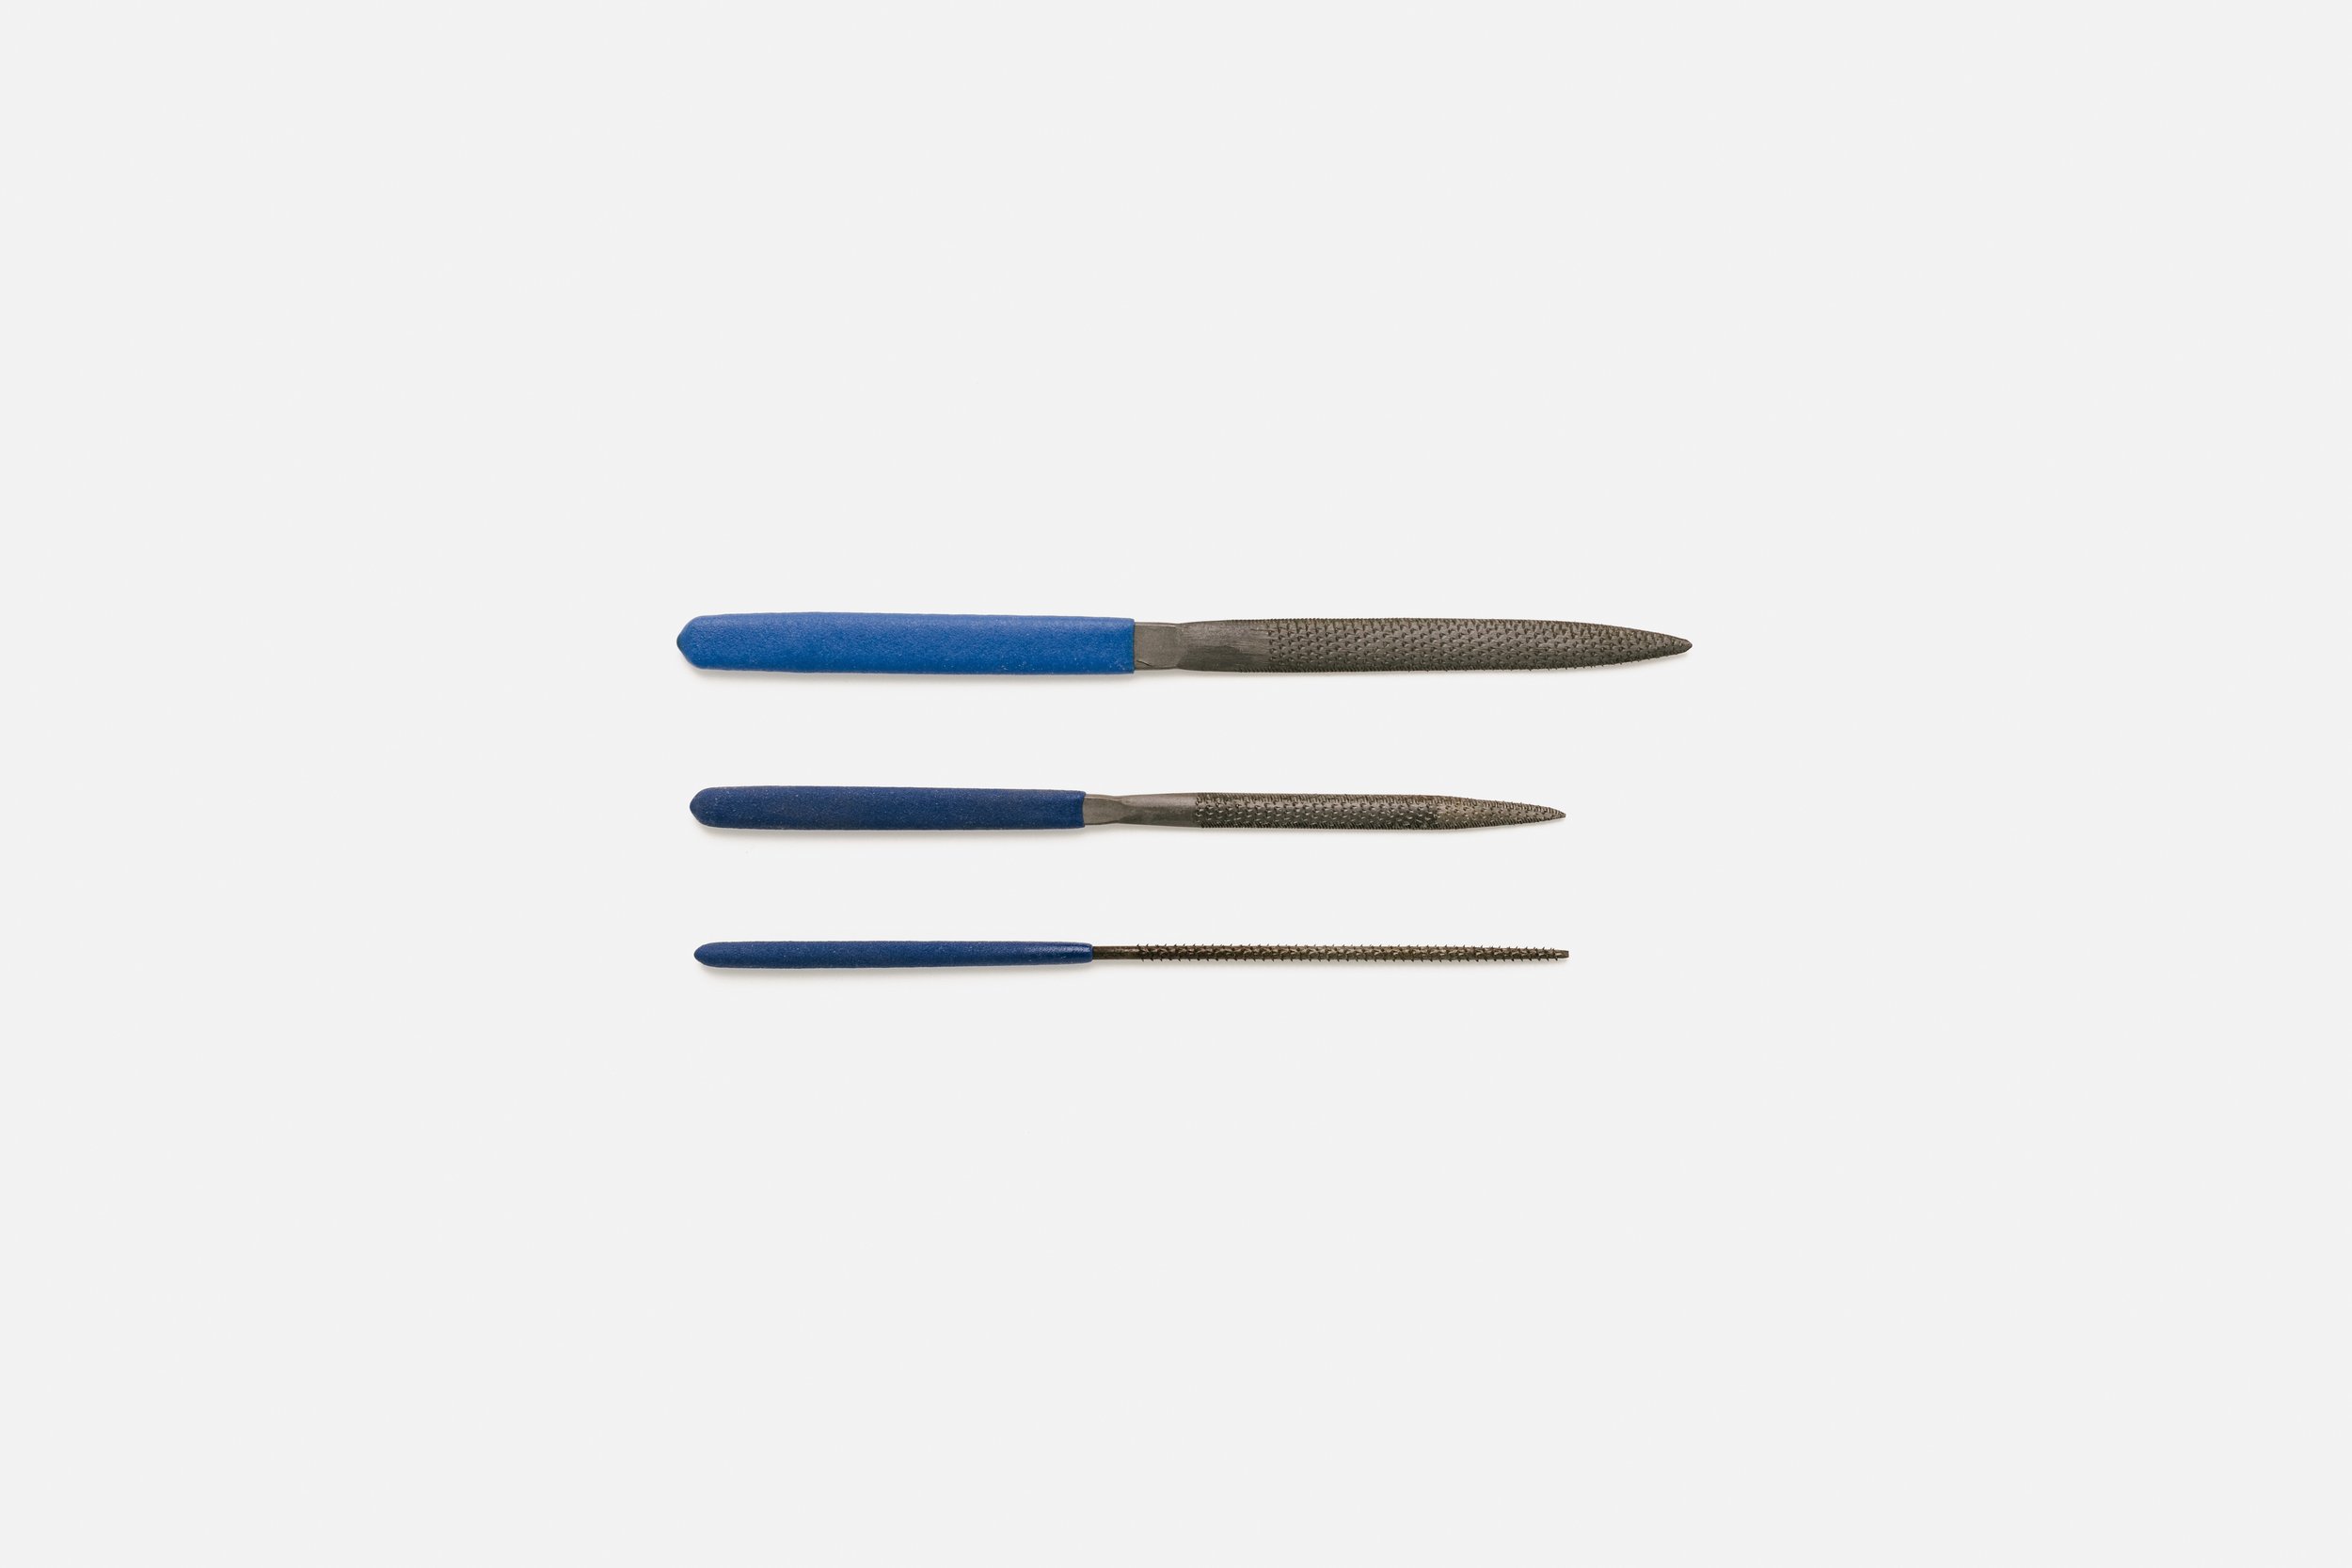
Using the very tip of the knife, carefully push-cut between the prongs of the fork to separate and round them out. Taper the end of each prong to a slight point. You can use a small flat file to get a sharper point and access the areas your knife has difficulty reaching, if desired.
STEP 3: carve the BUTTER knife
Using your carving knife, push-cut to rough out the handle.
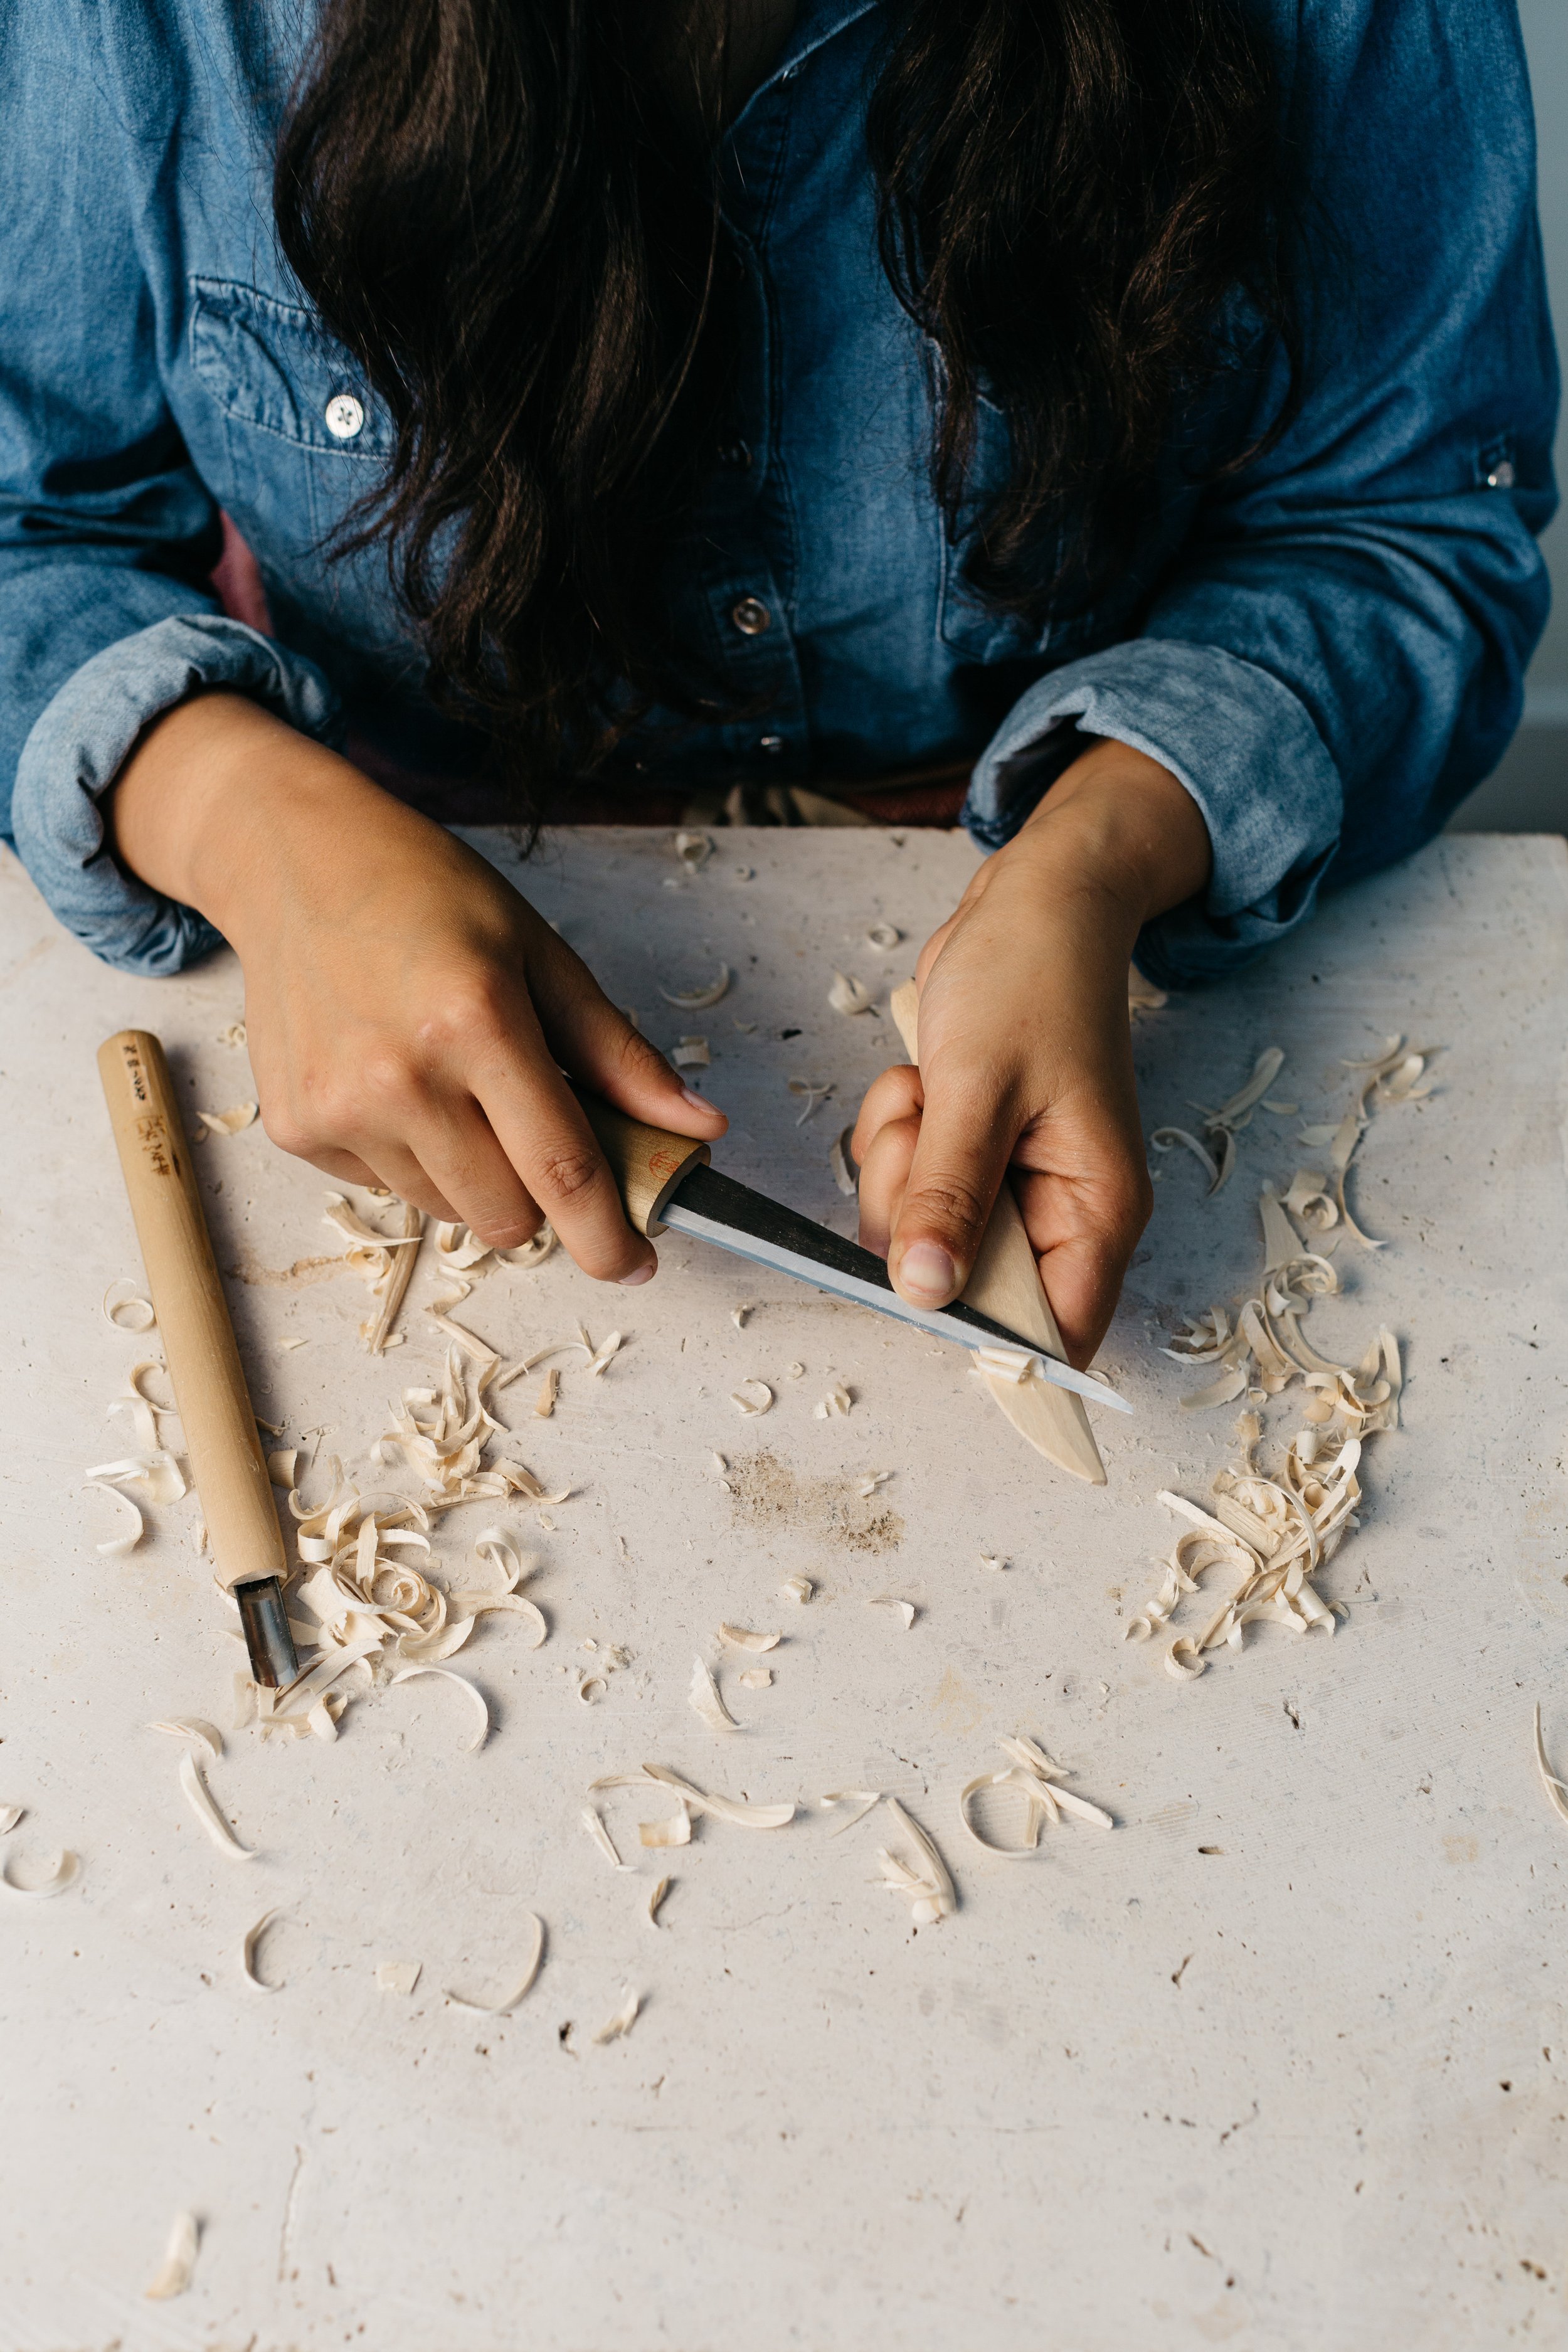
Use push cuts to taper the end of the knife so it comes to a point.
To sharpen the blade, taper it from the spine to the edge. Then run the 80-grit sandpaper along the back of the knife to give it a flat edge.
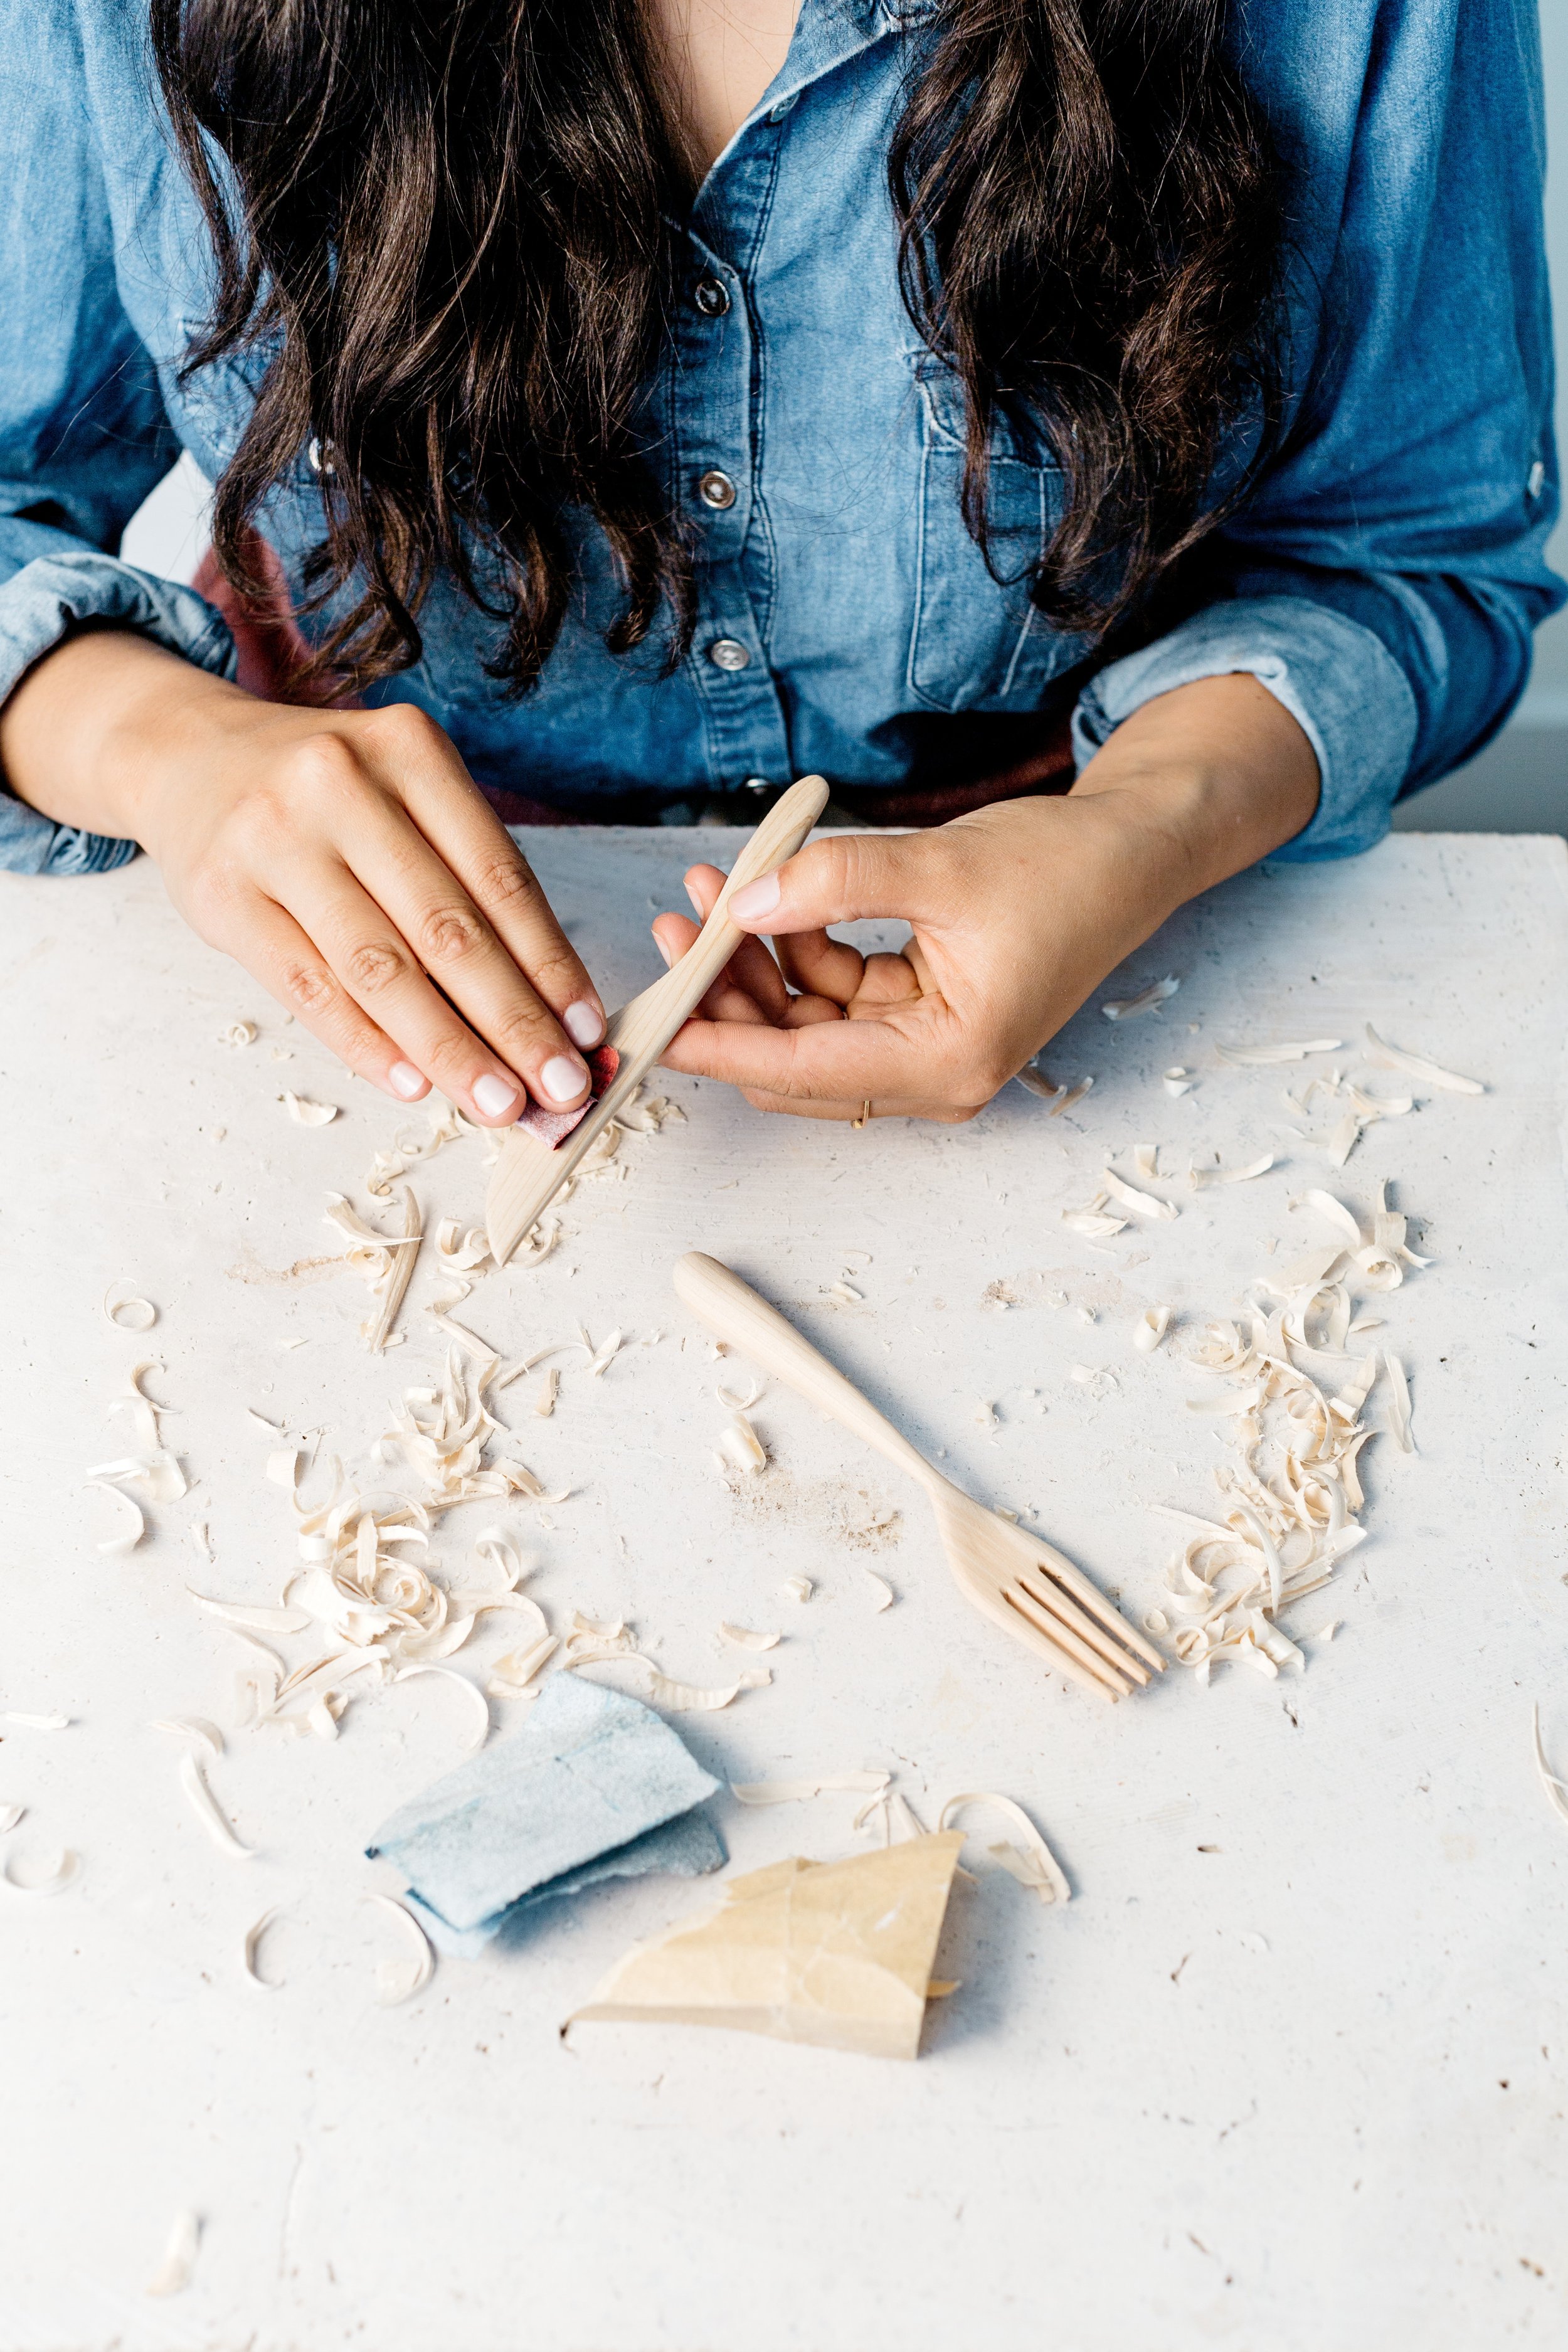
STEP 4: SAND AND FINISH
Sand the knife and fork with the grain until the wood is even and smooth. Begin sanding with 80 grit and work your way up to 150 and then 220 grit as each sandpaper dulls. Be sure to sand the prongs of the fork well, so no rough edges remain.
Use the cotton cloth to rub the utensils with a layer of mineral oil or our wood butter, letting them dry for at least 30 minutes before using.
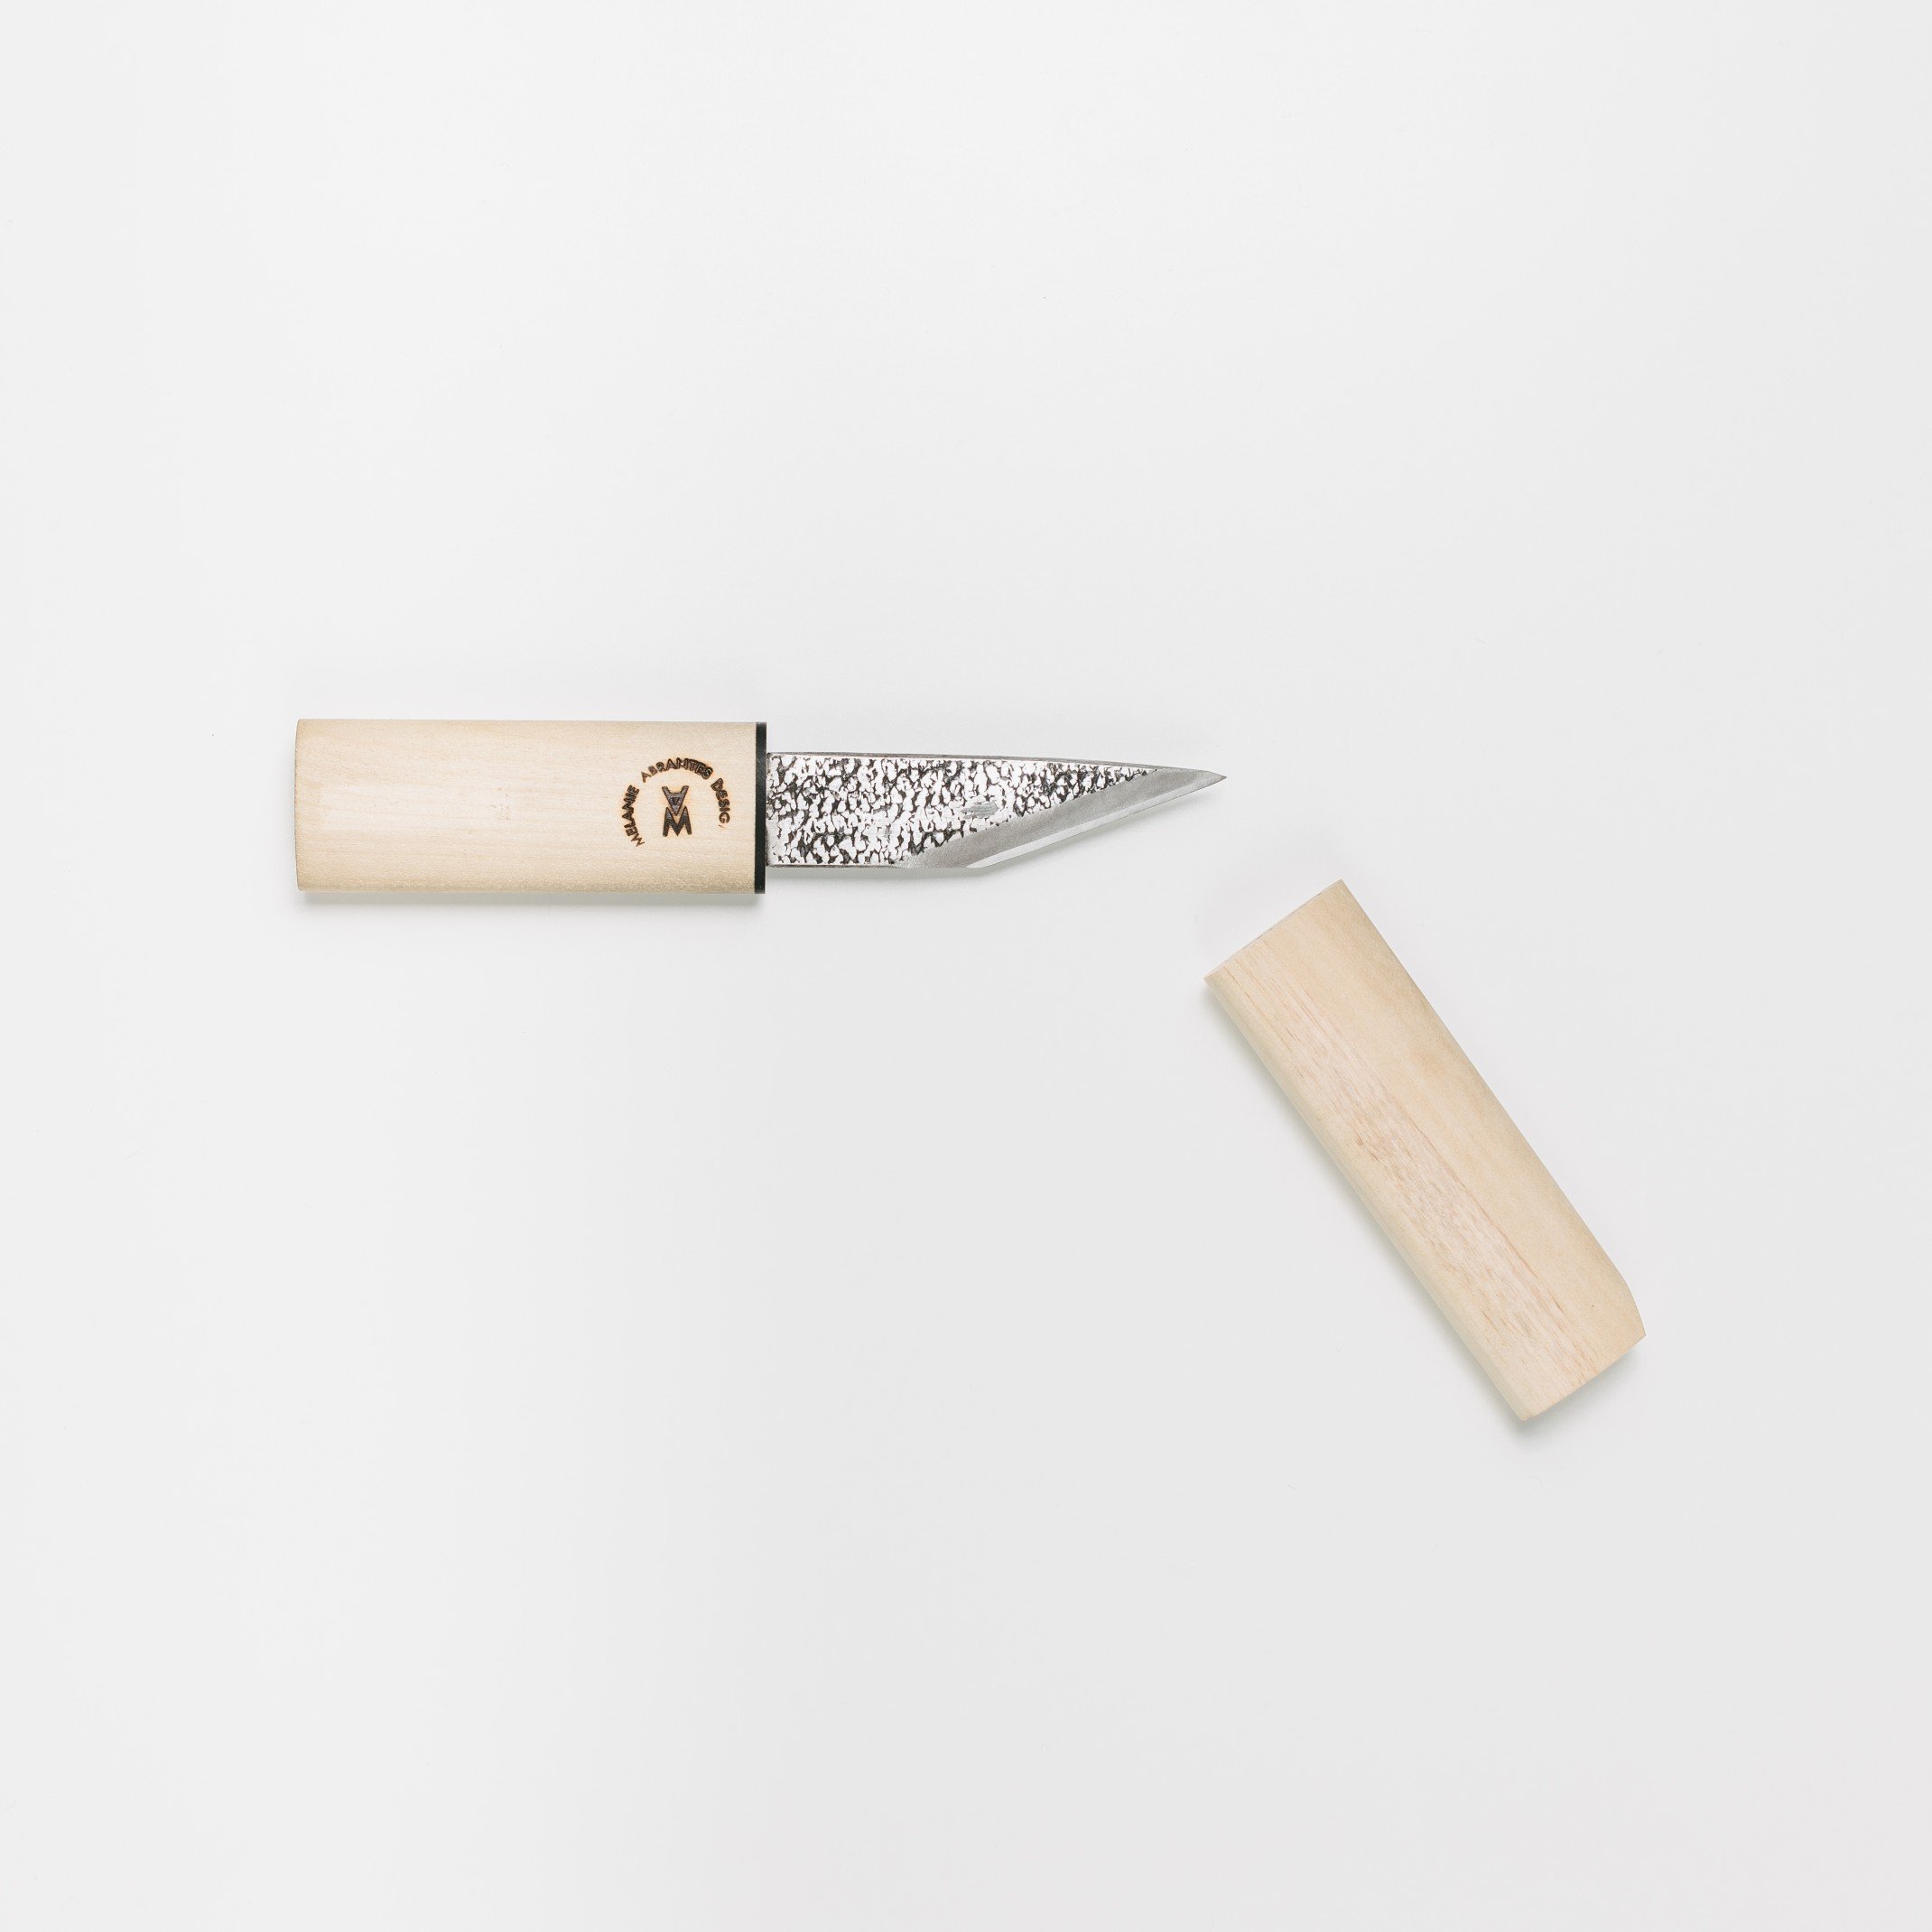
REQUIRED TOOLS
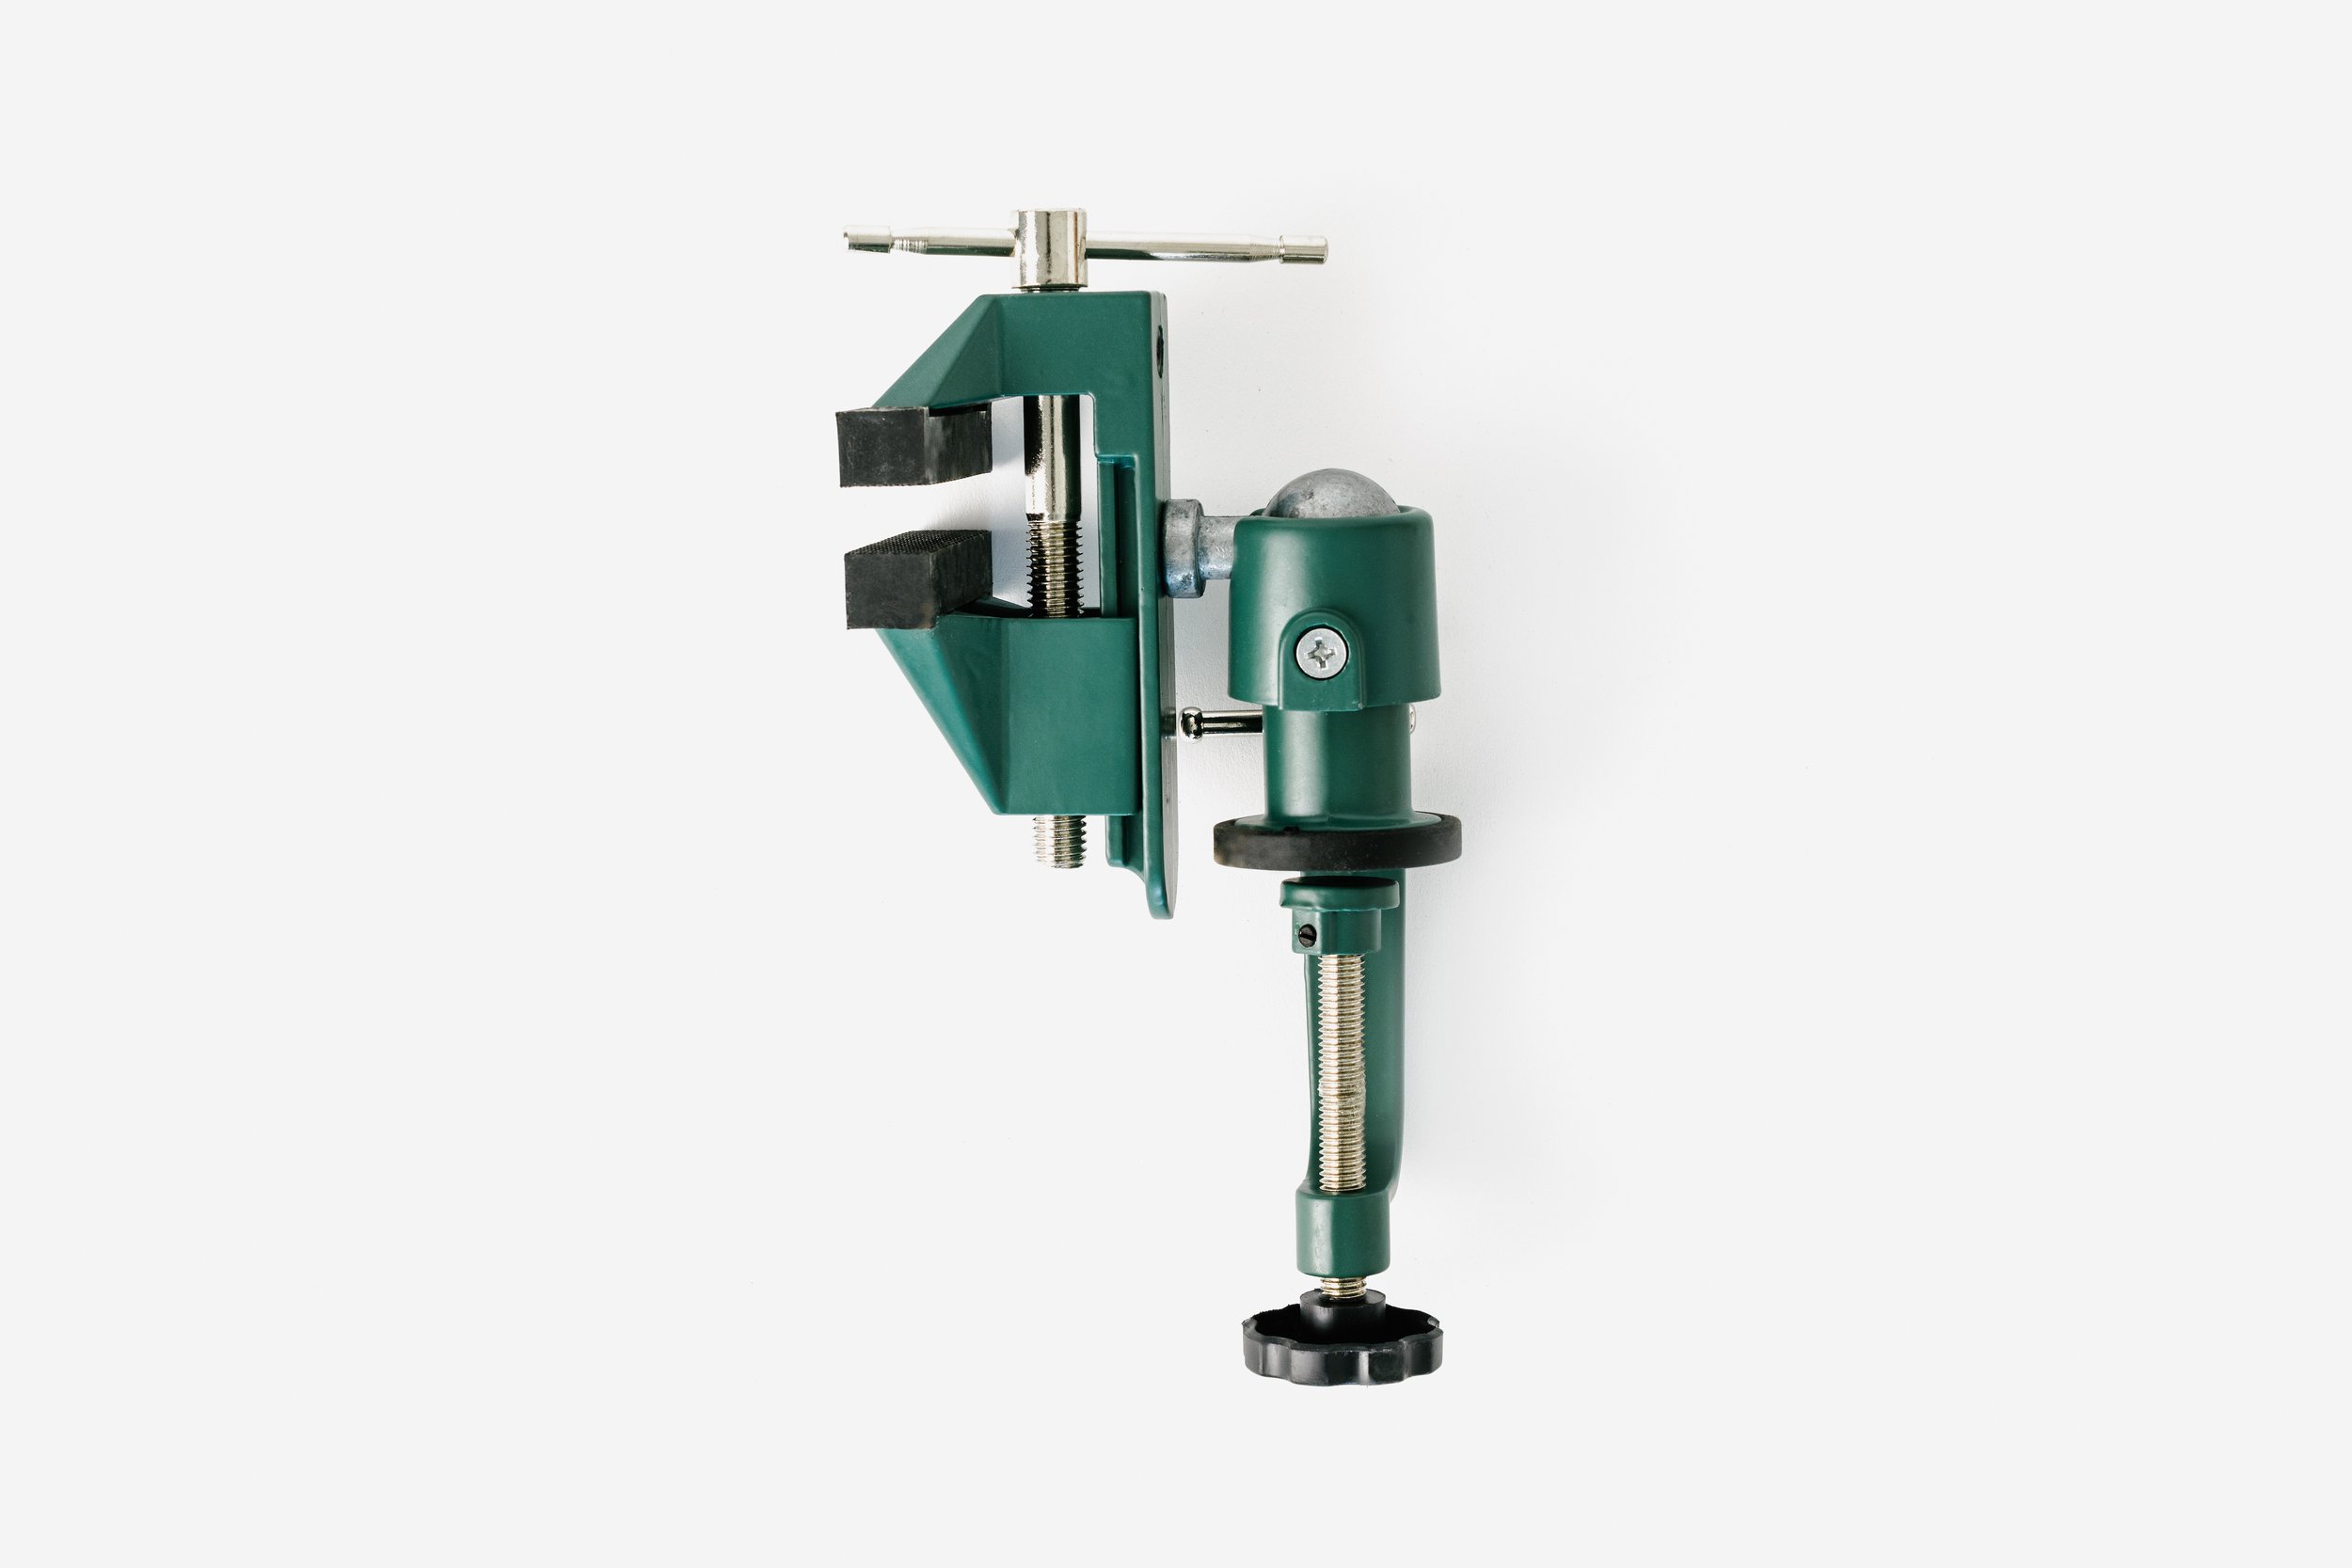
SUGGESTED TOOLS

ENJOYED THIS PROJECT?
Come carve with us IRL! Check out our class schedule and sign up here.