
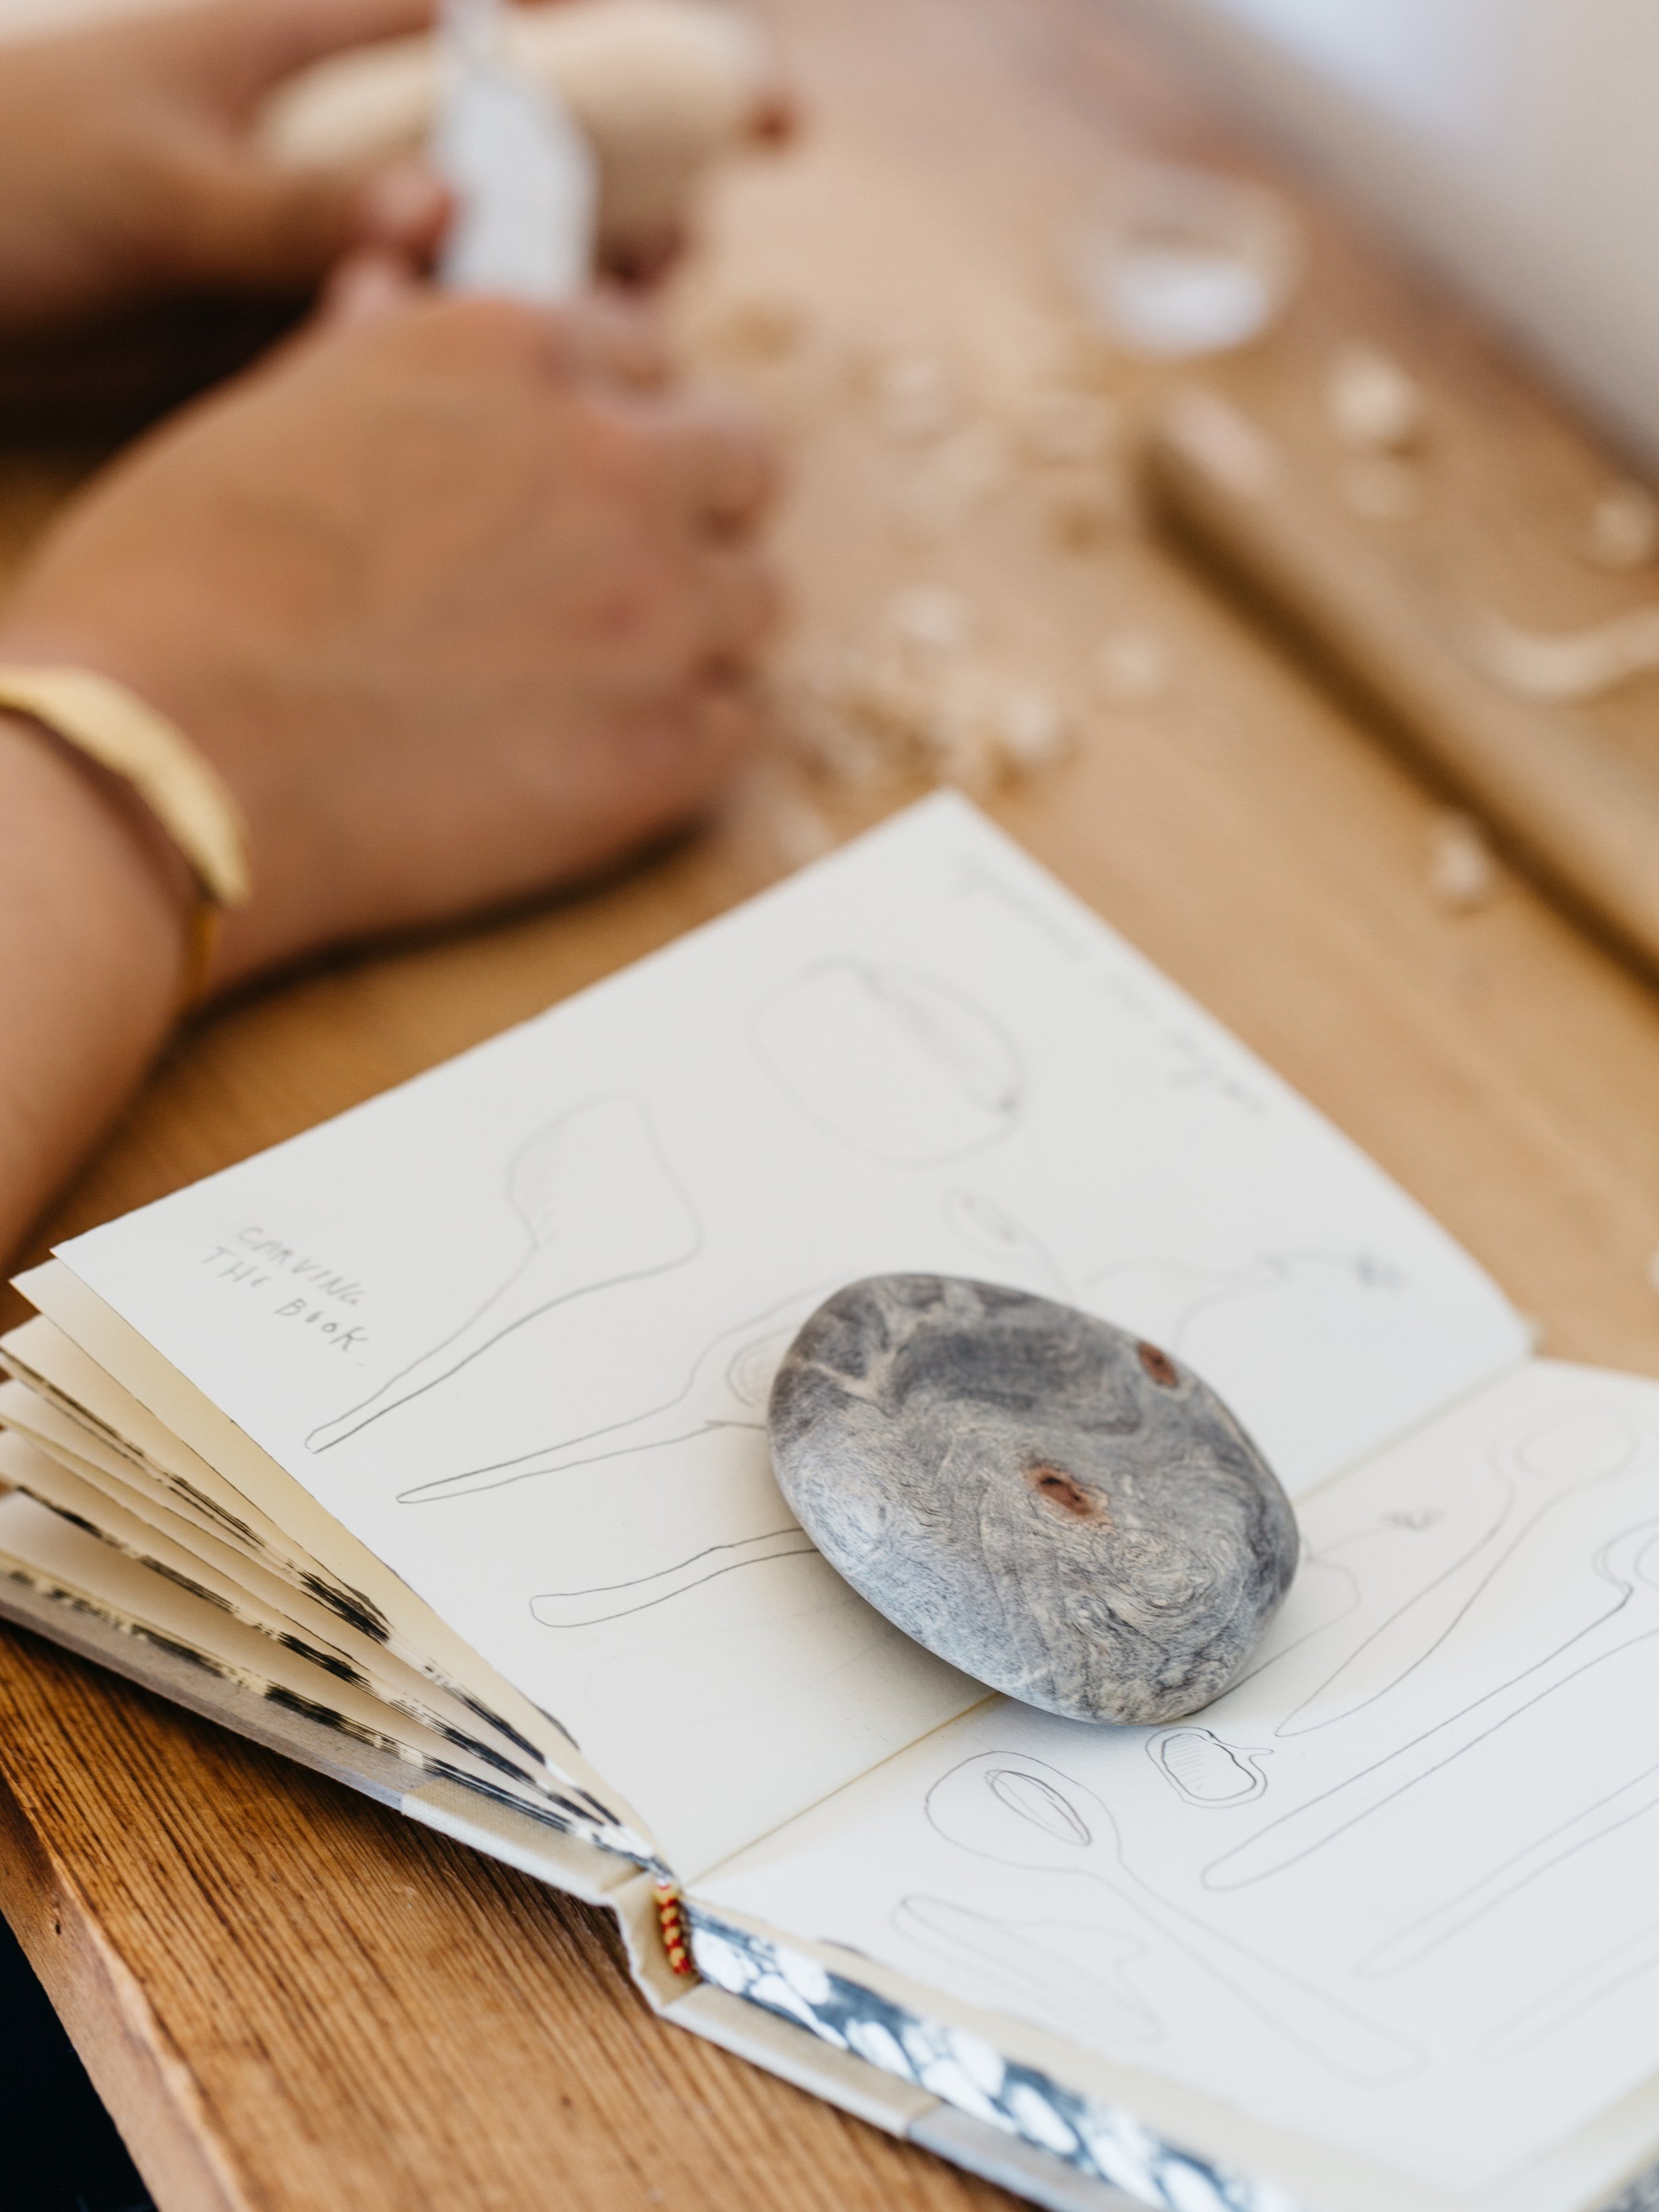
FREE DIY SERIES #6 - river stone
SAFETY TIPS:
Always keep the blade pointed away from you when carving.
Keep your tools sharp for easier and safer carving!
WARNING: Tools are extremely sharp and may cause injury. Please handle with caution.
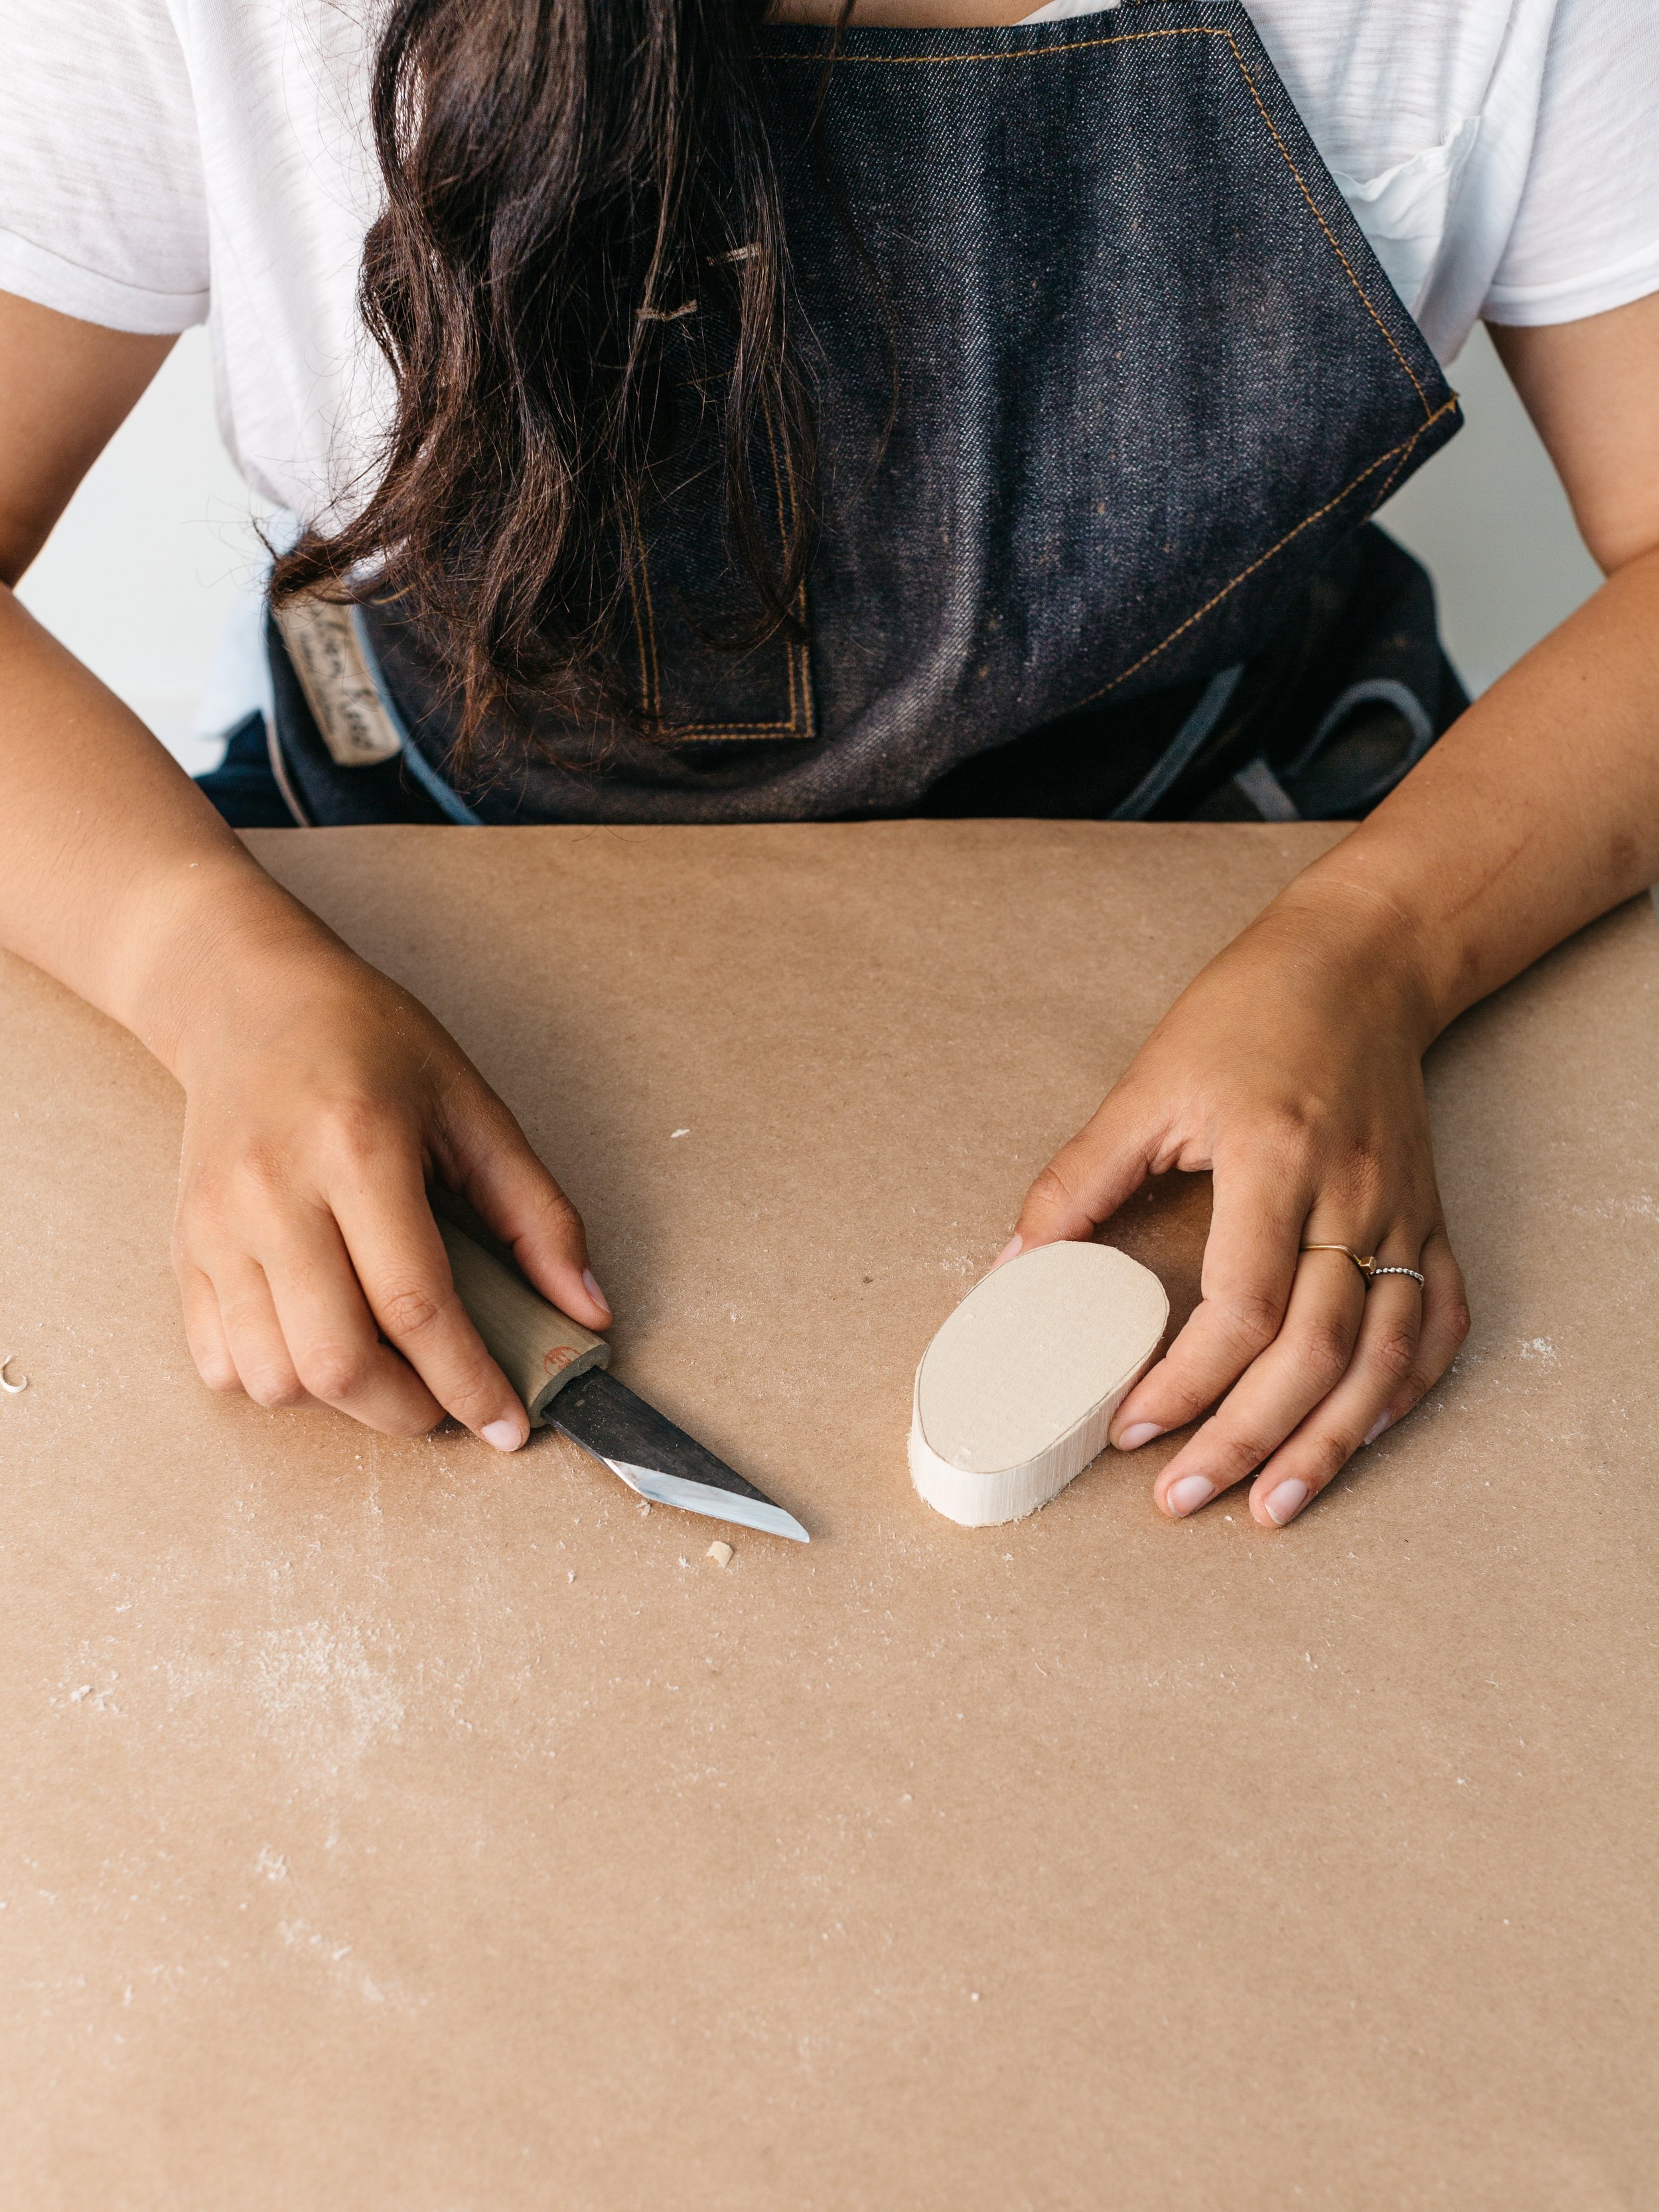
Step 1: CARVE the stone
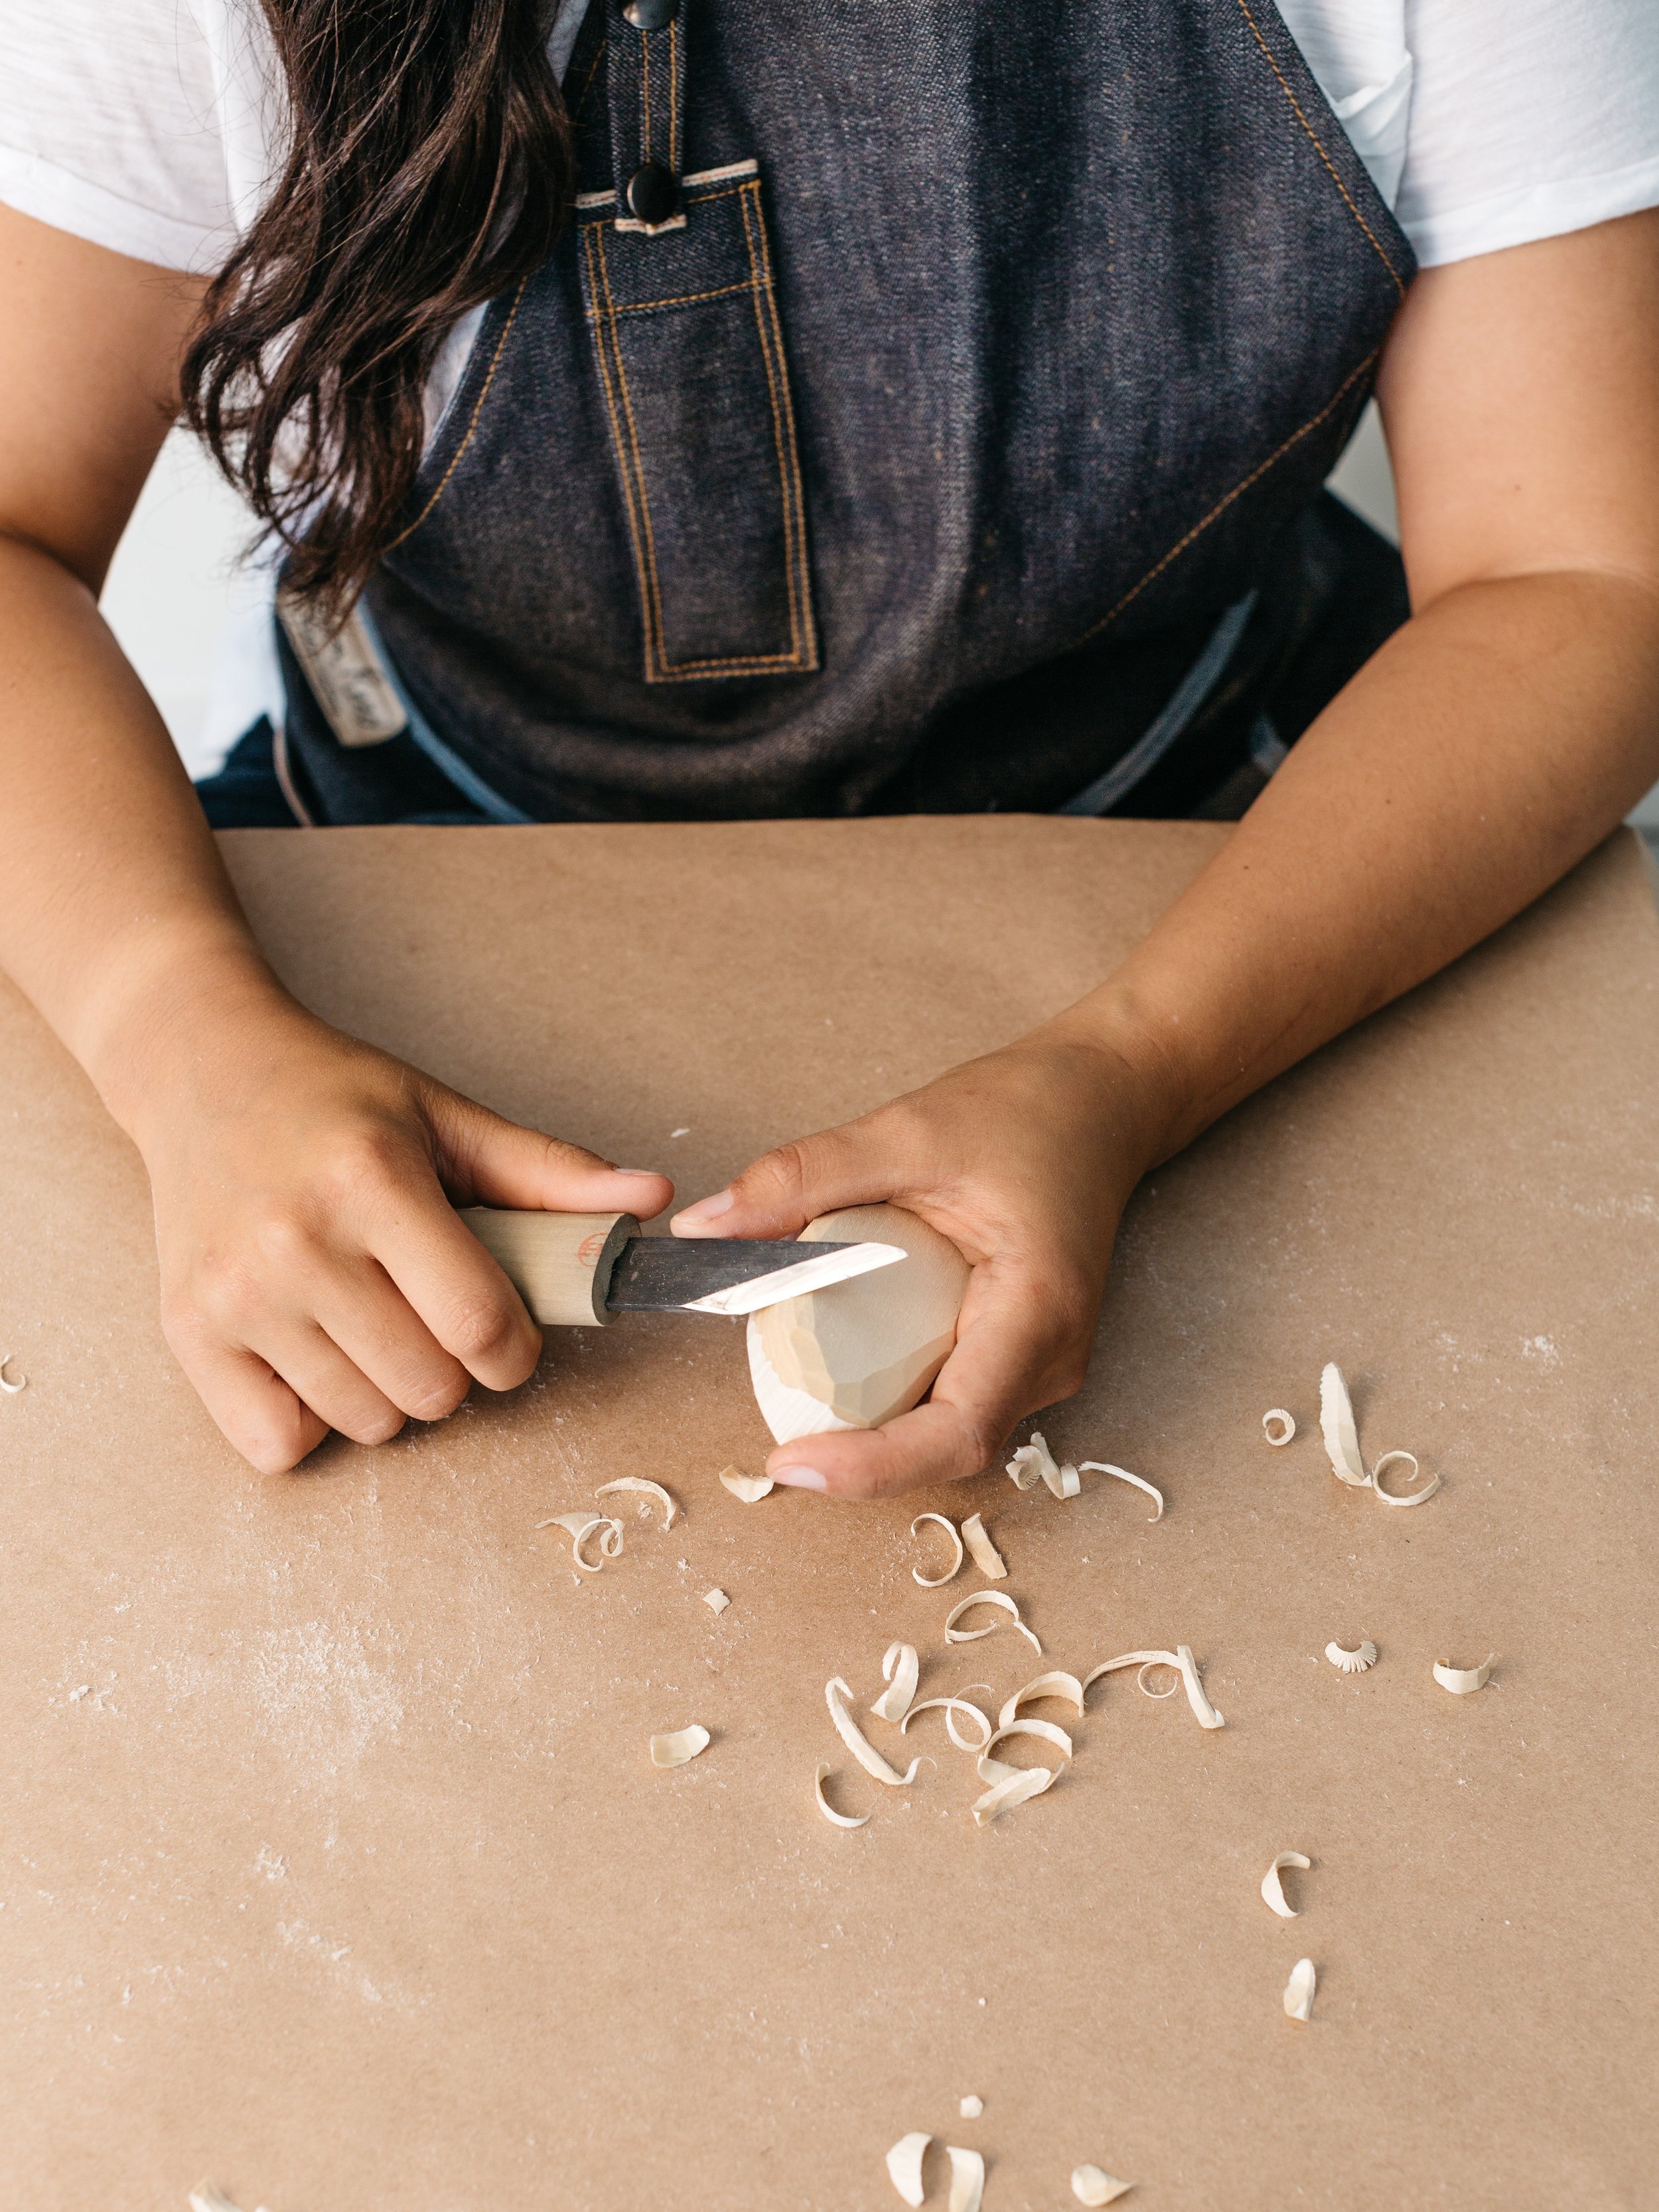
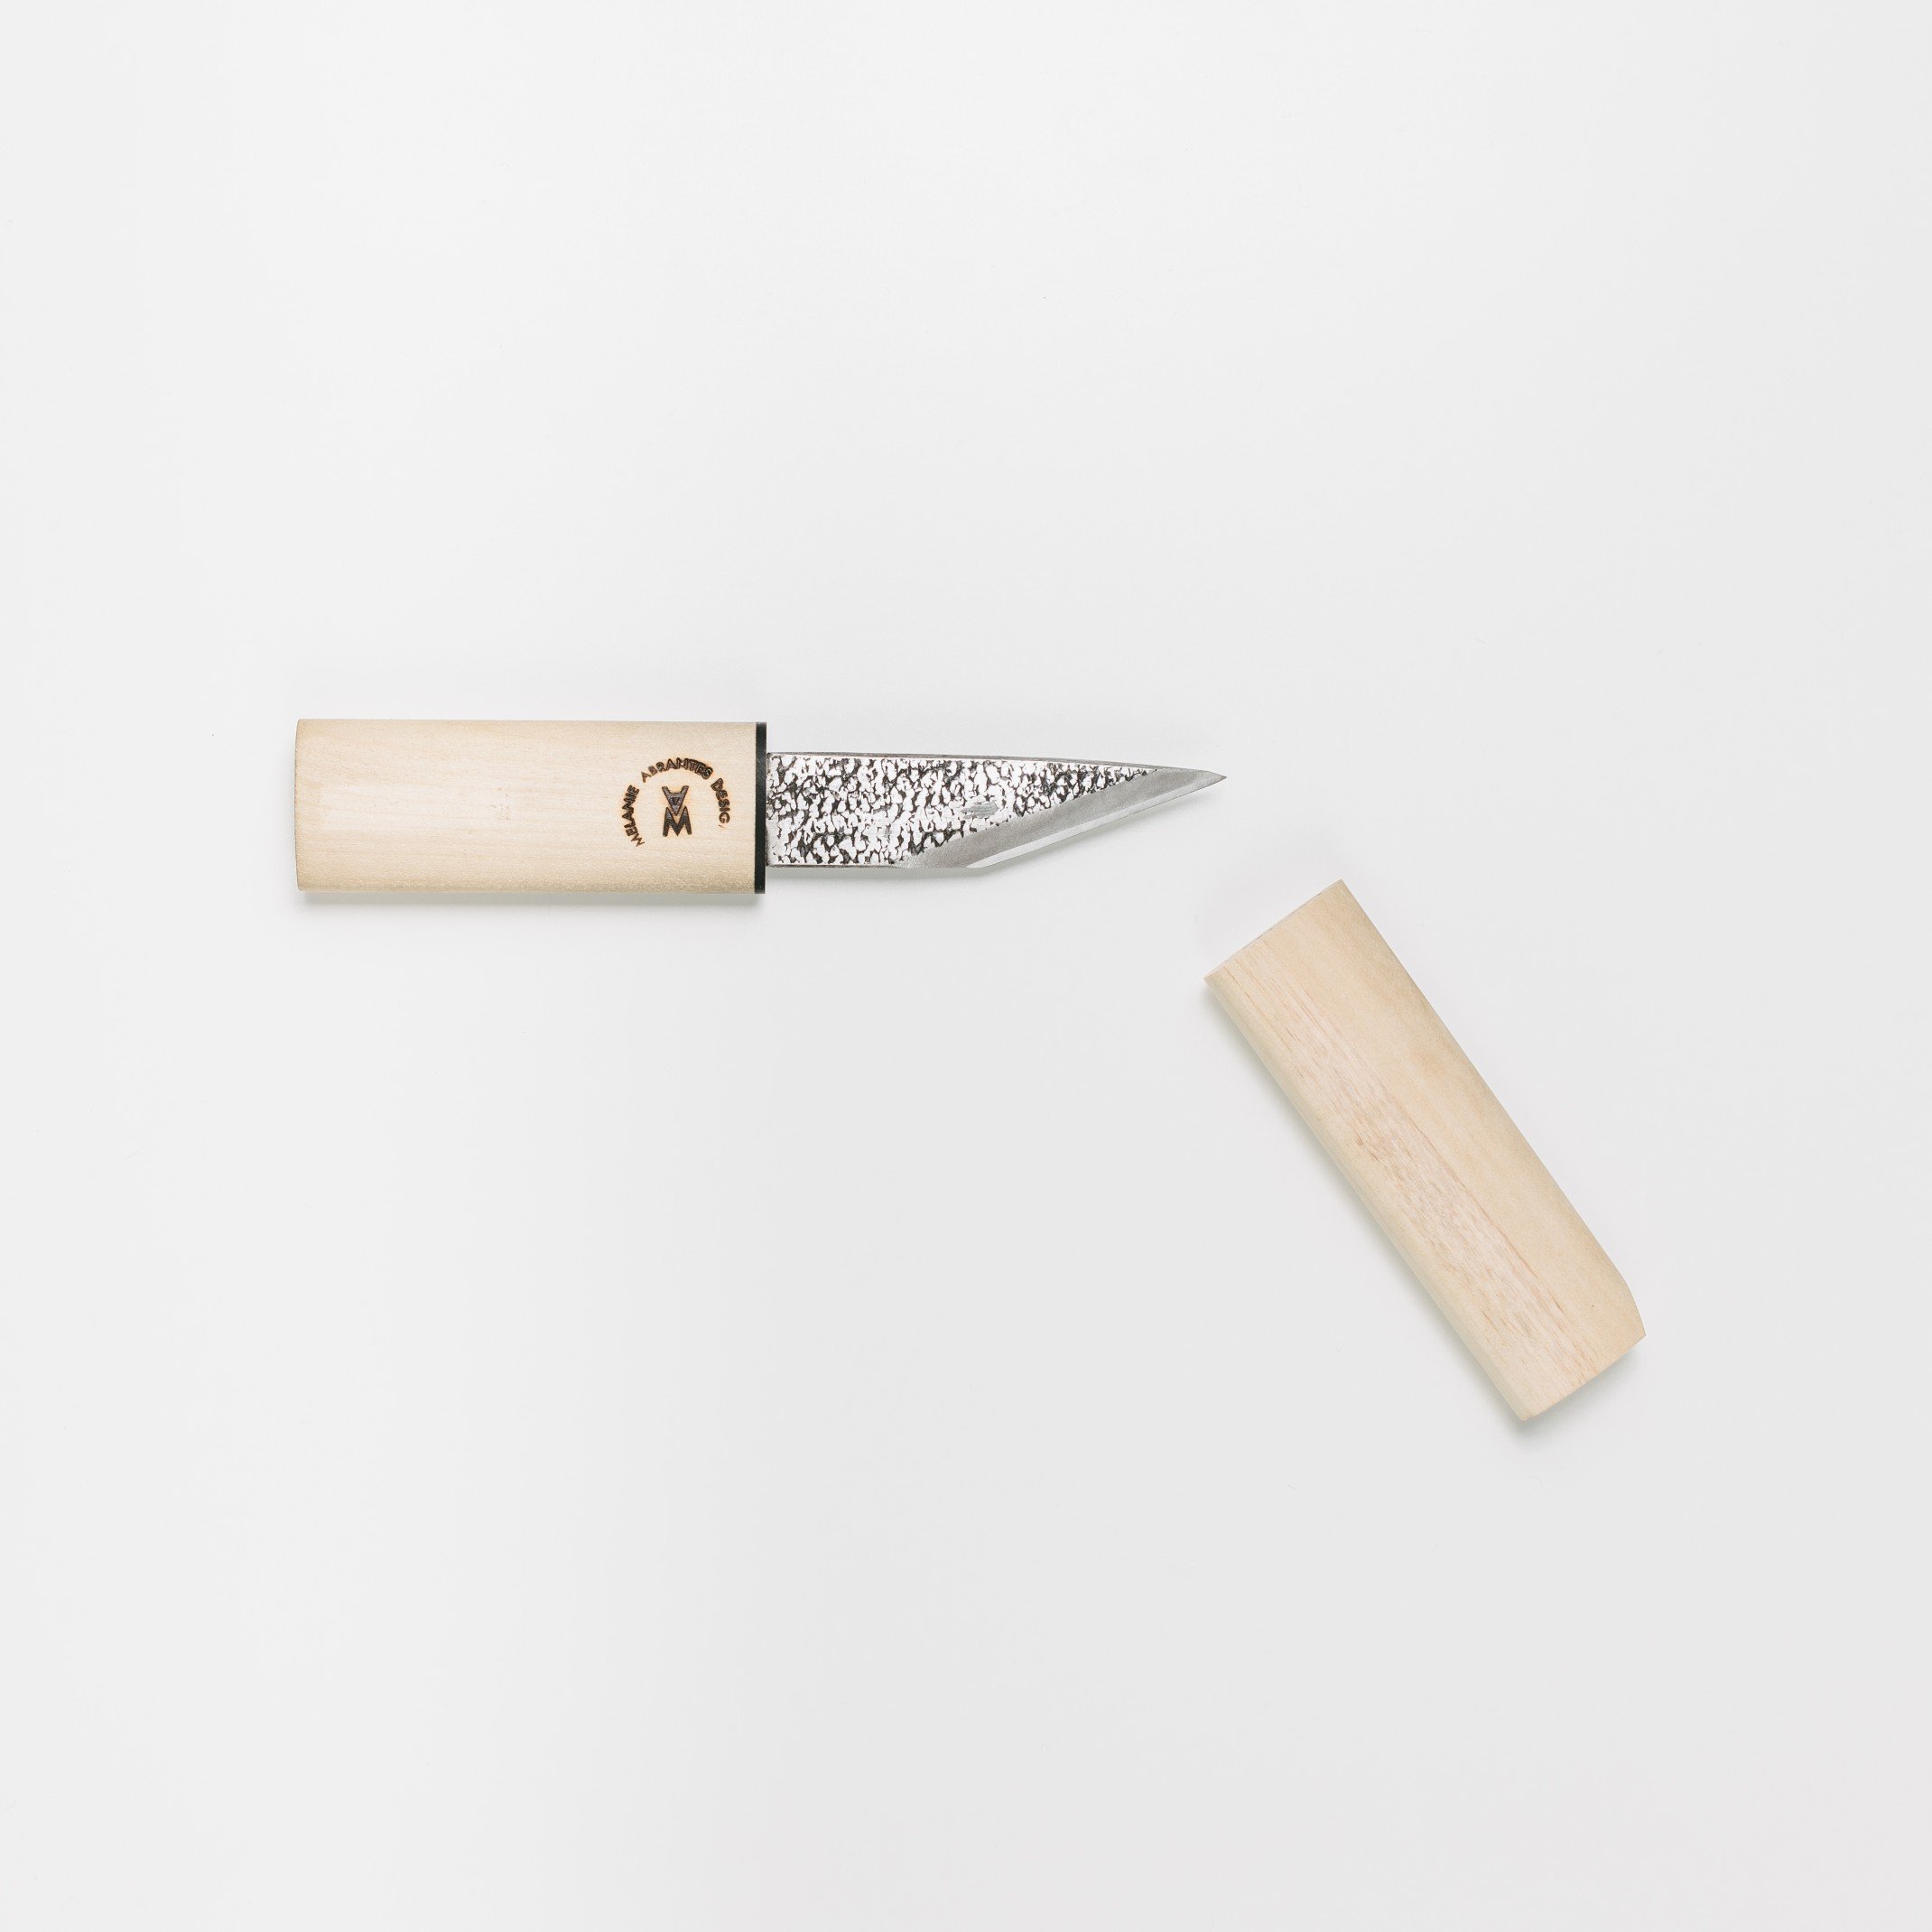
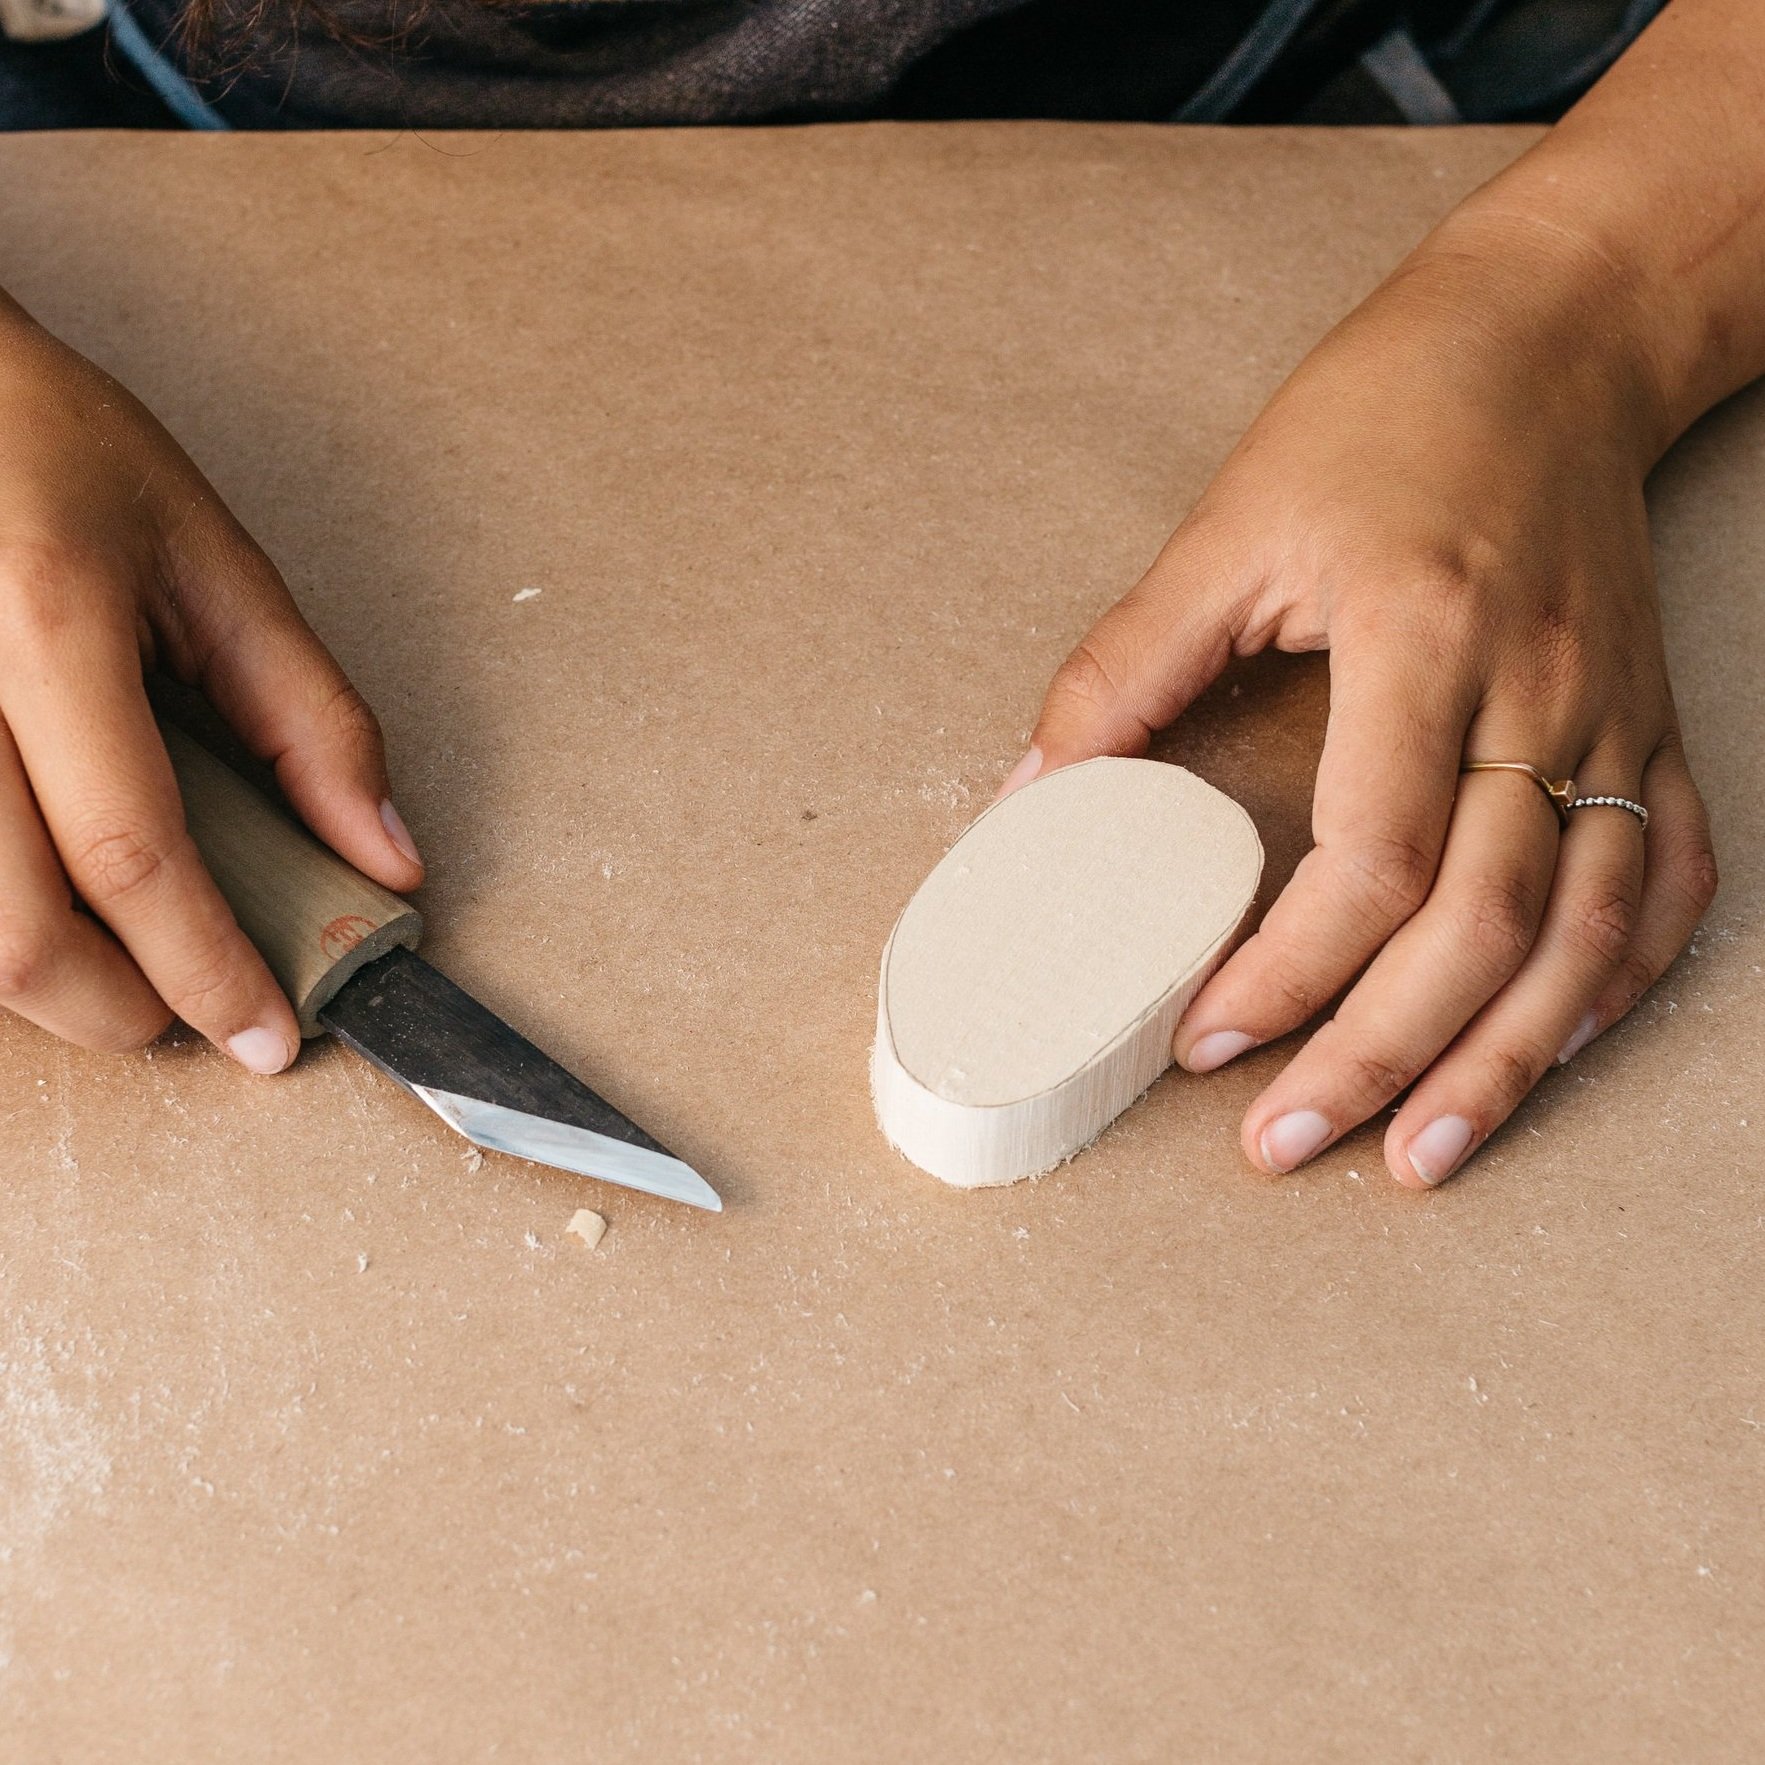
Using the whittling knife, push-cut to shave off one corner of the buckeye burl by about 1/2 inch, cutting at a 45° angle.
Repeat for all of the corners so that the wood looks like a stone.
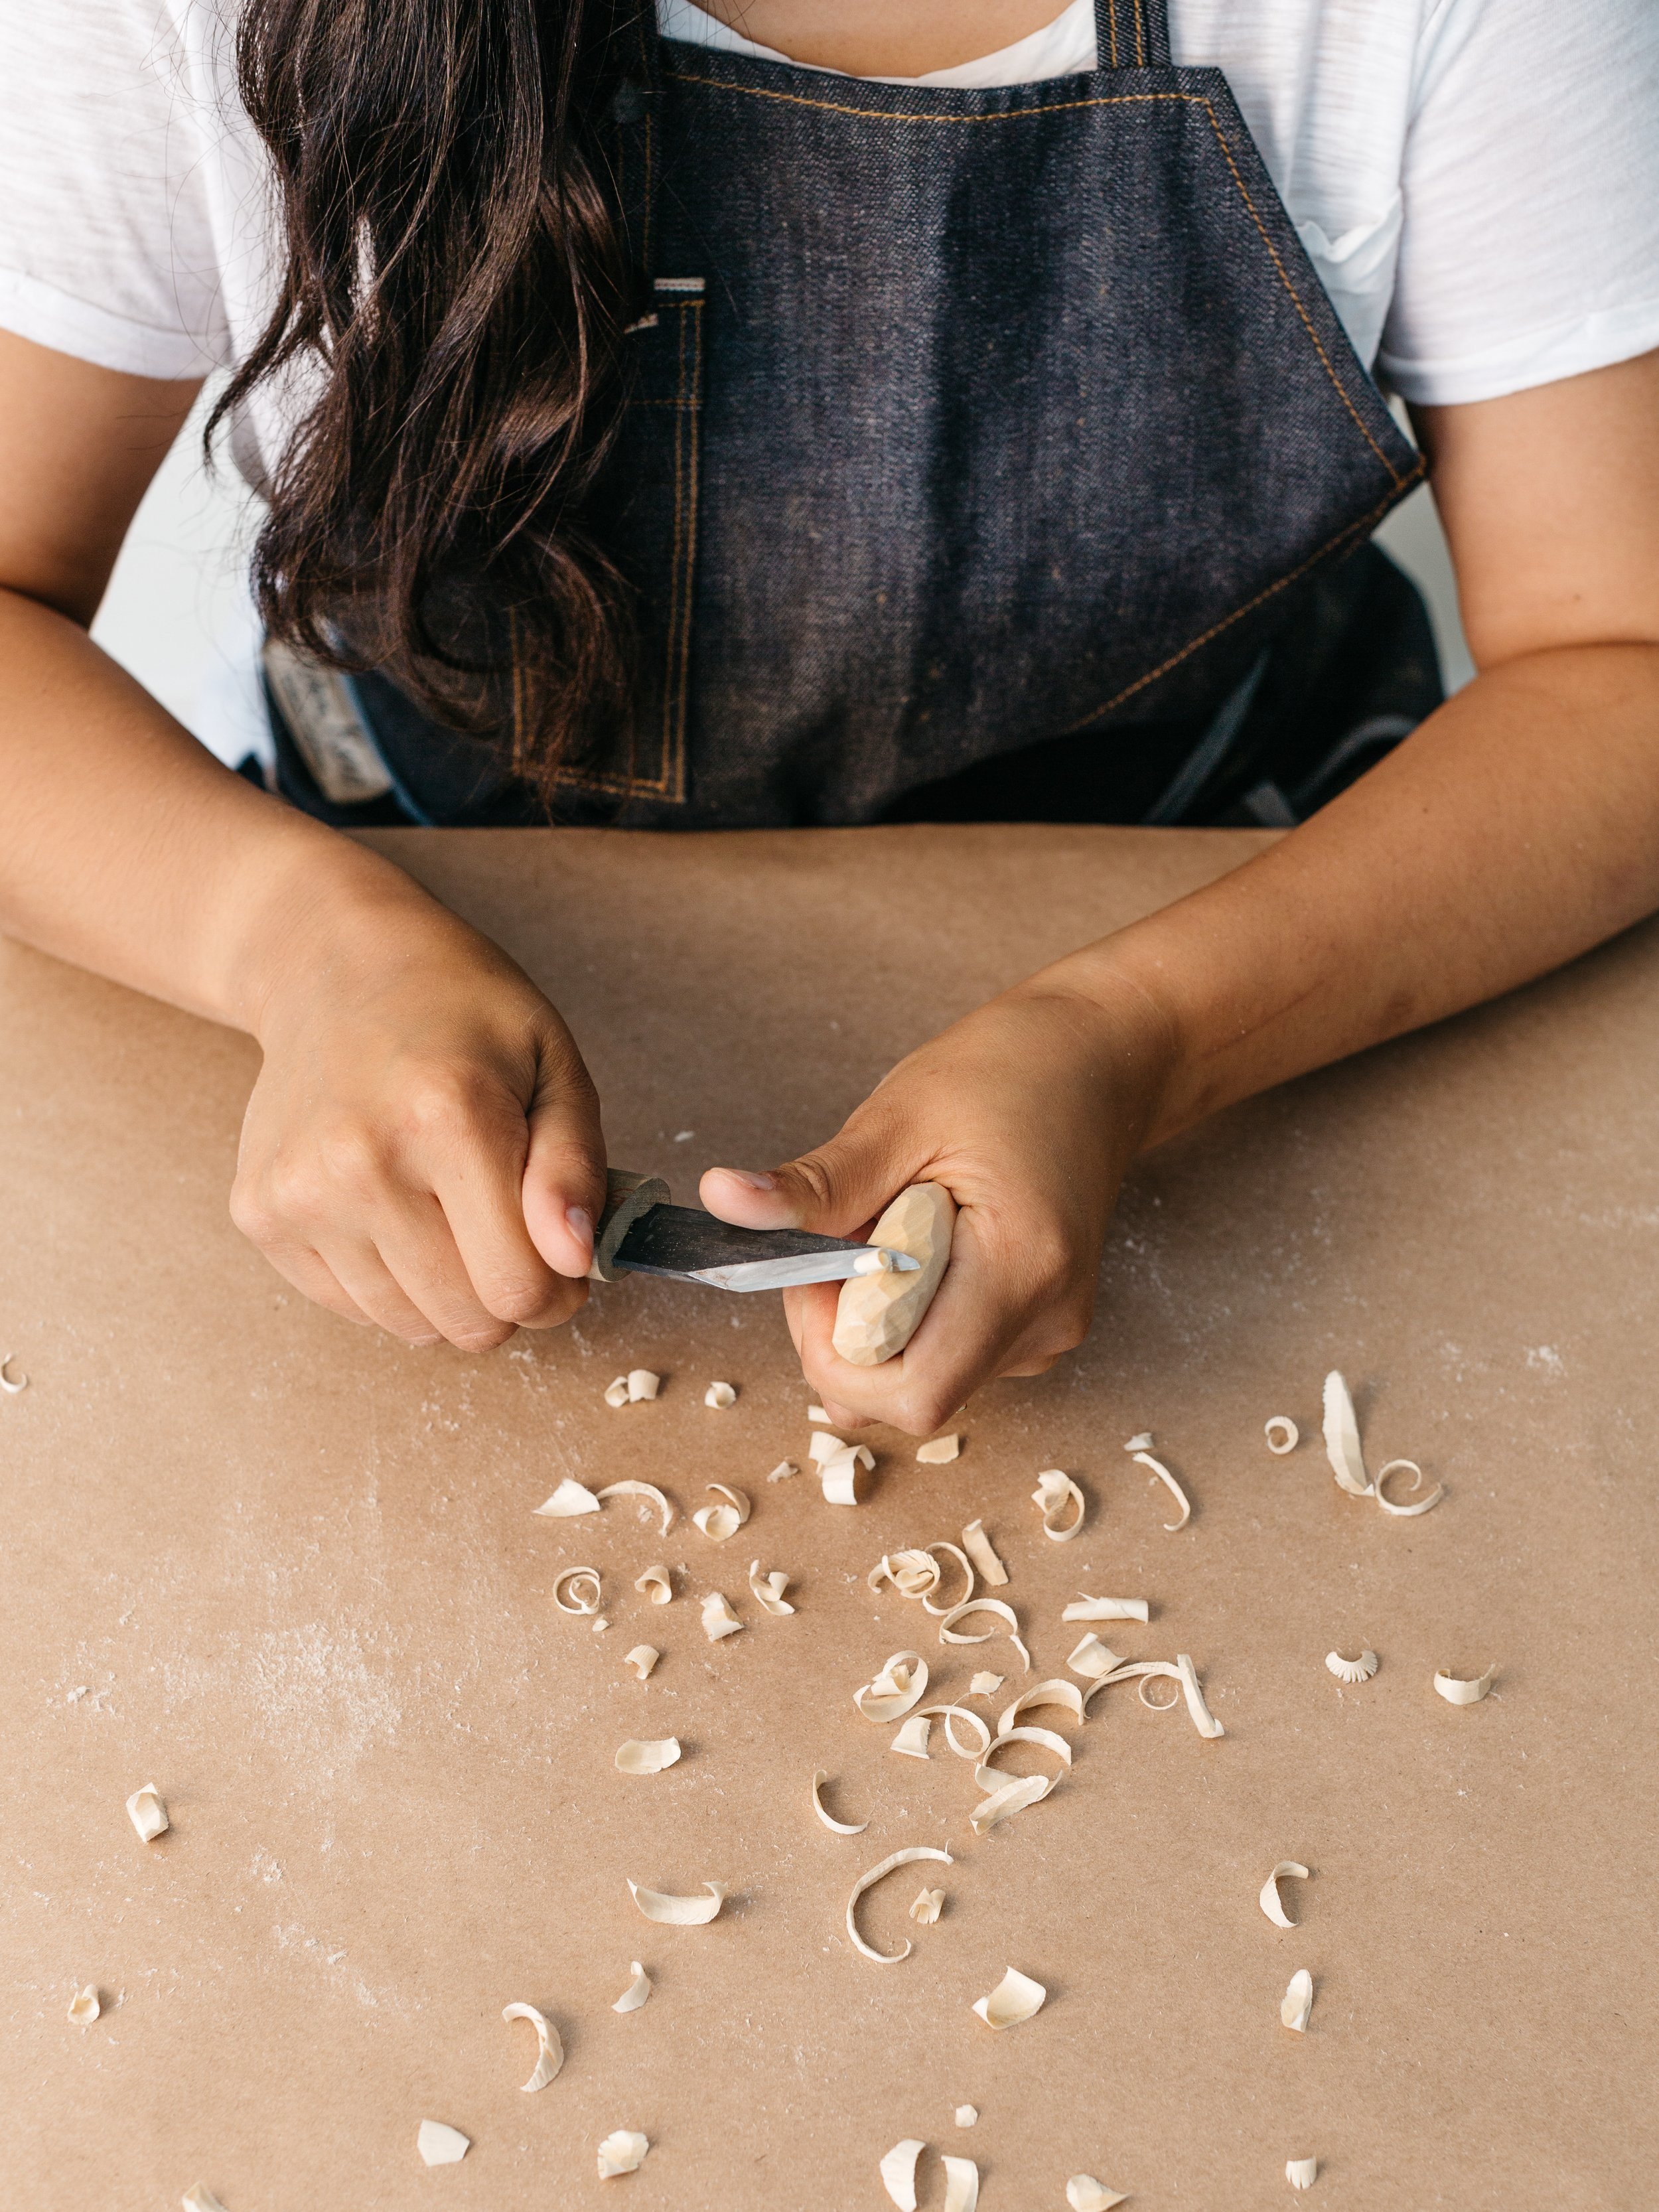
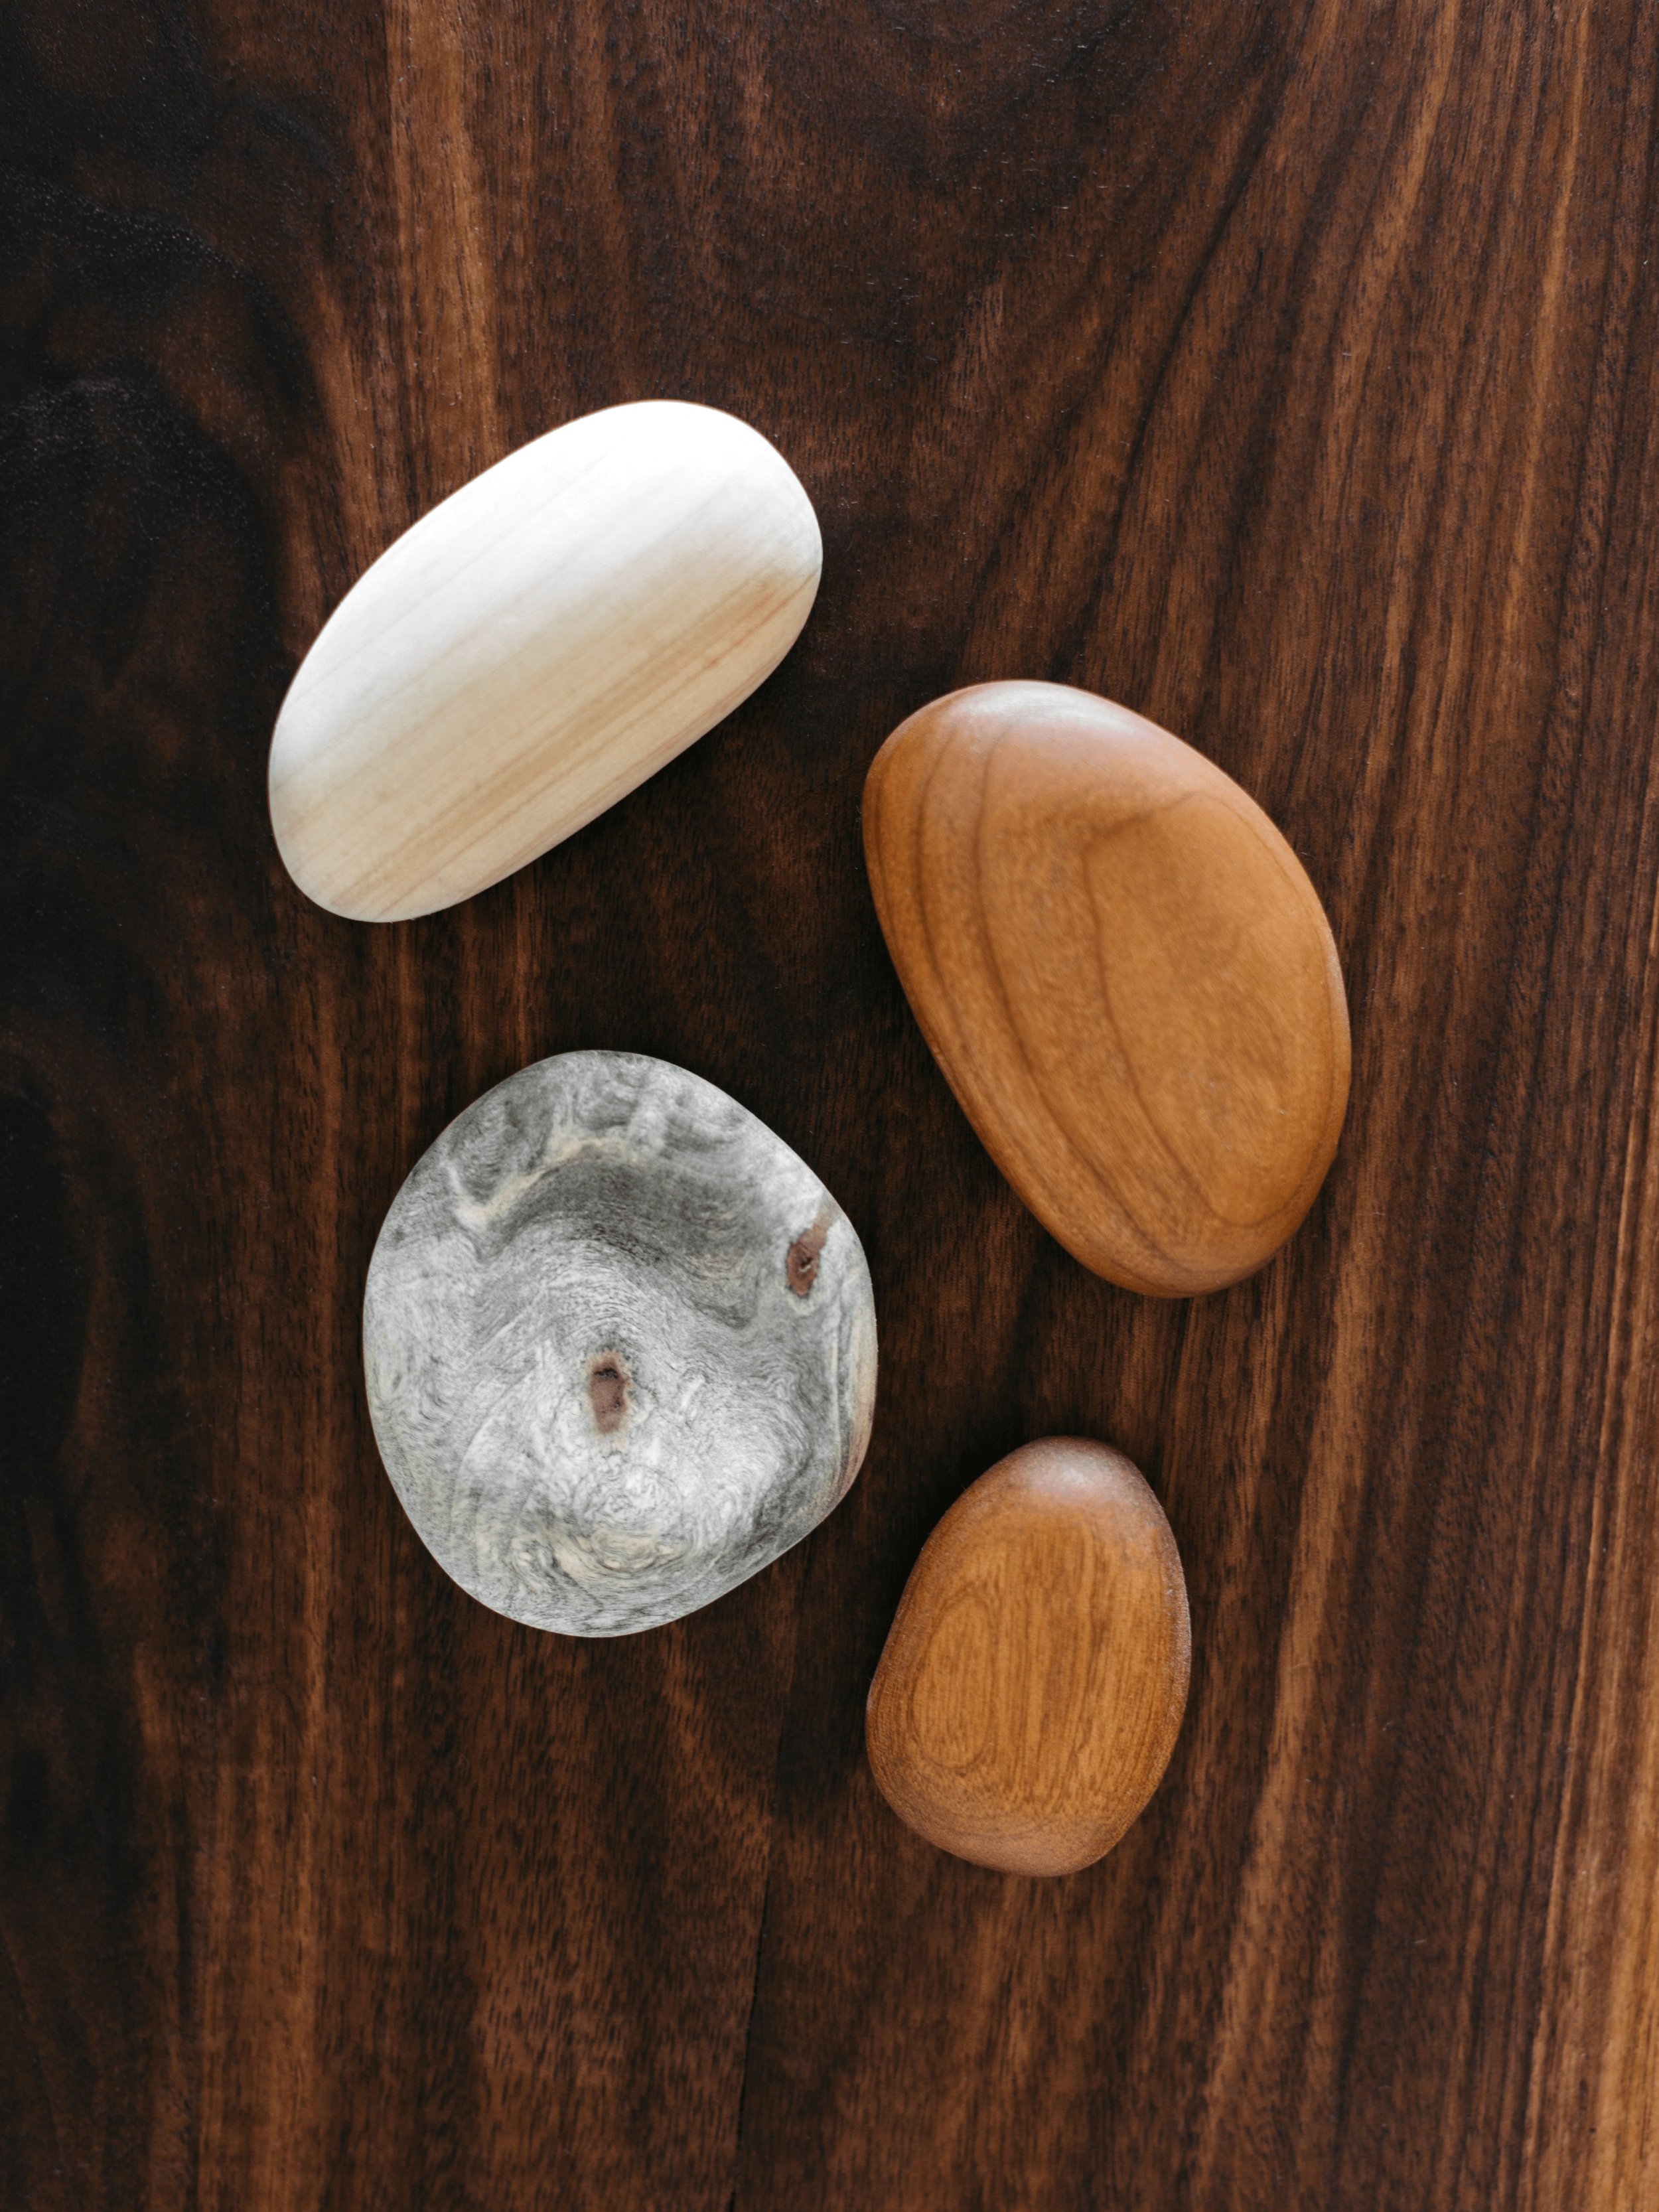
Push-cut the wood to remove each plane and facet so that it begins to look like a diamond, alternating sides to remove a little wood at a time. You want to achieve an organic shape that is a little random (like that of a stone). Use the gouge to create a few shallow dips in the wood if desired.
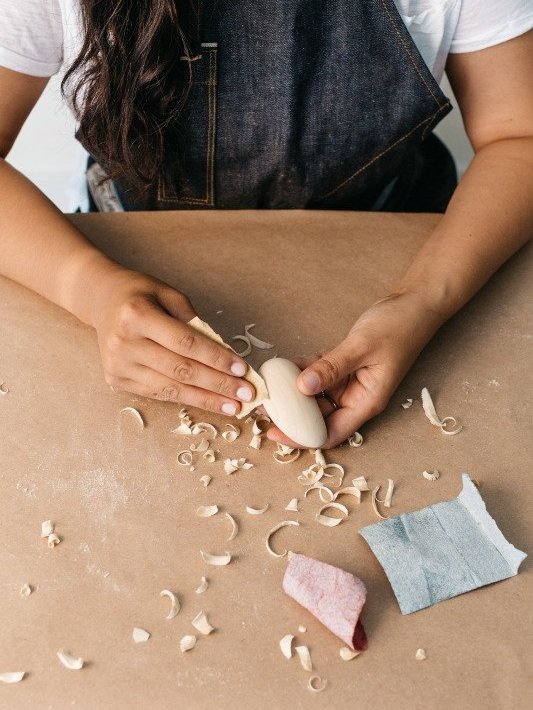
STEP 2: SAND AND FINISH
Place your sandpaper on a flat surface and rub the stone against it on all sides to smooth out the angles in the stone. Start with the 80 grit and work your way up to 150 then 220 grit as each sandpaper dulls, until the stone is flat and smooth all over. (You can apply double-sided tape to the sandpaper and stick it to a cutting board to make this step easier.)
Take a cloth and wipe your piece down with wood butter or mineral oil to seal your stone. (We like to leave our Buckeye Burl wood unfinished to preserve the grey tones.) You’re finished!
TIP: To make these into paperweight magnets, carve a hole into the bottom of each stone using a gouge, apply a little wood glue, and insert a rare-earth magnet. Place on your desk to corral paper clips.
REQUIRED TOOLS


ENJOYED THIS PROJECT?
See what’s coming up next! All summer long we're offering free carving DIY tutorials. Every week we'll have a new project to try. Check our calendar to see what's in store!