
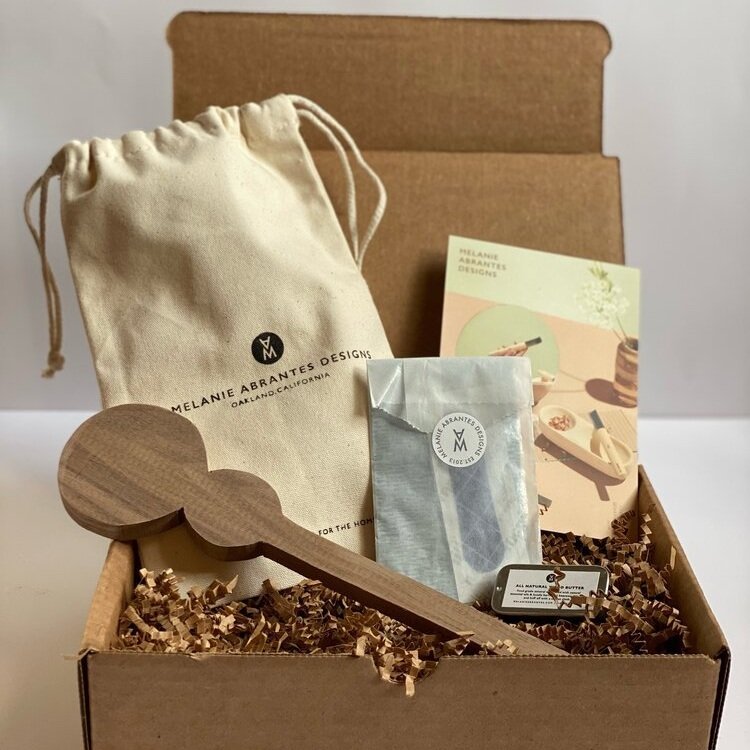
FREE DIY SERIES #5 - DOUBLE SPOON
SAFETY TIPS:
Always keep the blade pointed away from you when carving.
Keep your tools sharp for easier and safer carving!
WARNING: Tools are extremely sharp and may cause injury. Please handle with caution.
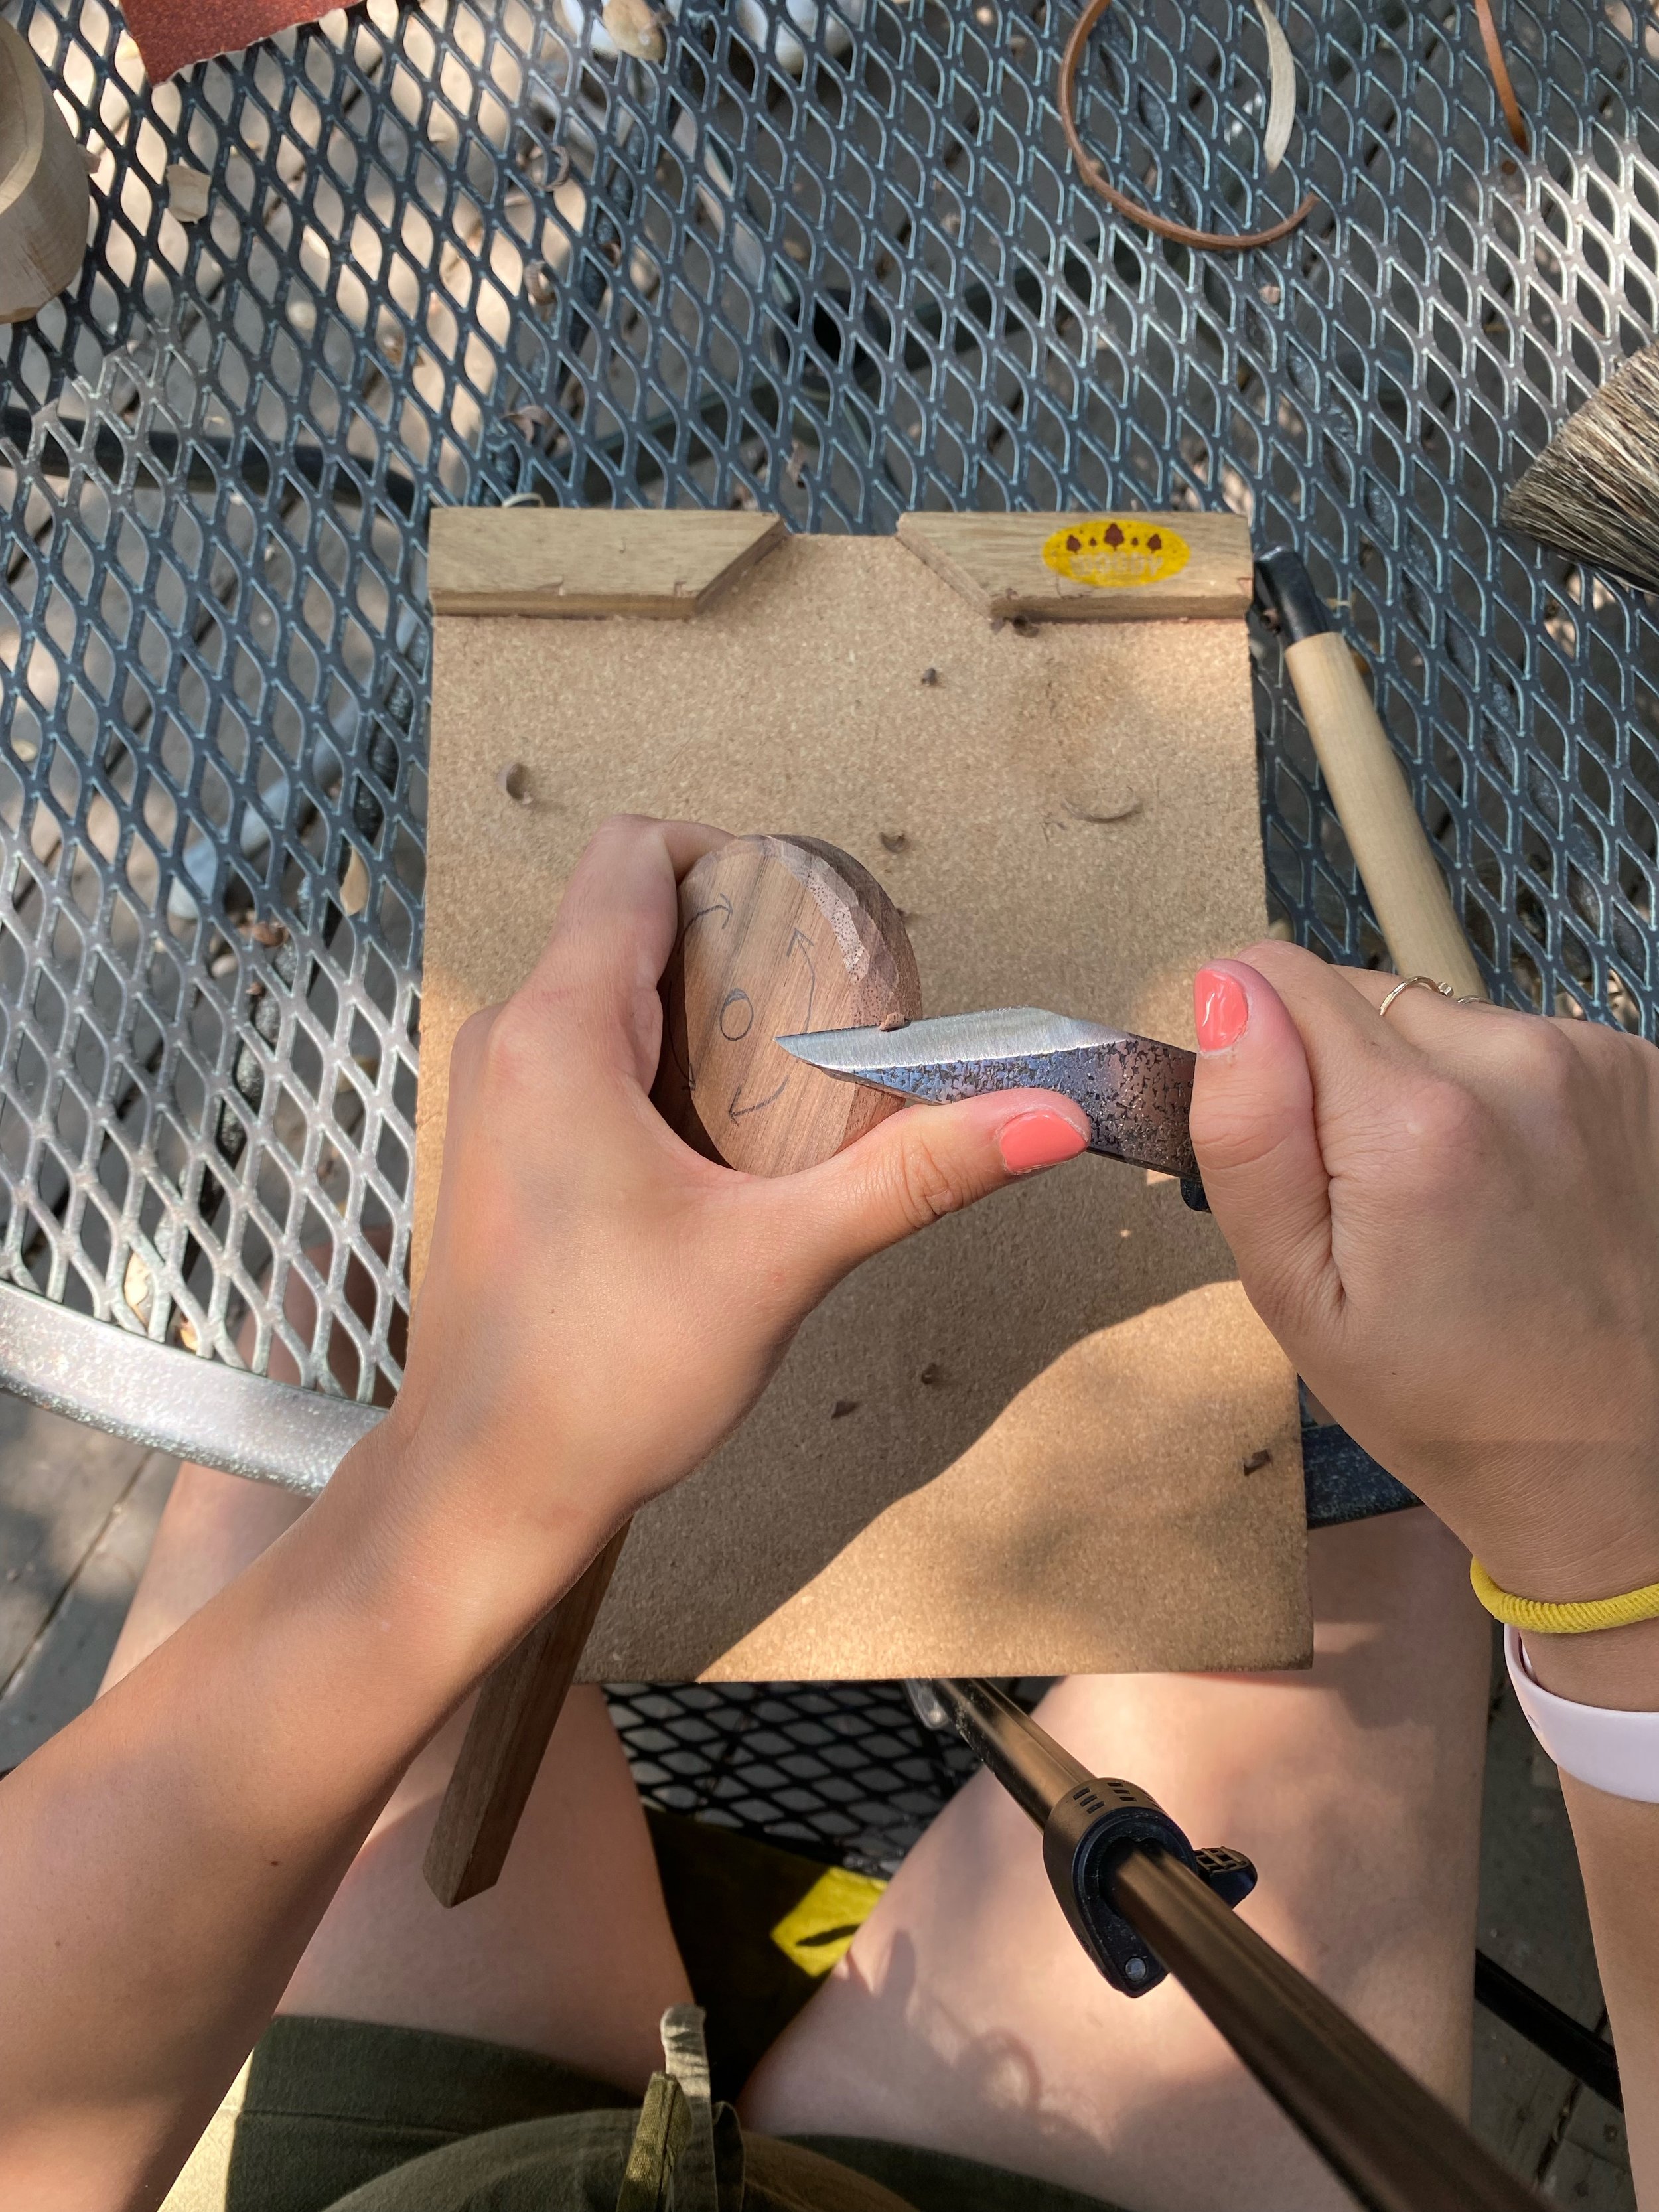
Step 1: CARVE BOTH BOWLS OF THE SPOONS
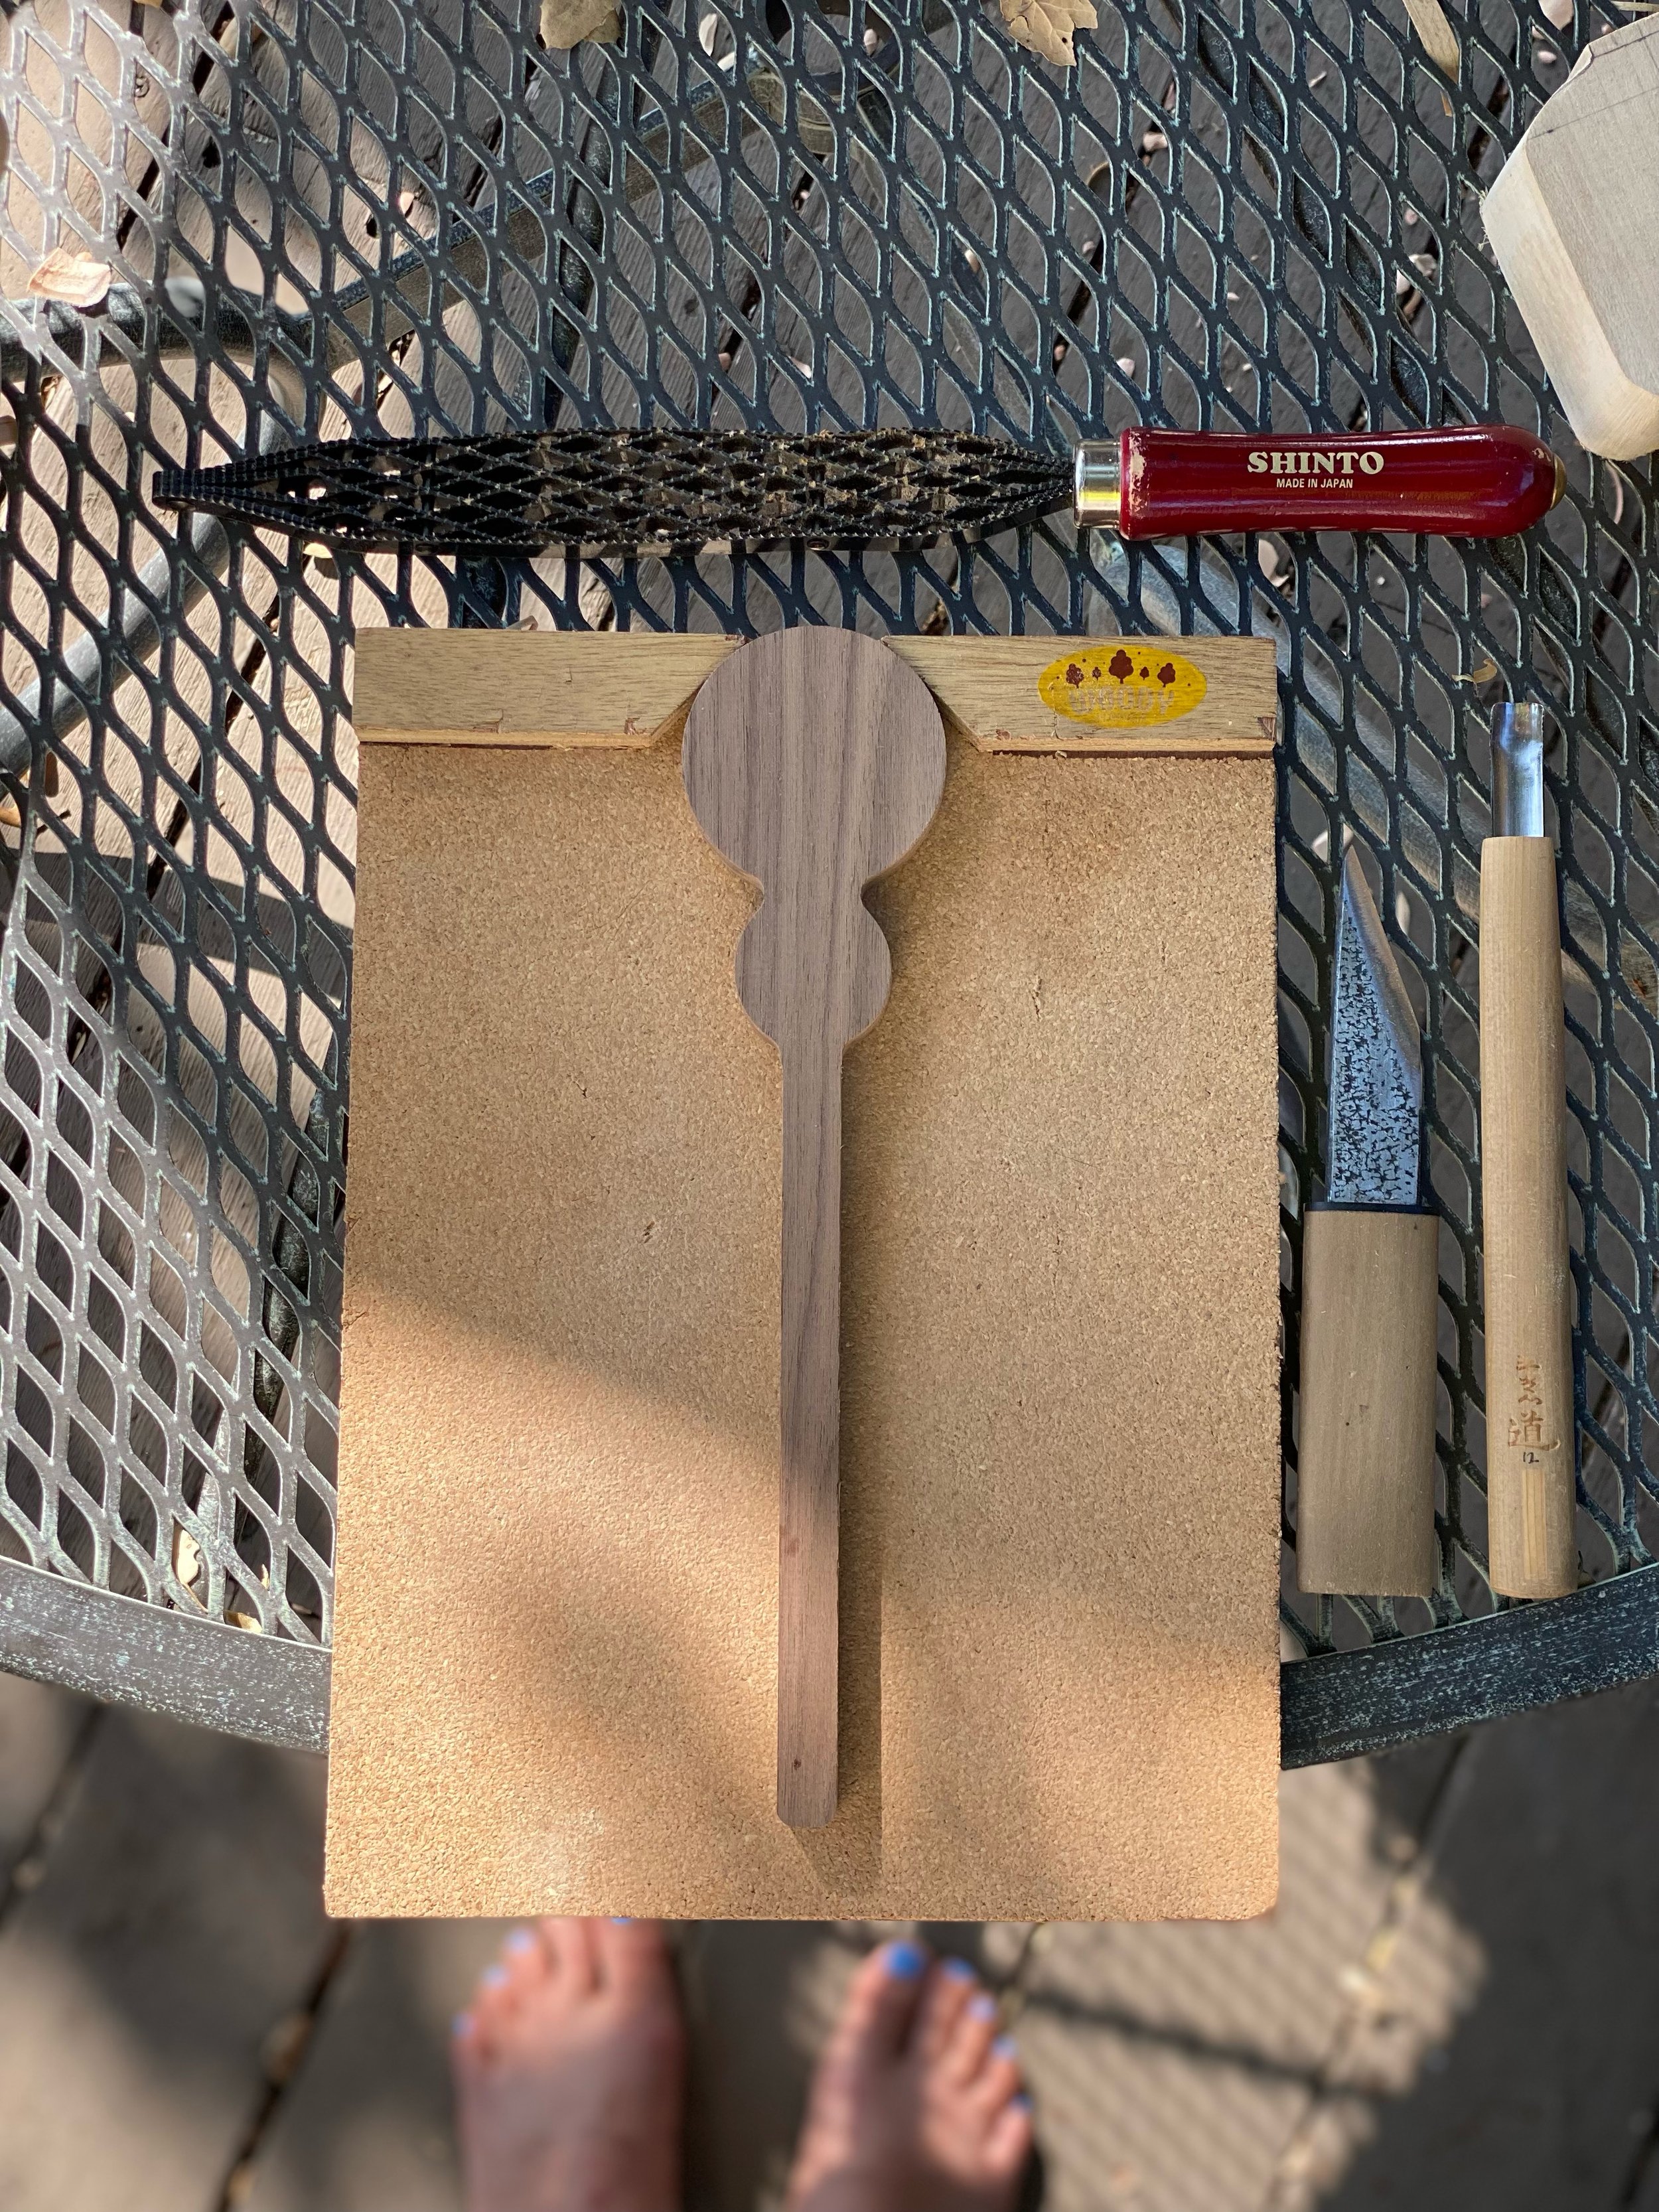
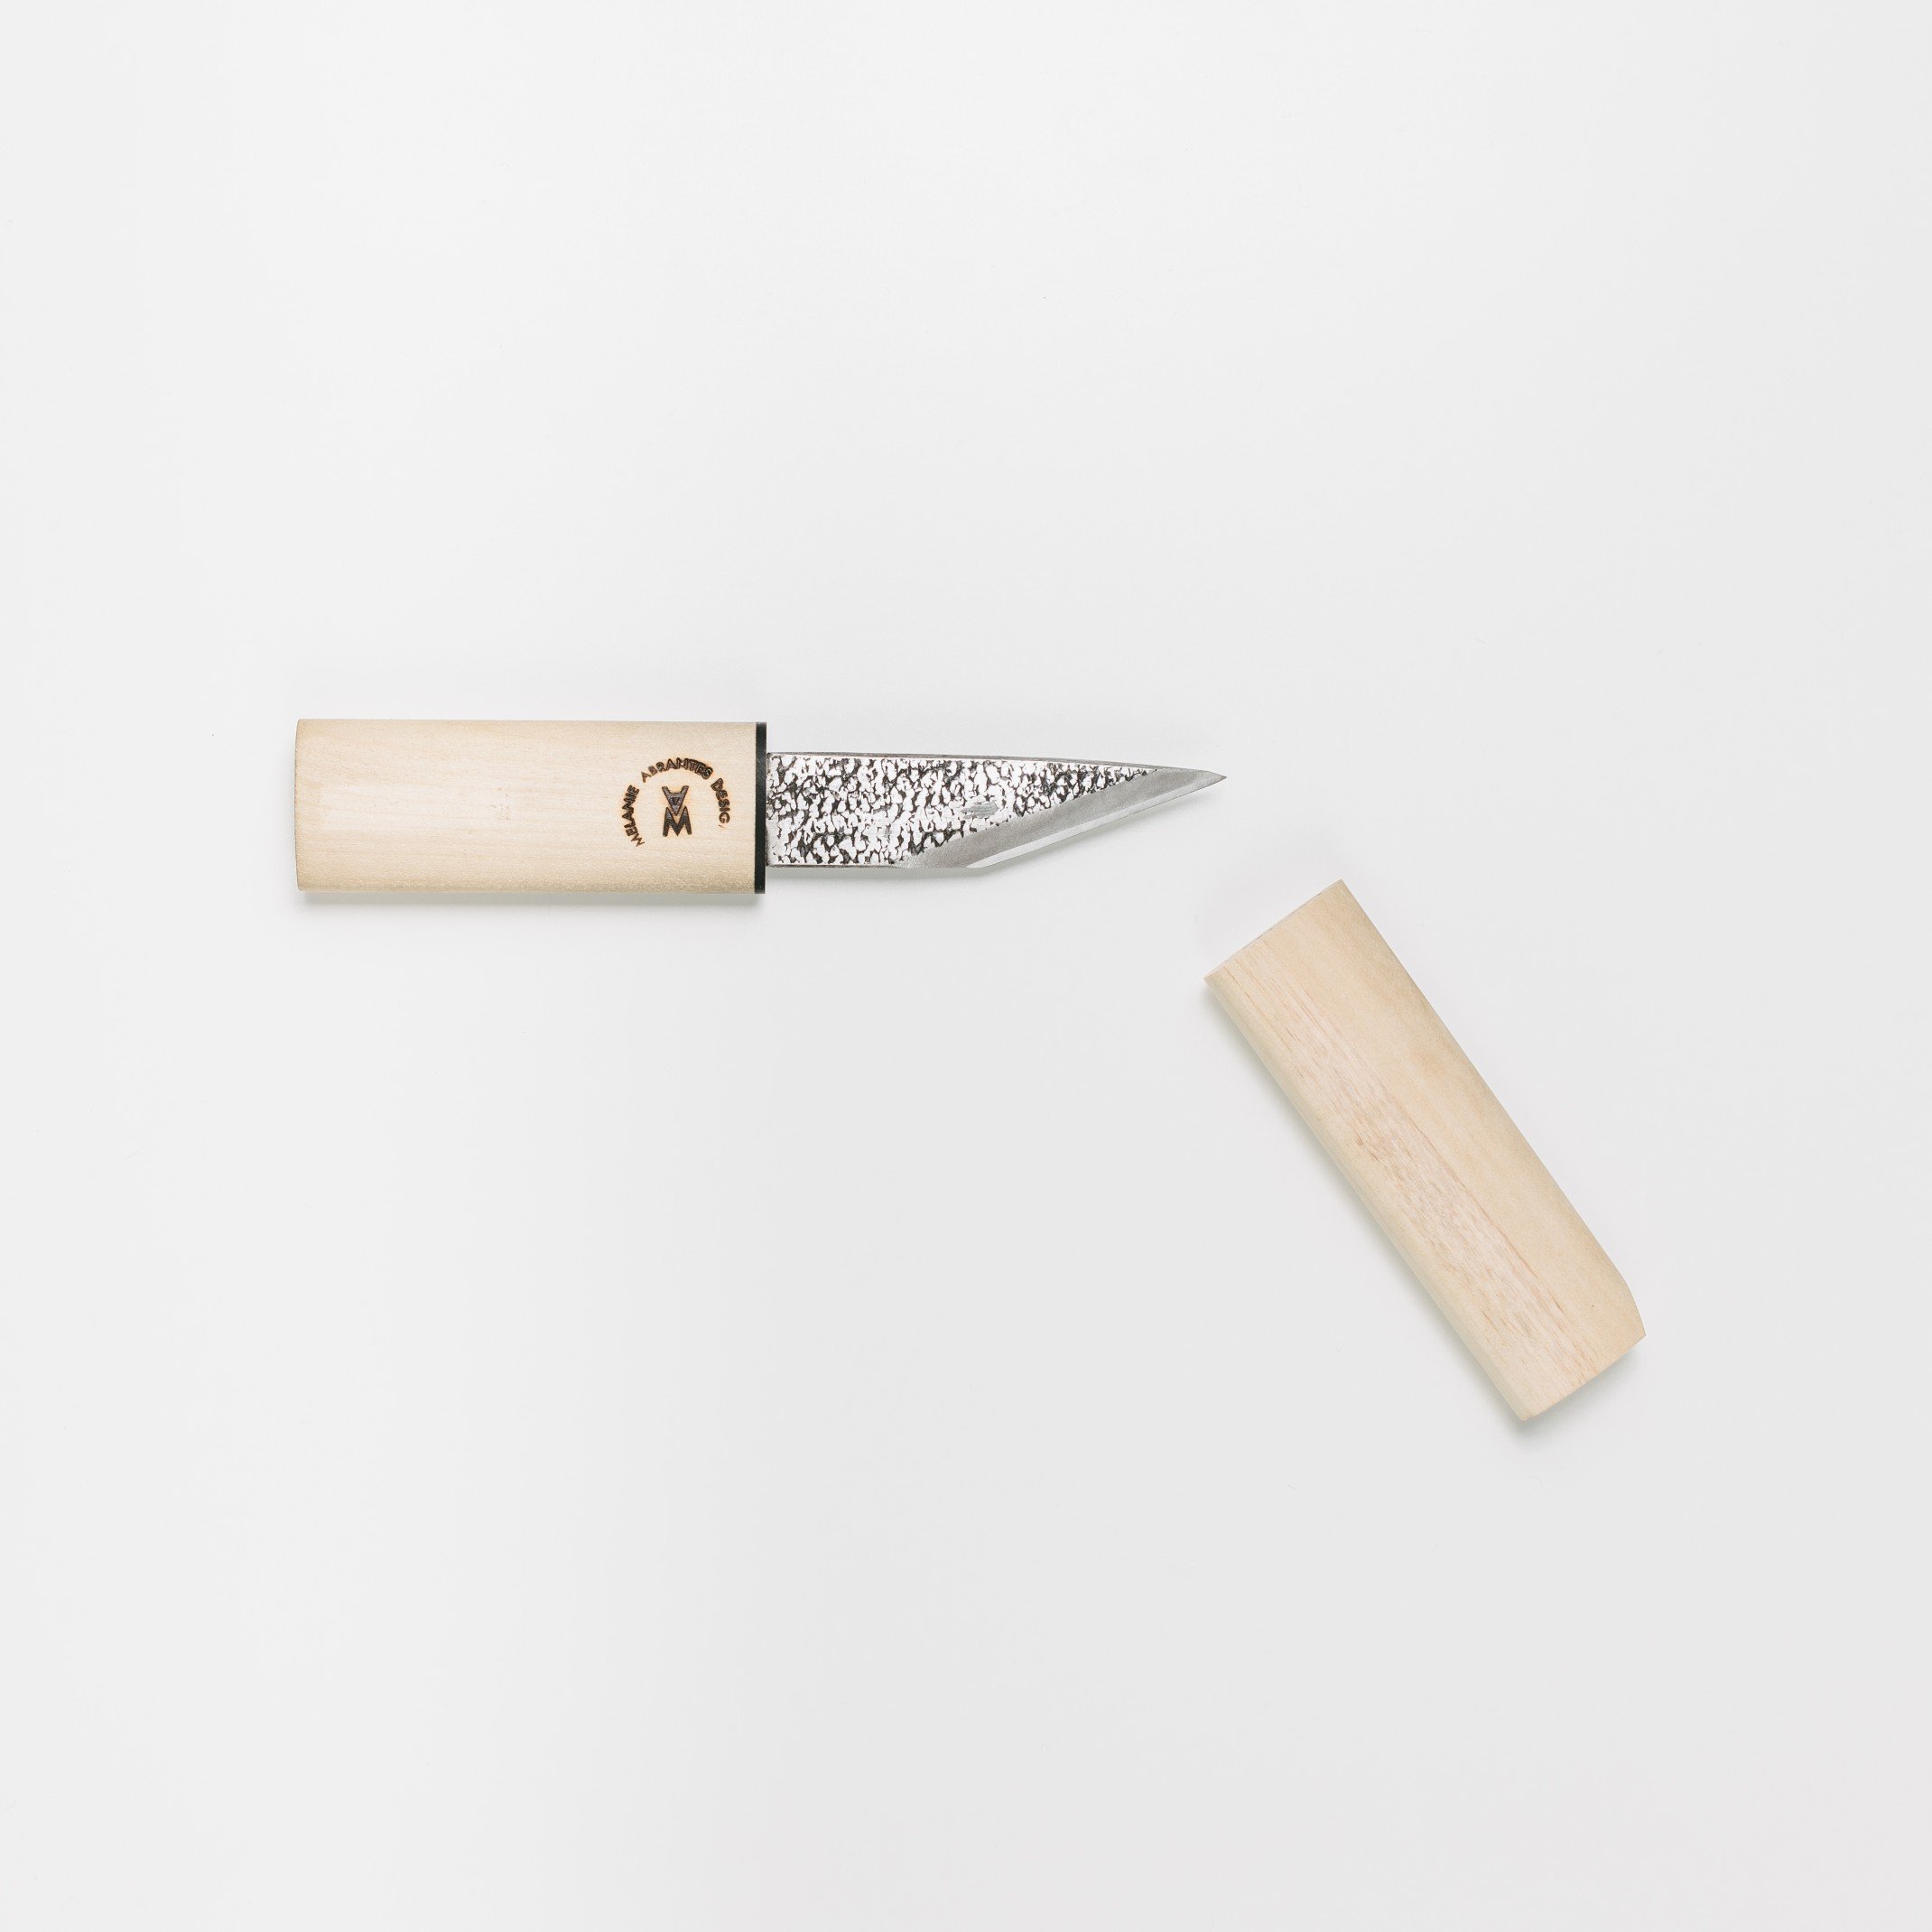
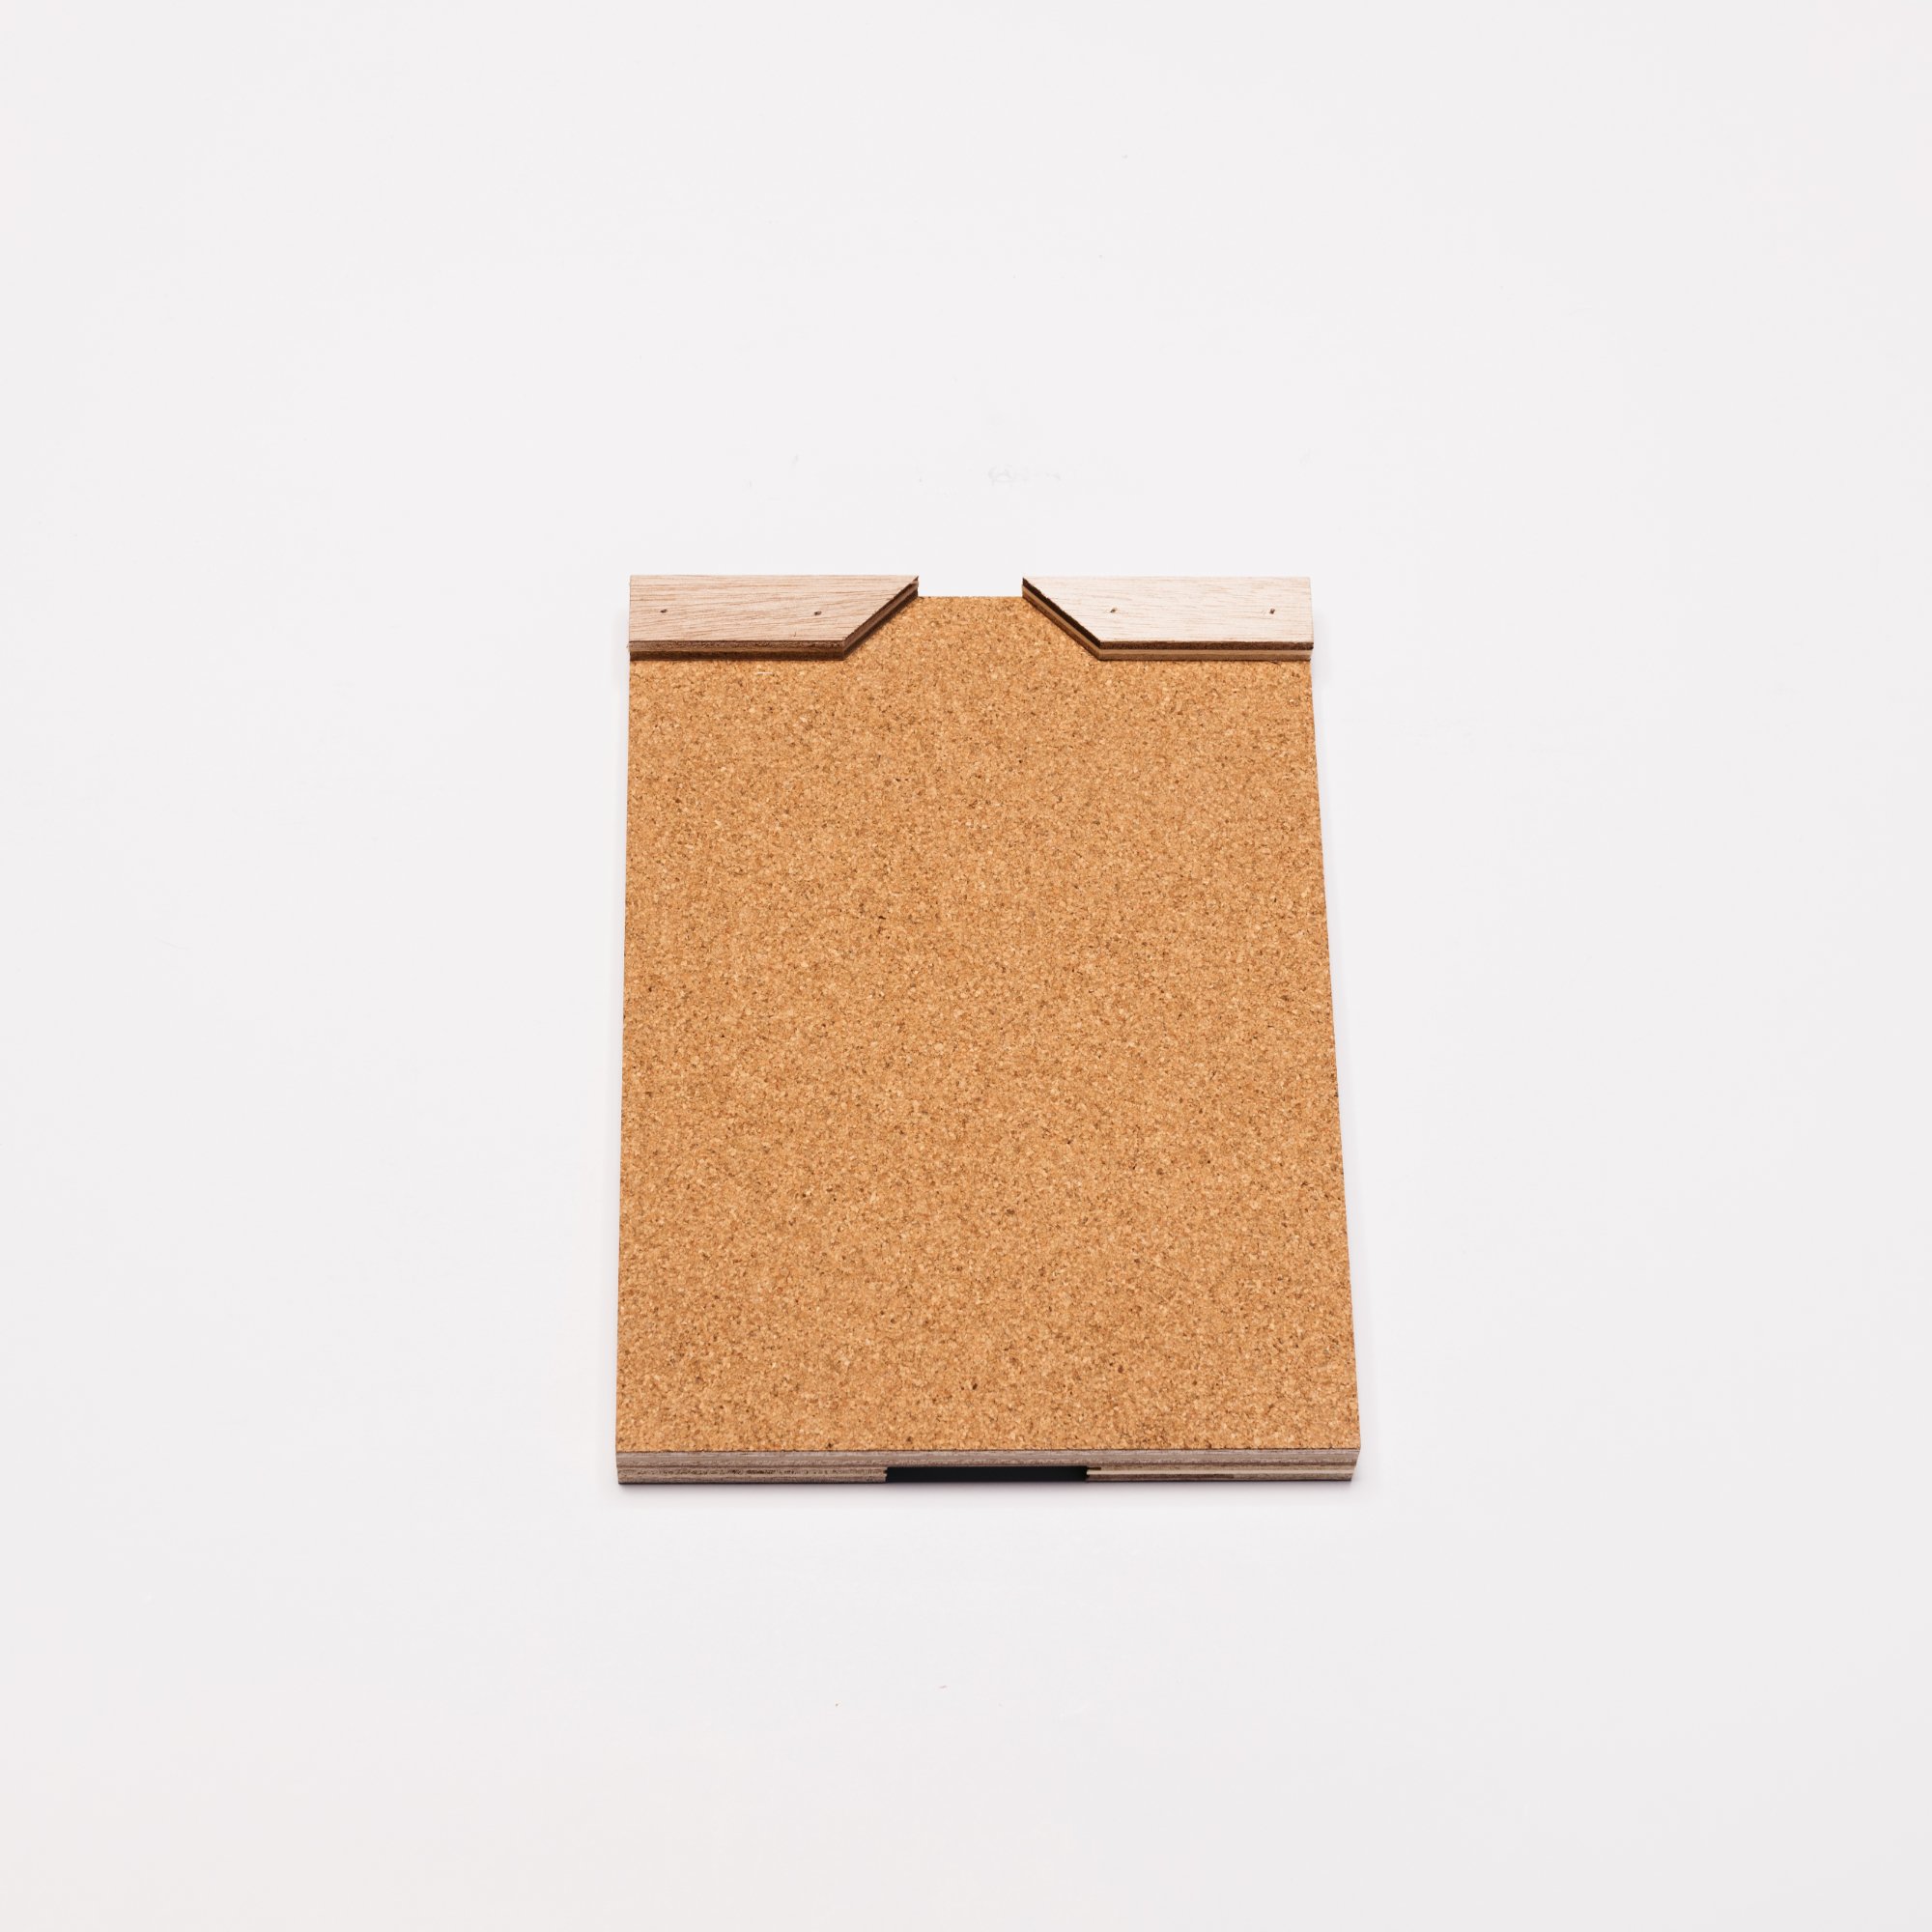
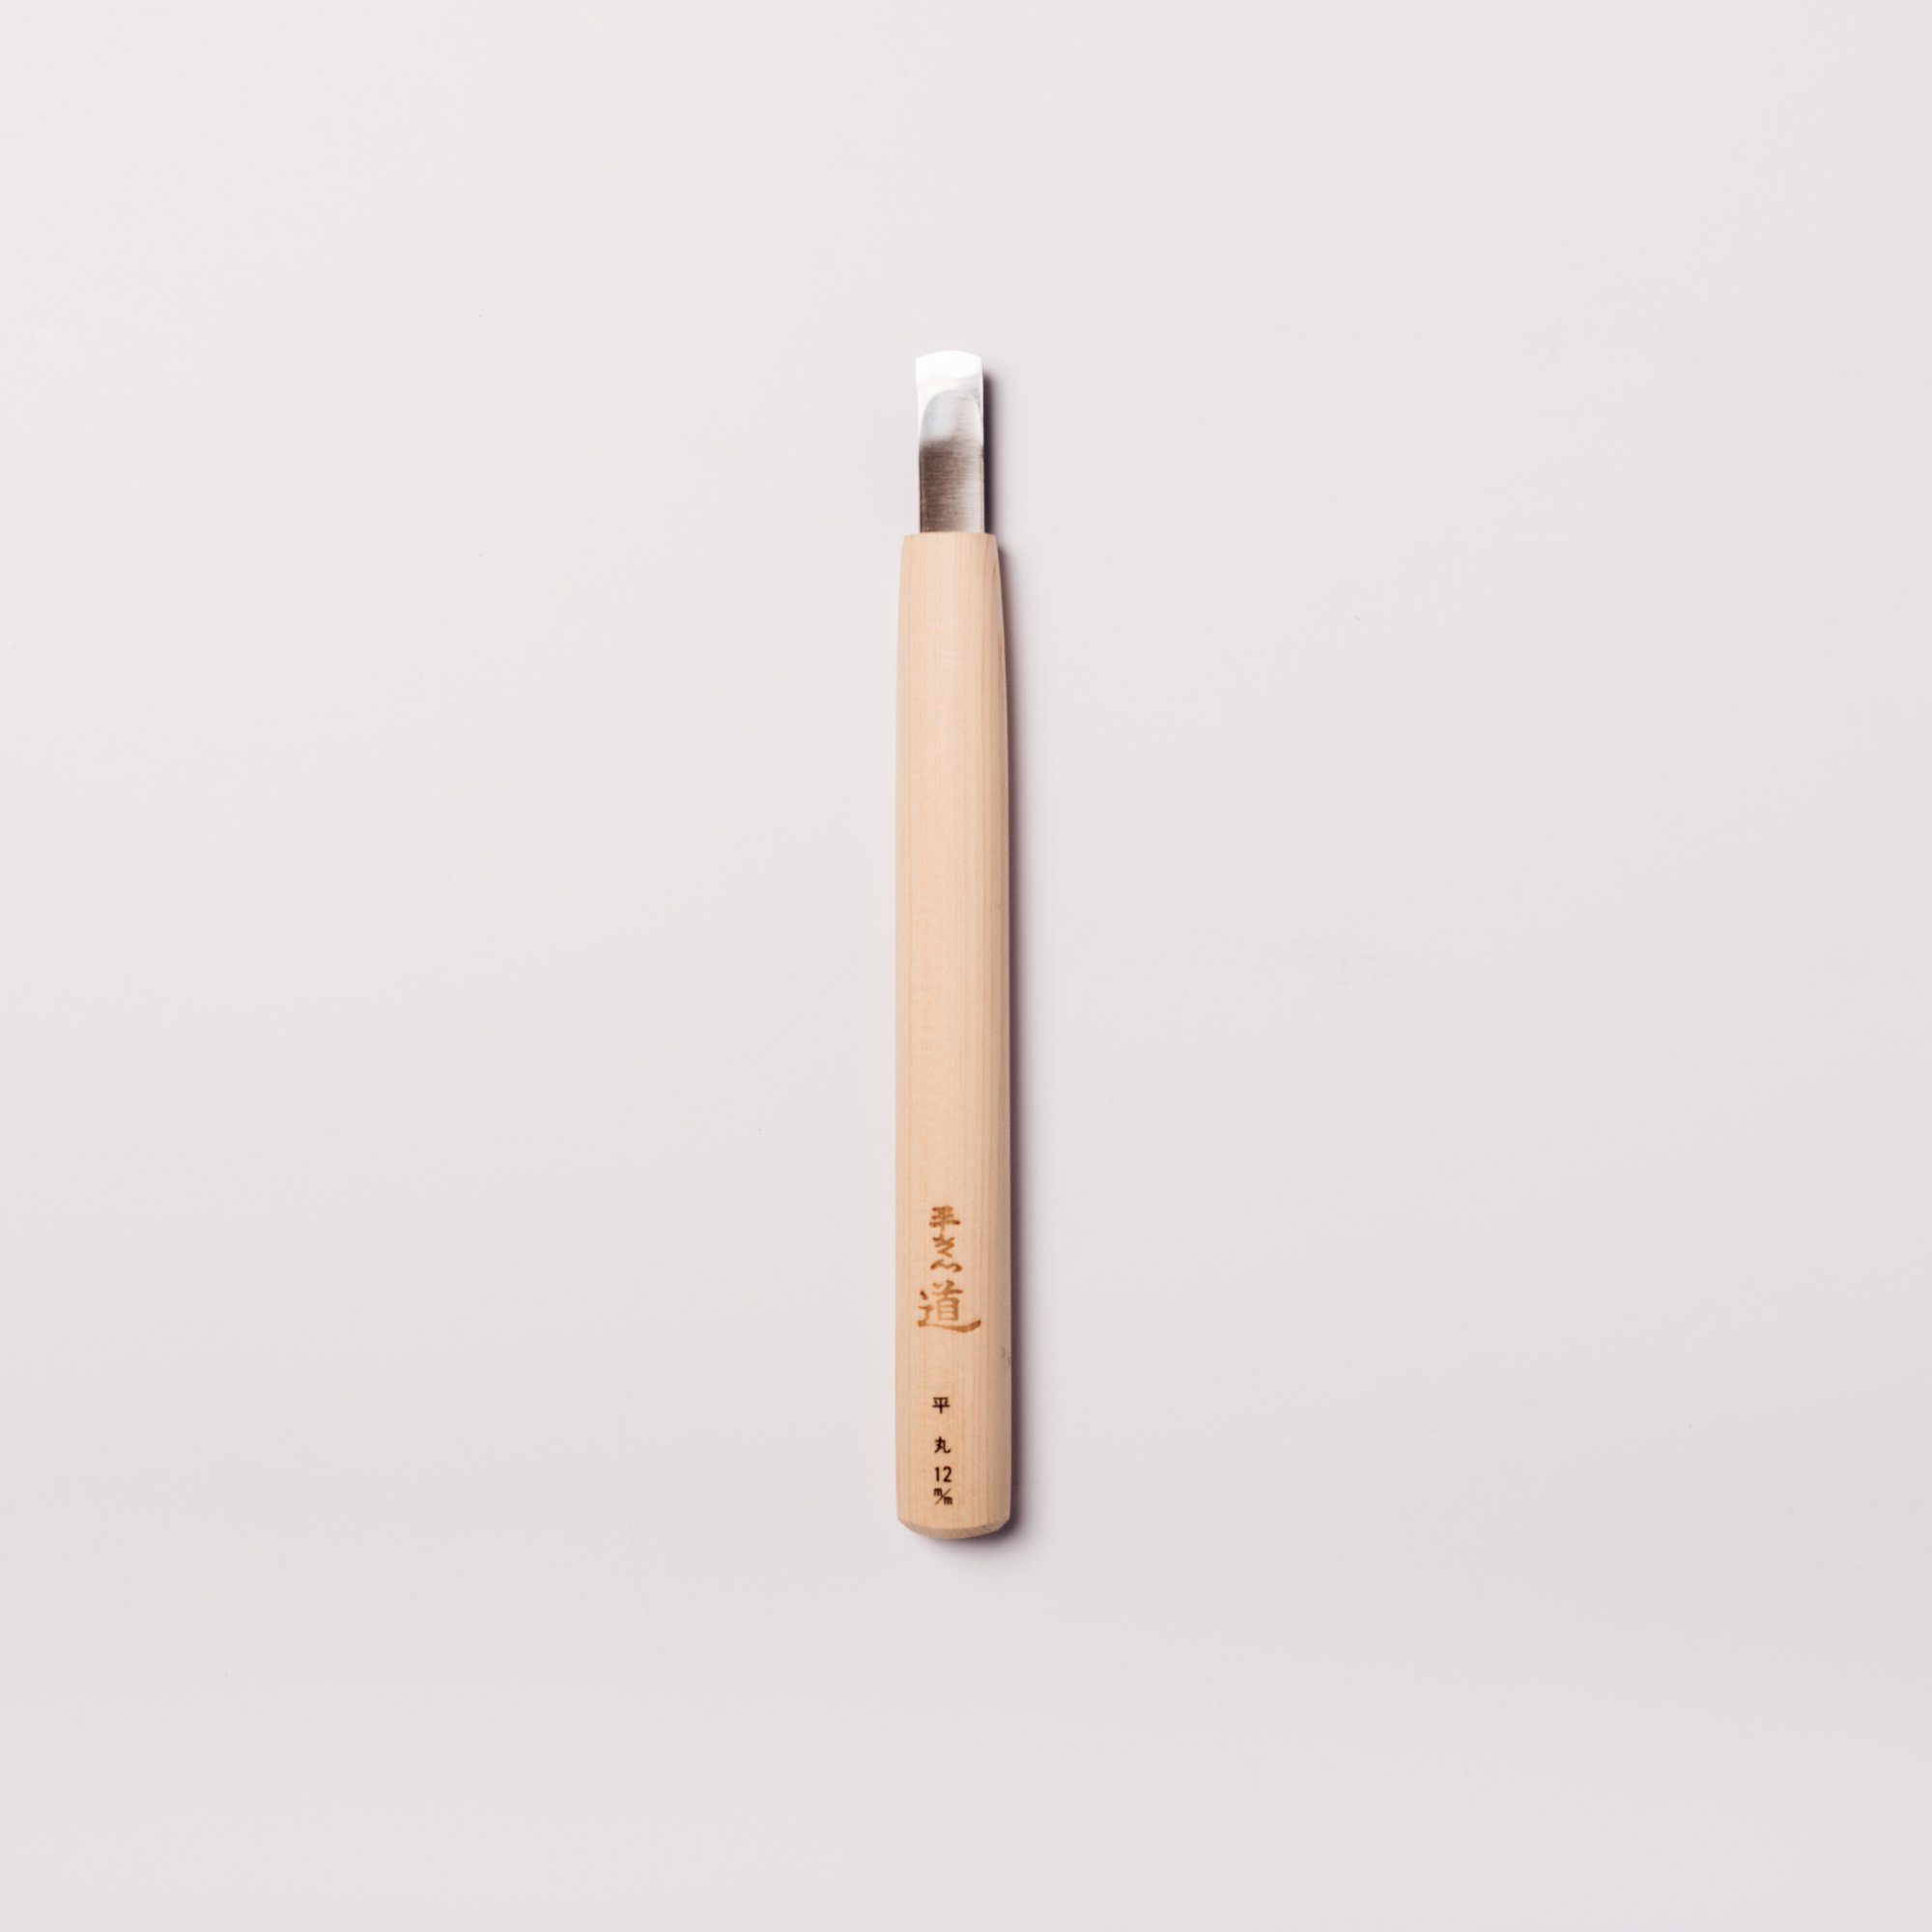
To make this wooden double spoon you will need a spoon gouge, knife, pencil and a clamp or board to secure the piece.
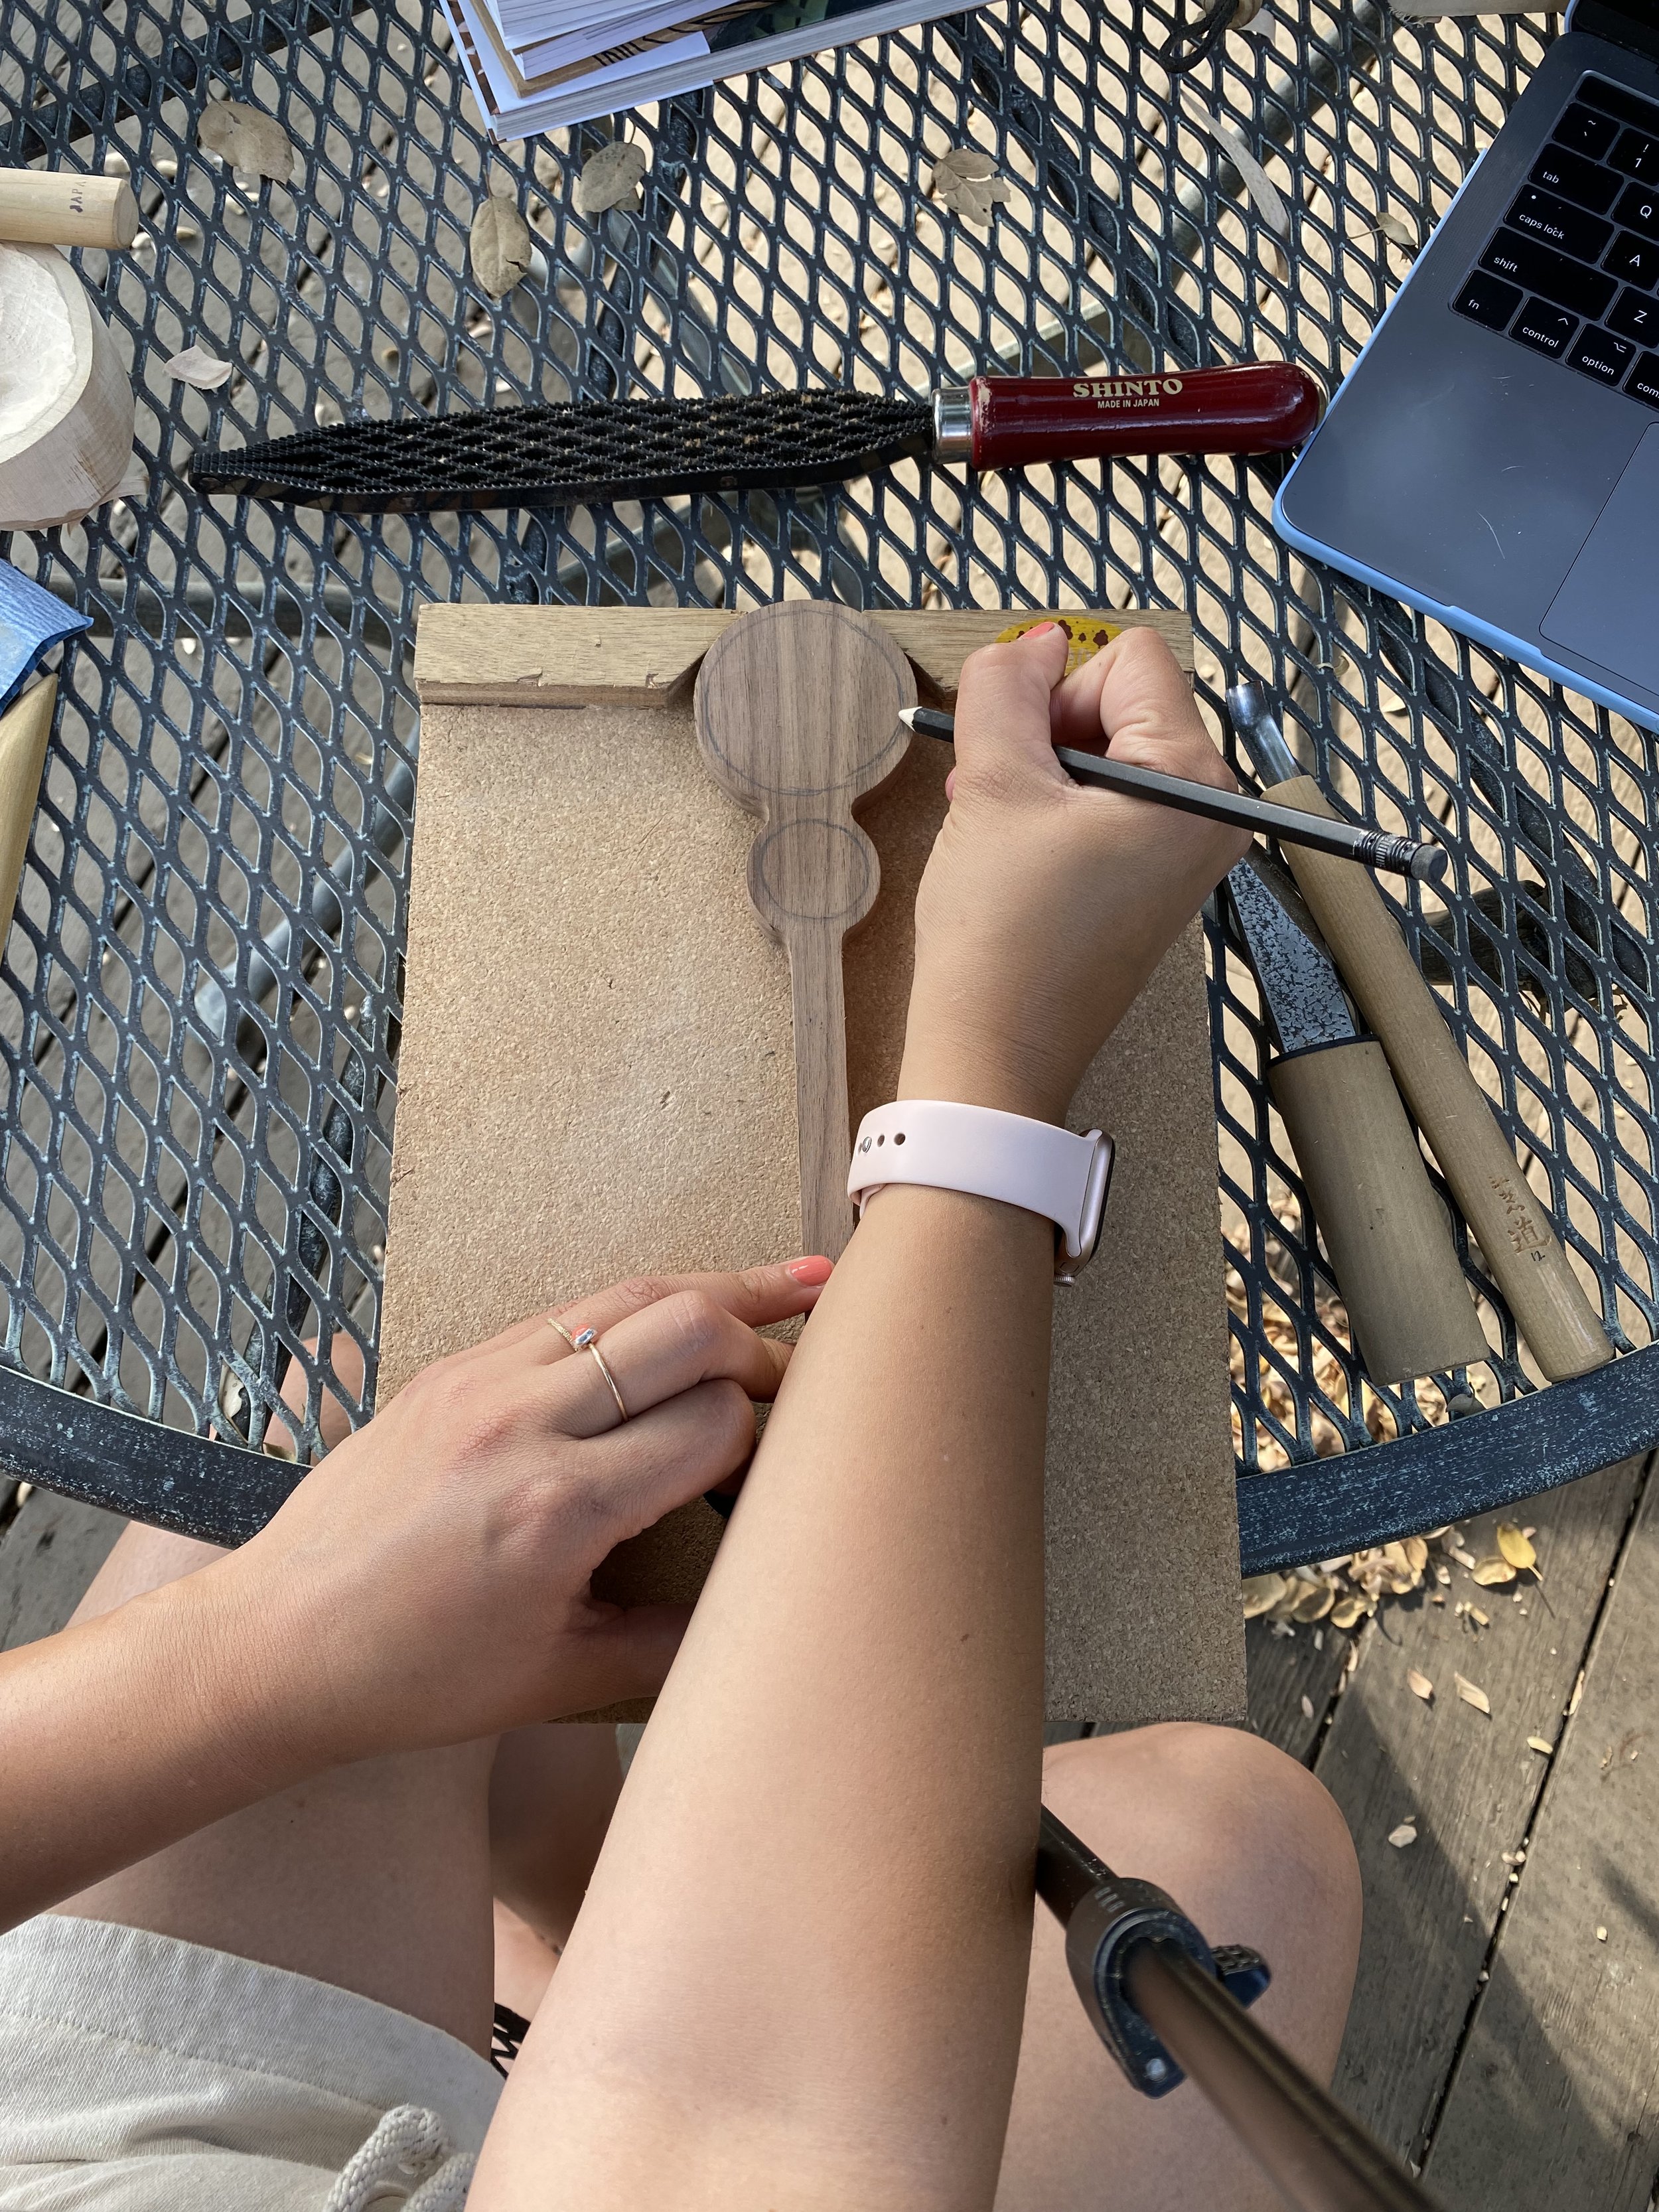
Position the blank on a table or bench hook with the handle facing you. Draw a circle about 1/8”-1/4” from the edge of both circles of the spoon to serve as an outline for carving the bowls of the spoon.
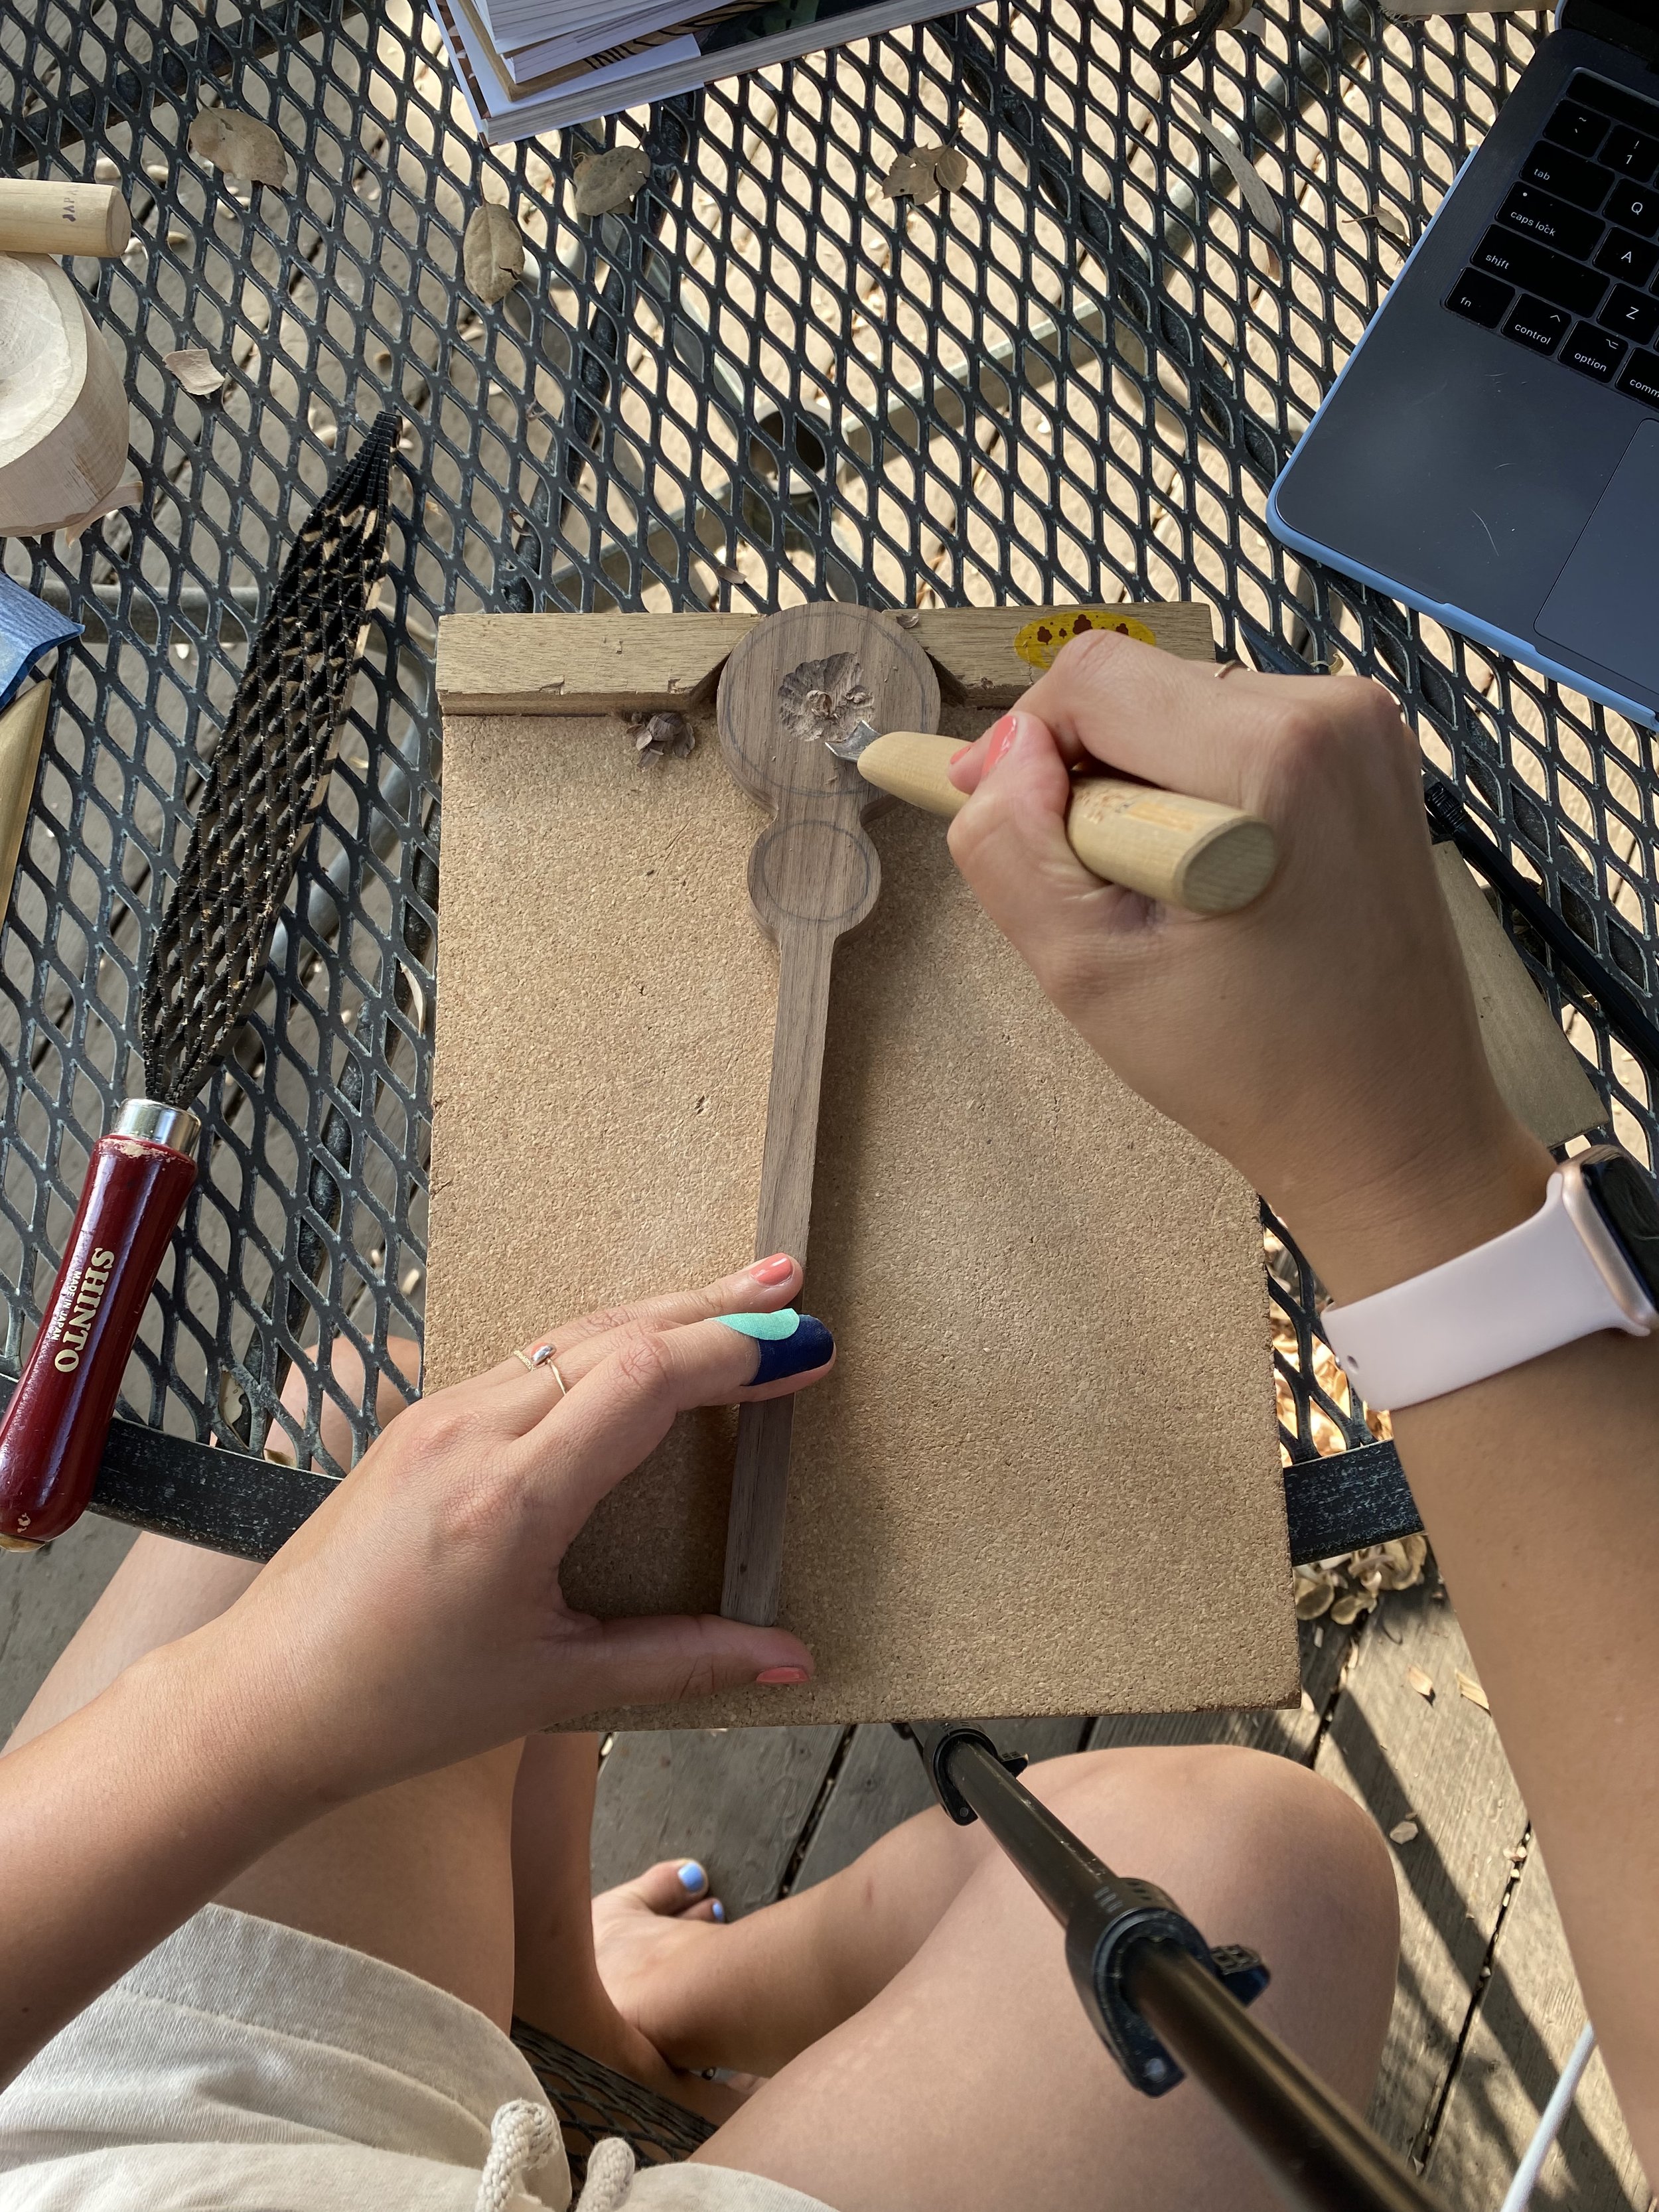
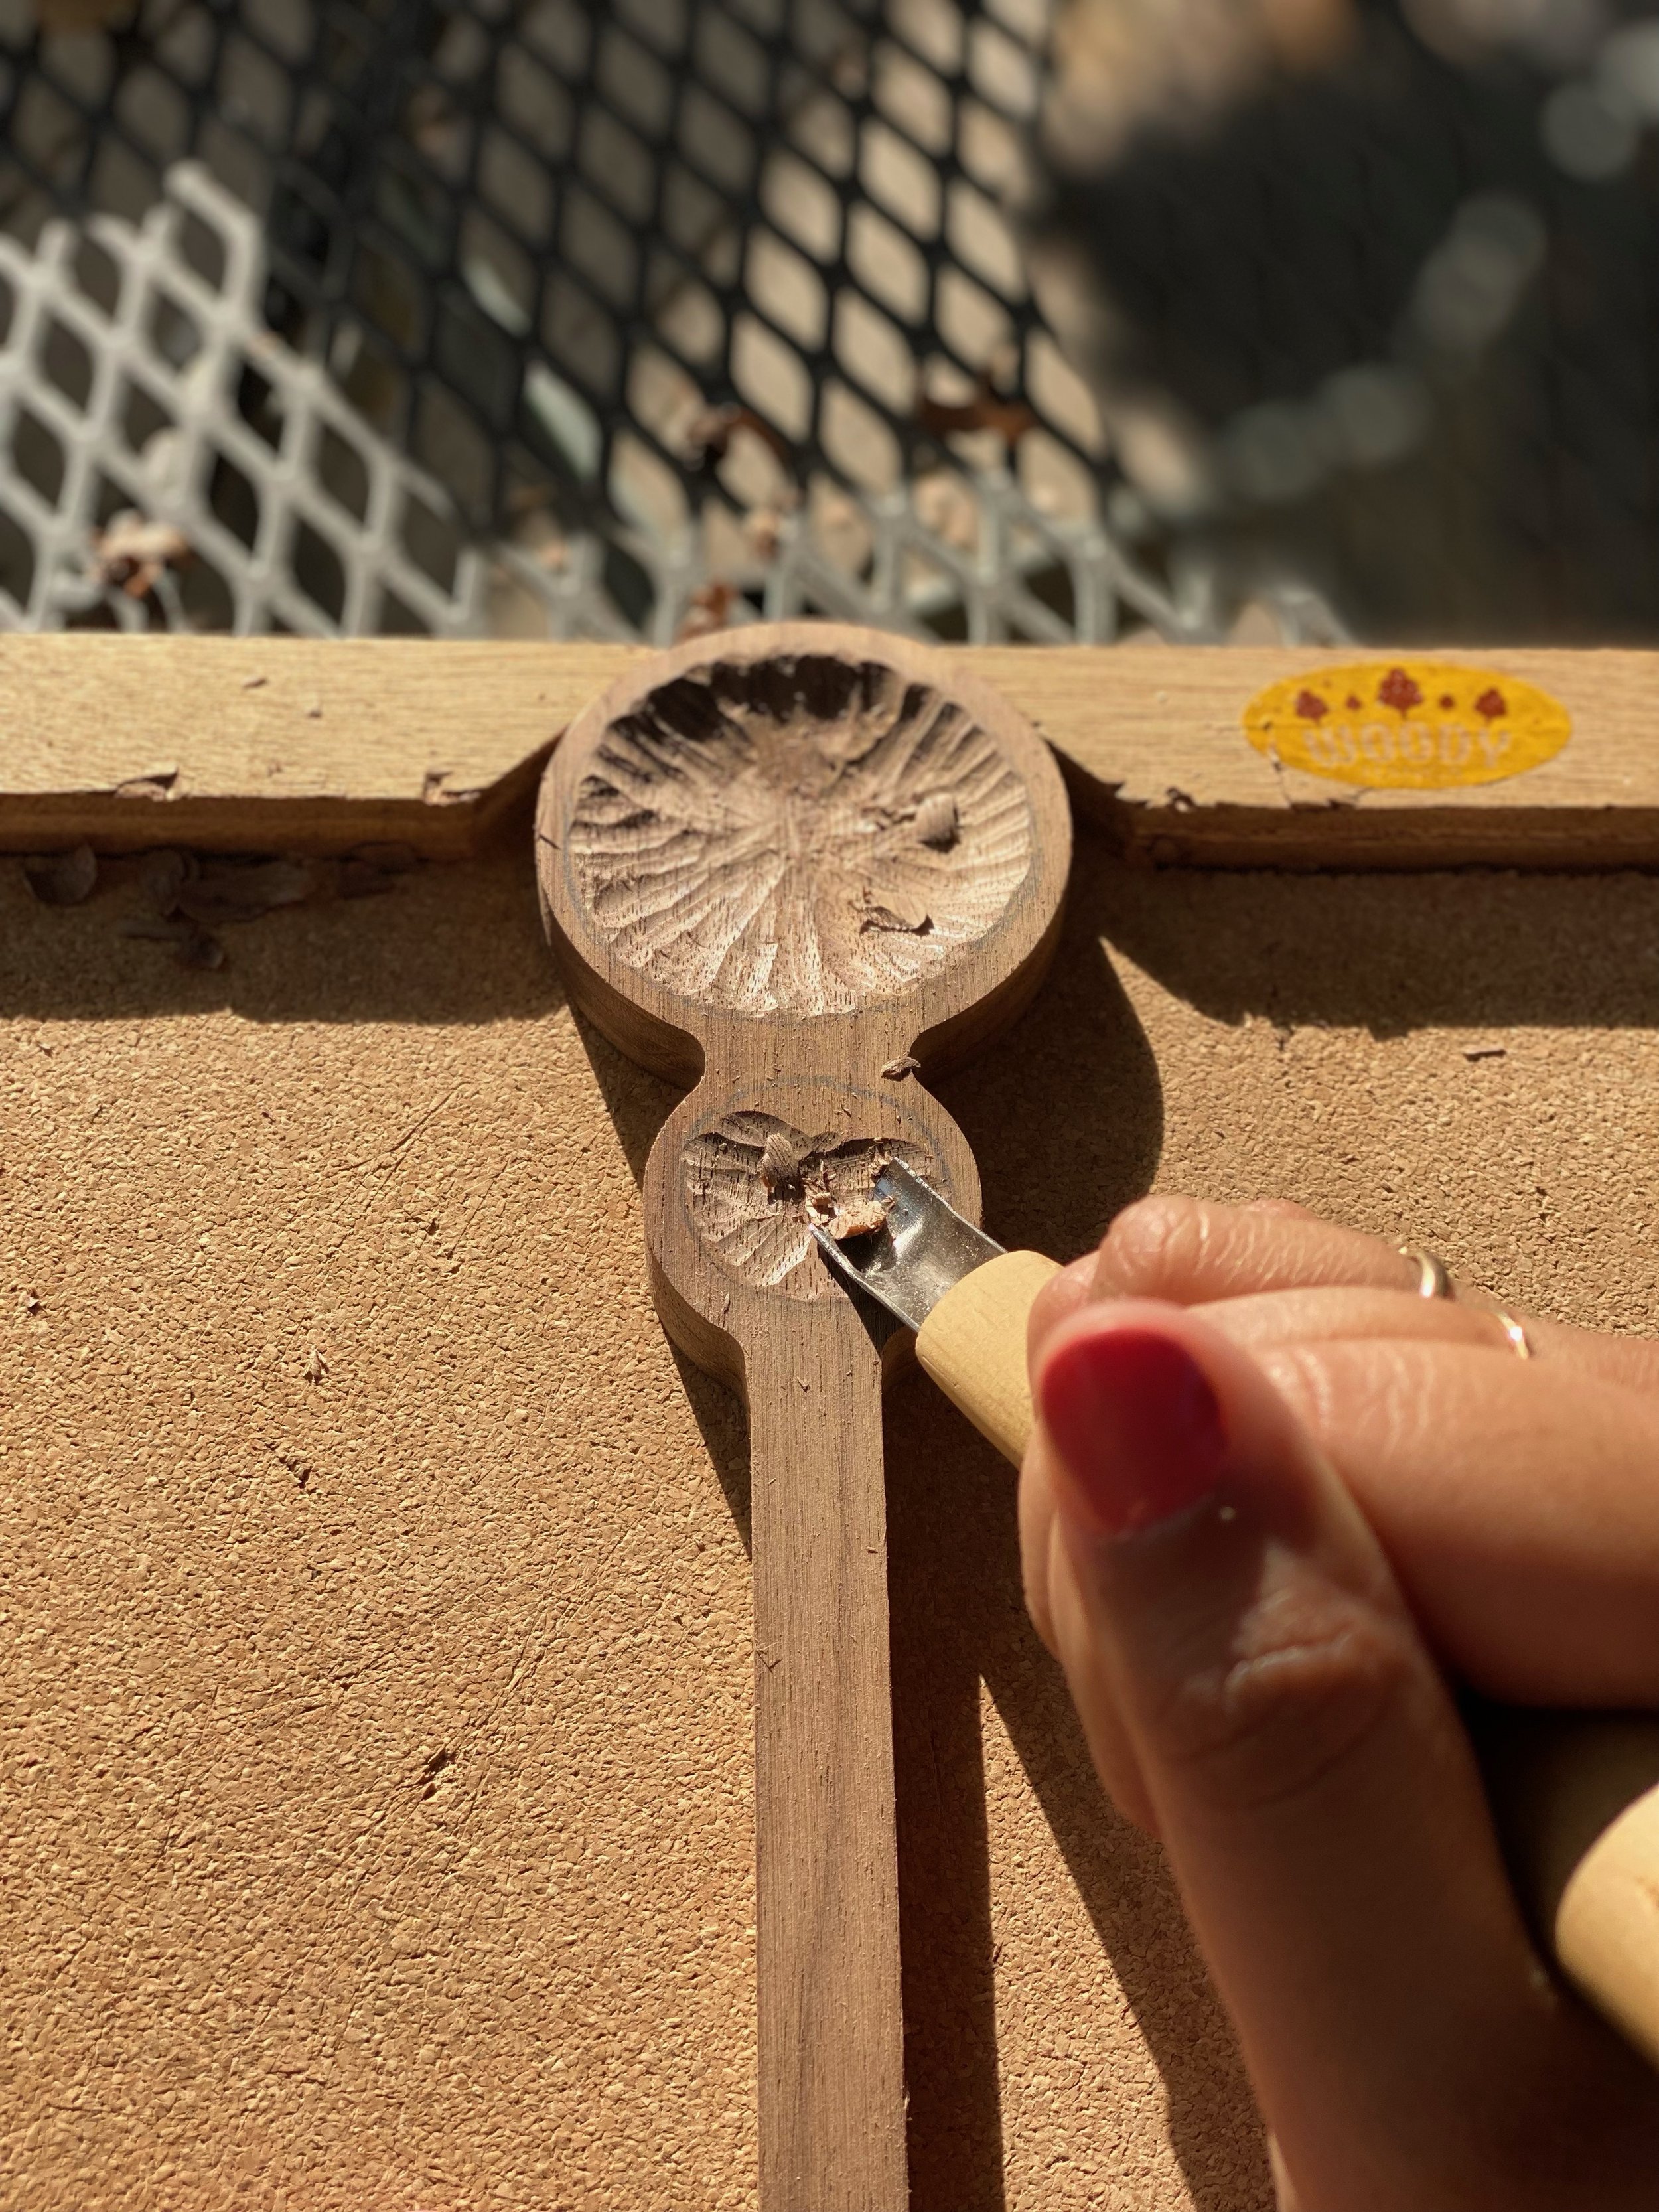
To carve the bowls, start with the gouge facing away from you. Start in the middle of the piece and work your way to the line you drew. rotating the spoon as you go. Try to carve with the grain as much as possible. Start with thin layers until you reach your desired depth.
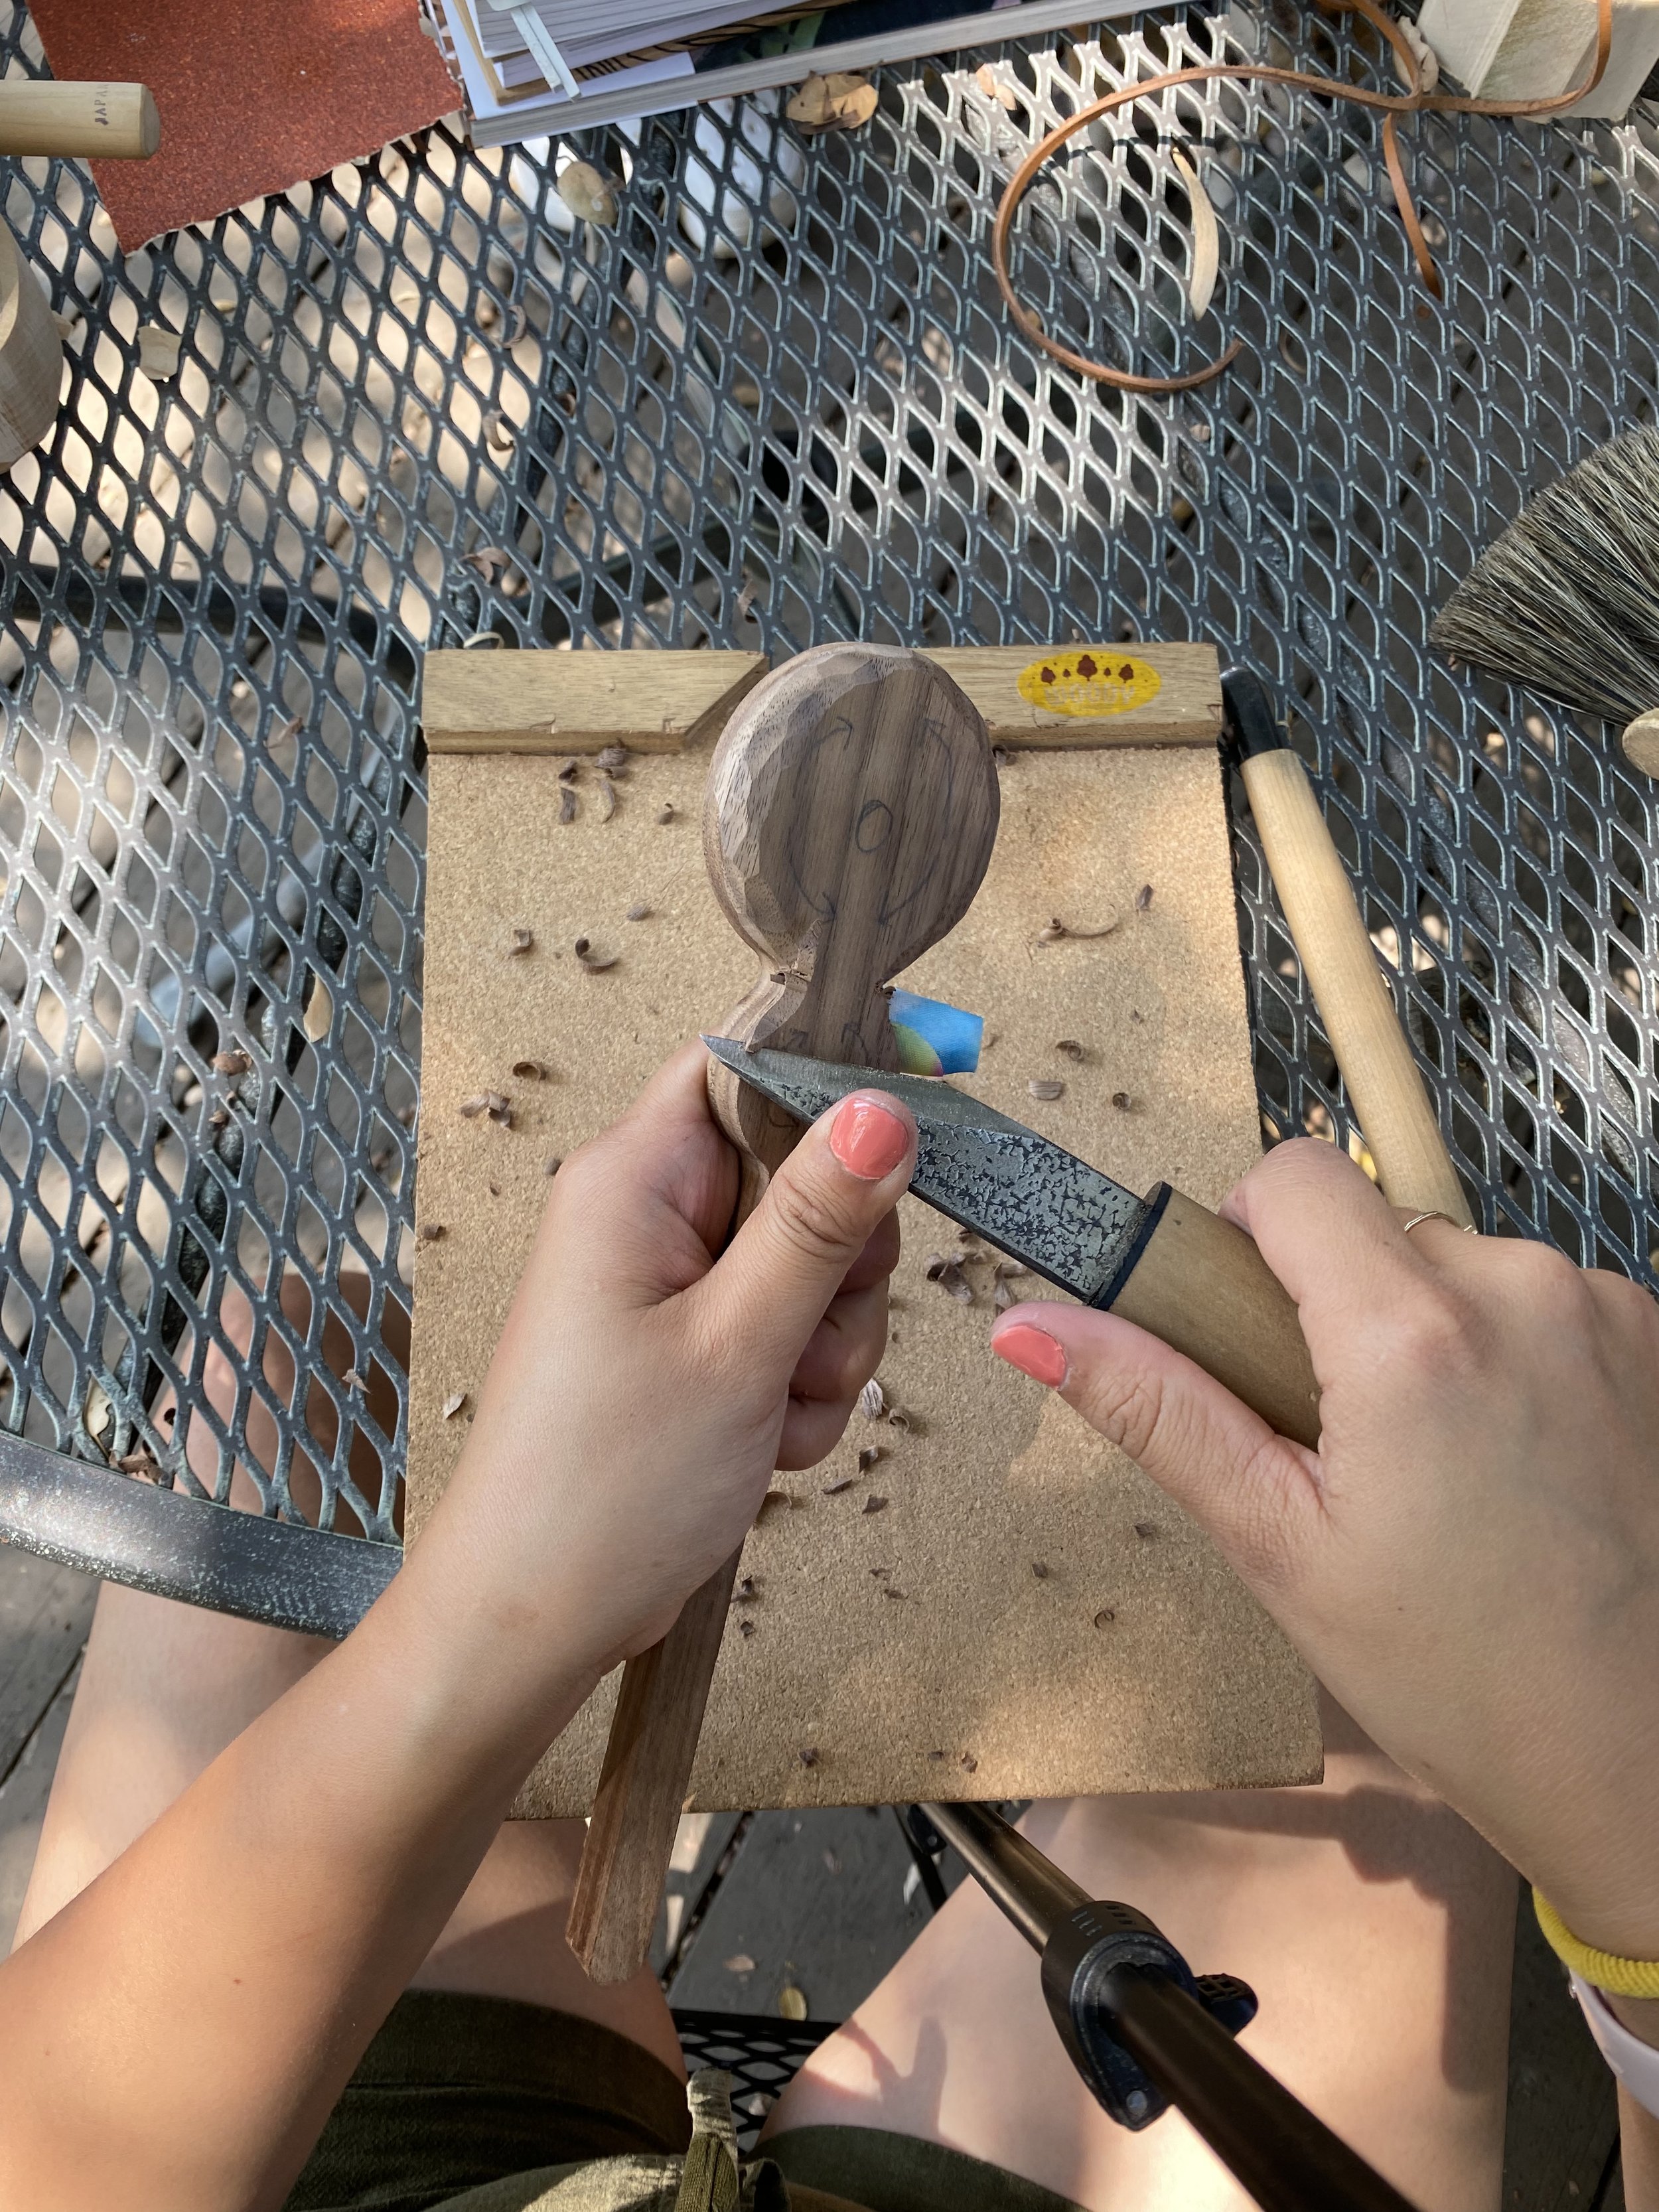
Repeat the same thing on the smaller, second bowl. Make sure to keep a space between both. Always keep your non-dominant hand behind the gouge so you don’t accidentally slip and hurt yourself. Remove wood until the walls are about 1/4” thick and evenly carved all around.
sTEP 2: CARVE THE BACK OF SPOON + HANDLE
When you’re finished with the bowls of the spoon, flip the piece over to work on the back of the spoon. Draw a line that is 1/8” from the edge all around the perimeter.
Using the push-cut, whittle the top and bottom edges of the larger bowl circle until you create the curve. Make sure the tool is always facing away from you while carving.
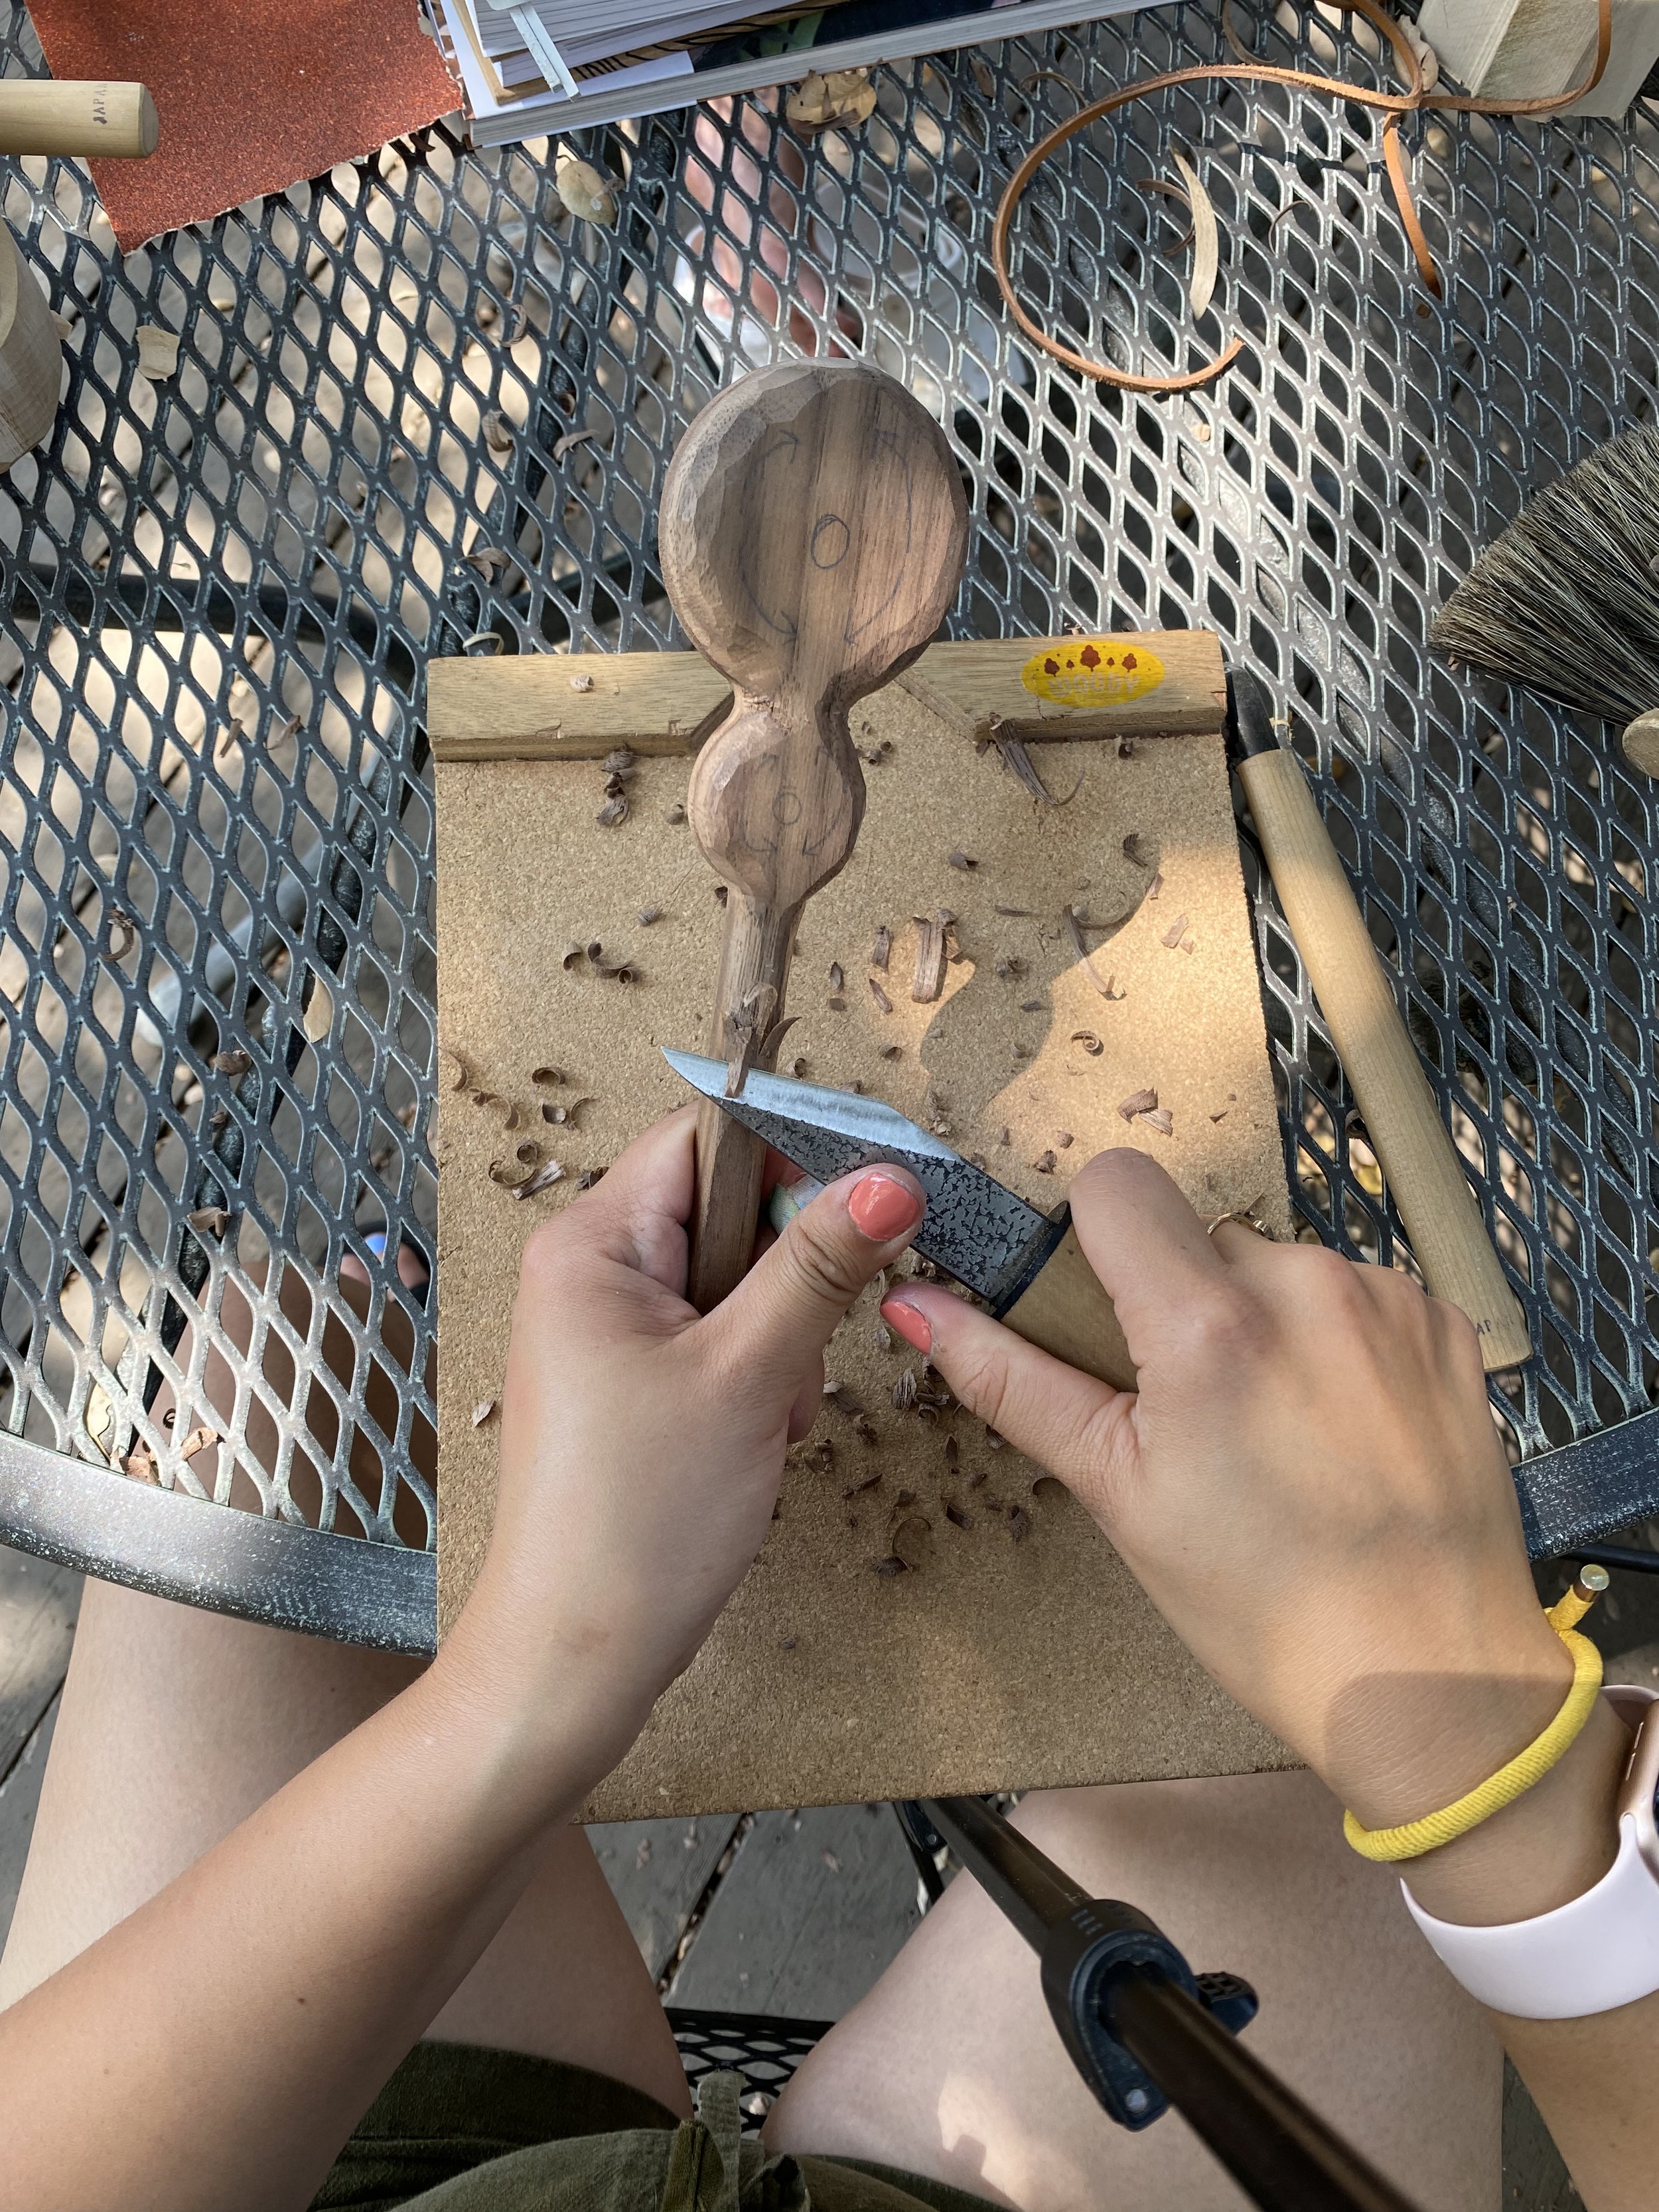
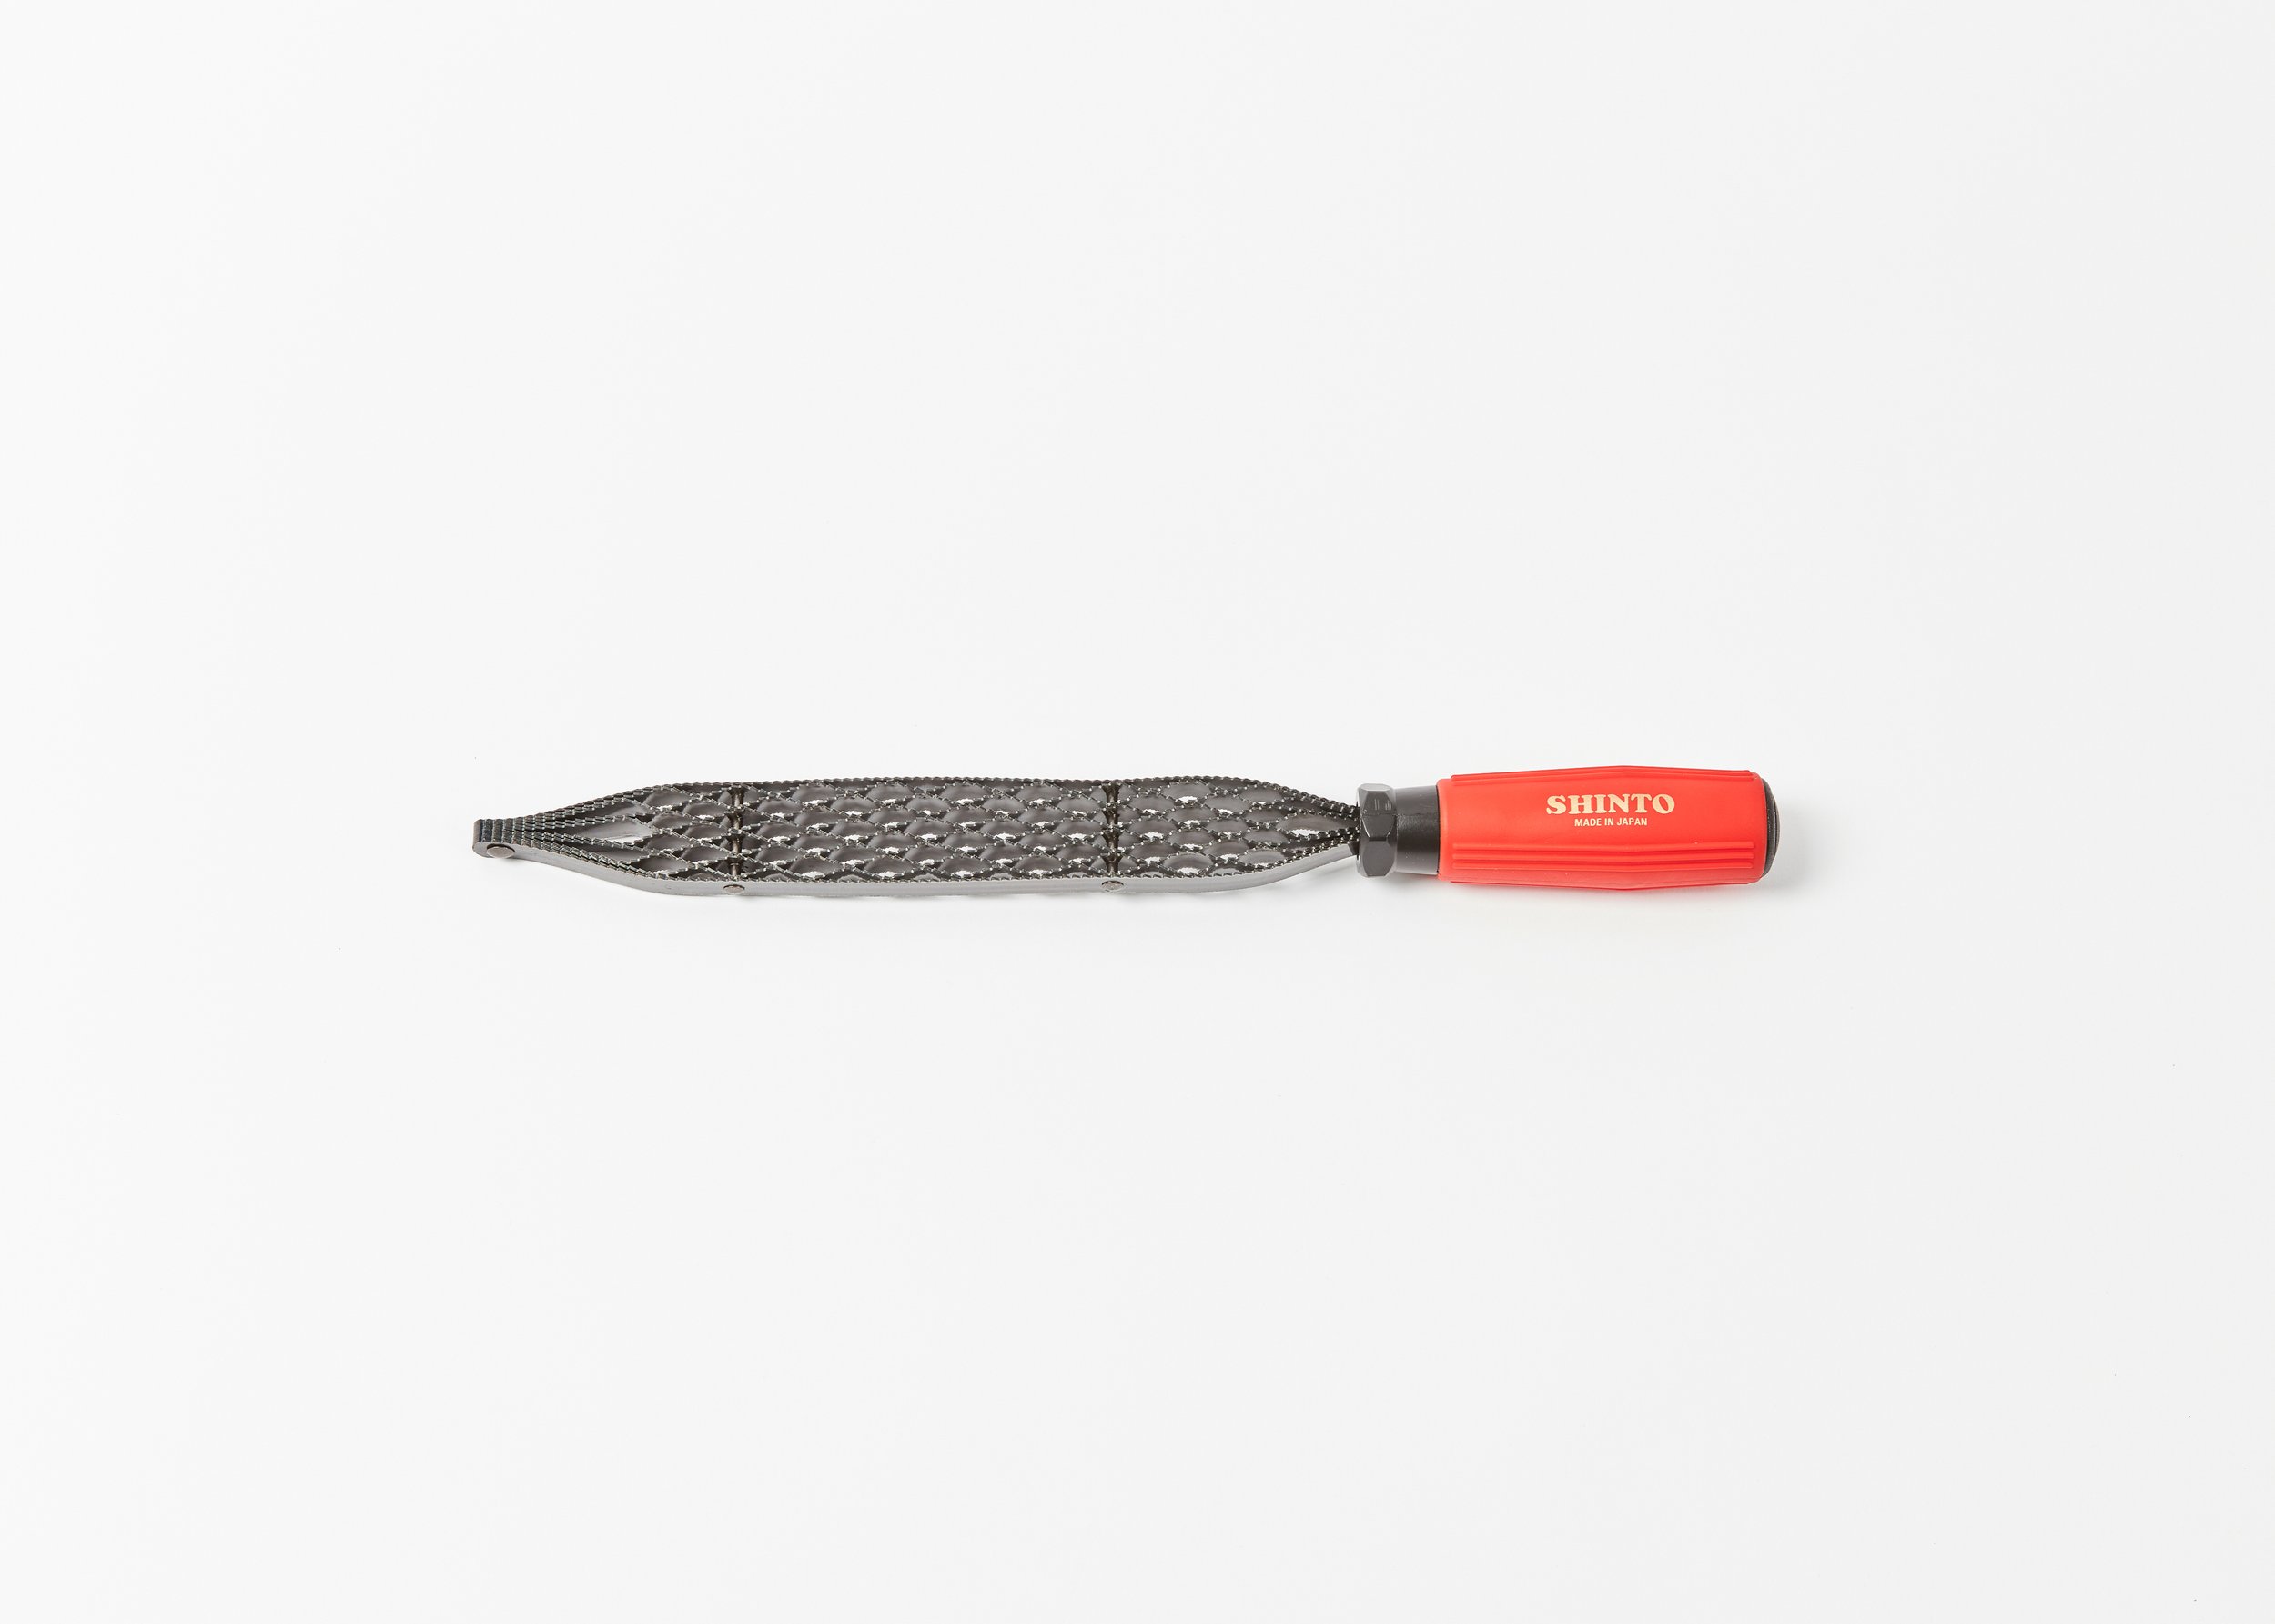
Repeat on the smaller circle. Once you have you have finished the rough shape with your knife, take your rasp and smooth out all the edges. We like to use the Shinto rasp, but any rasp will work. This is great for working the end grain of your wood.
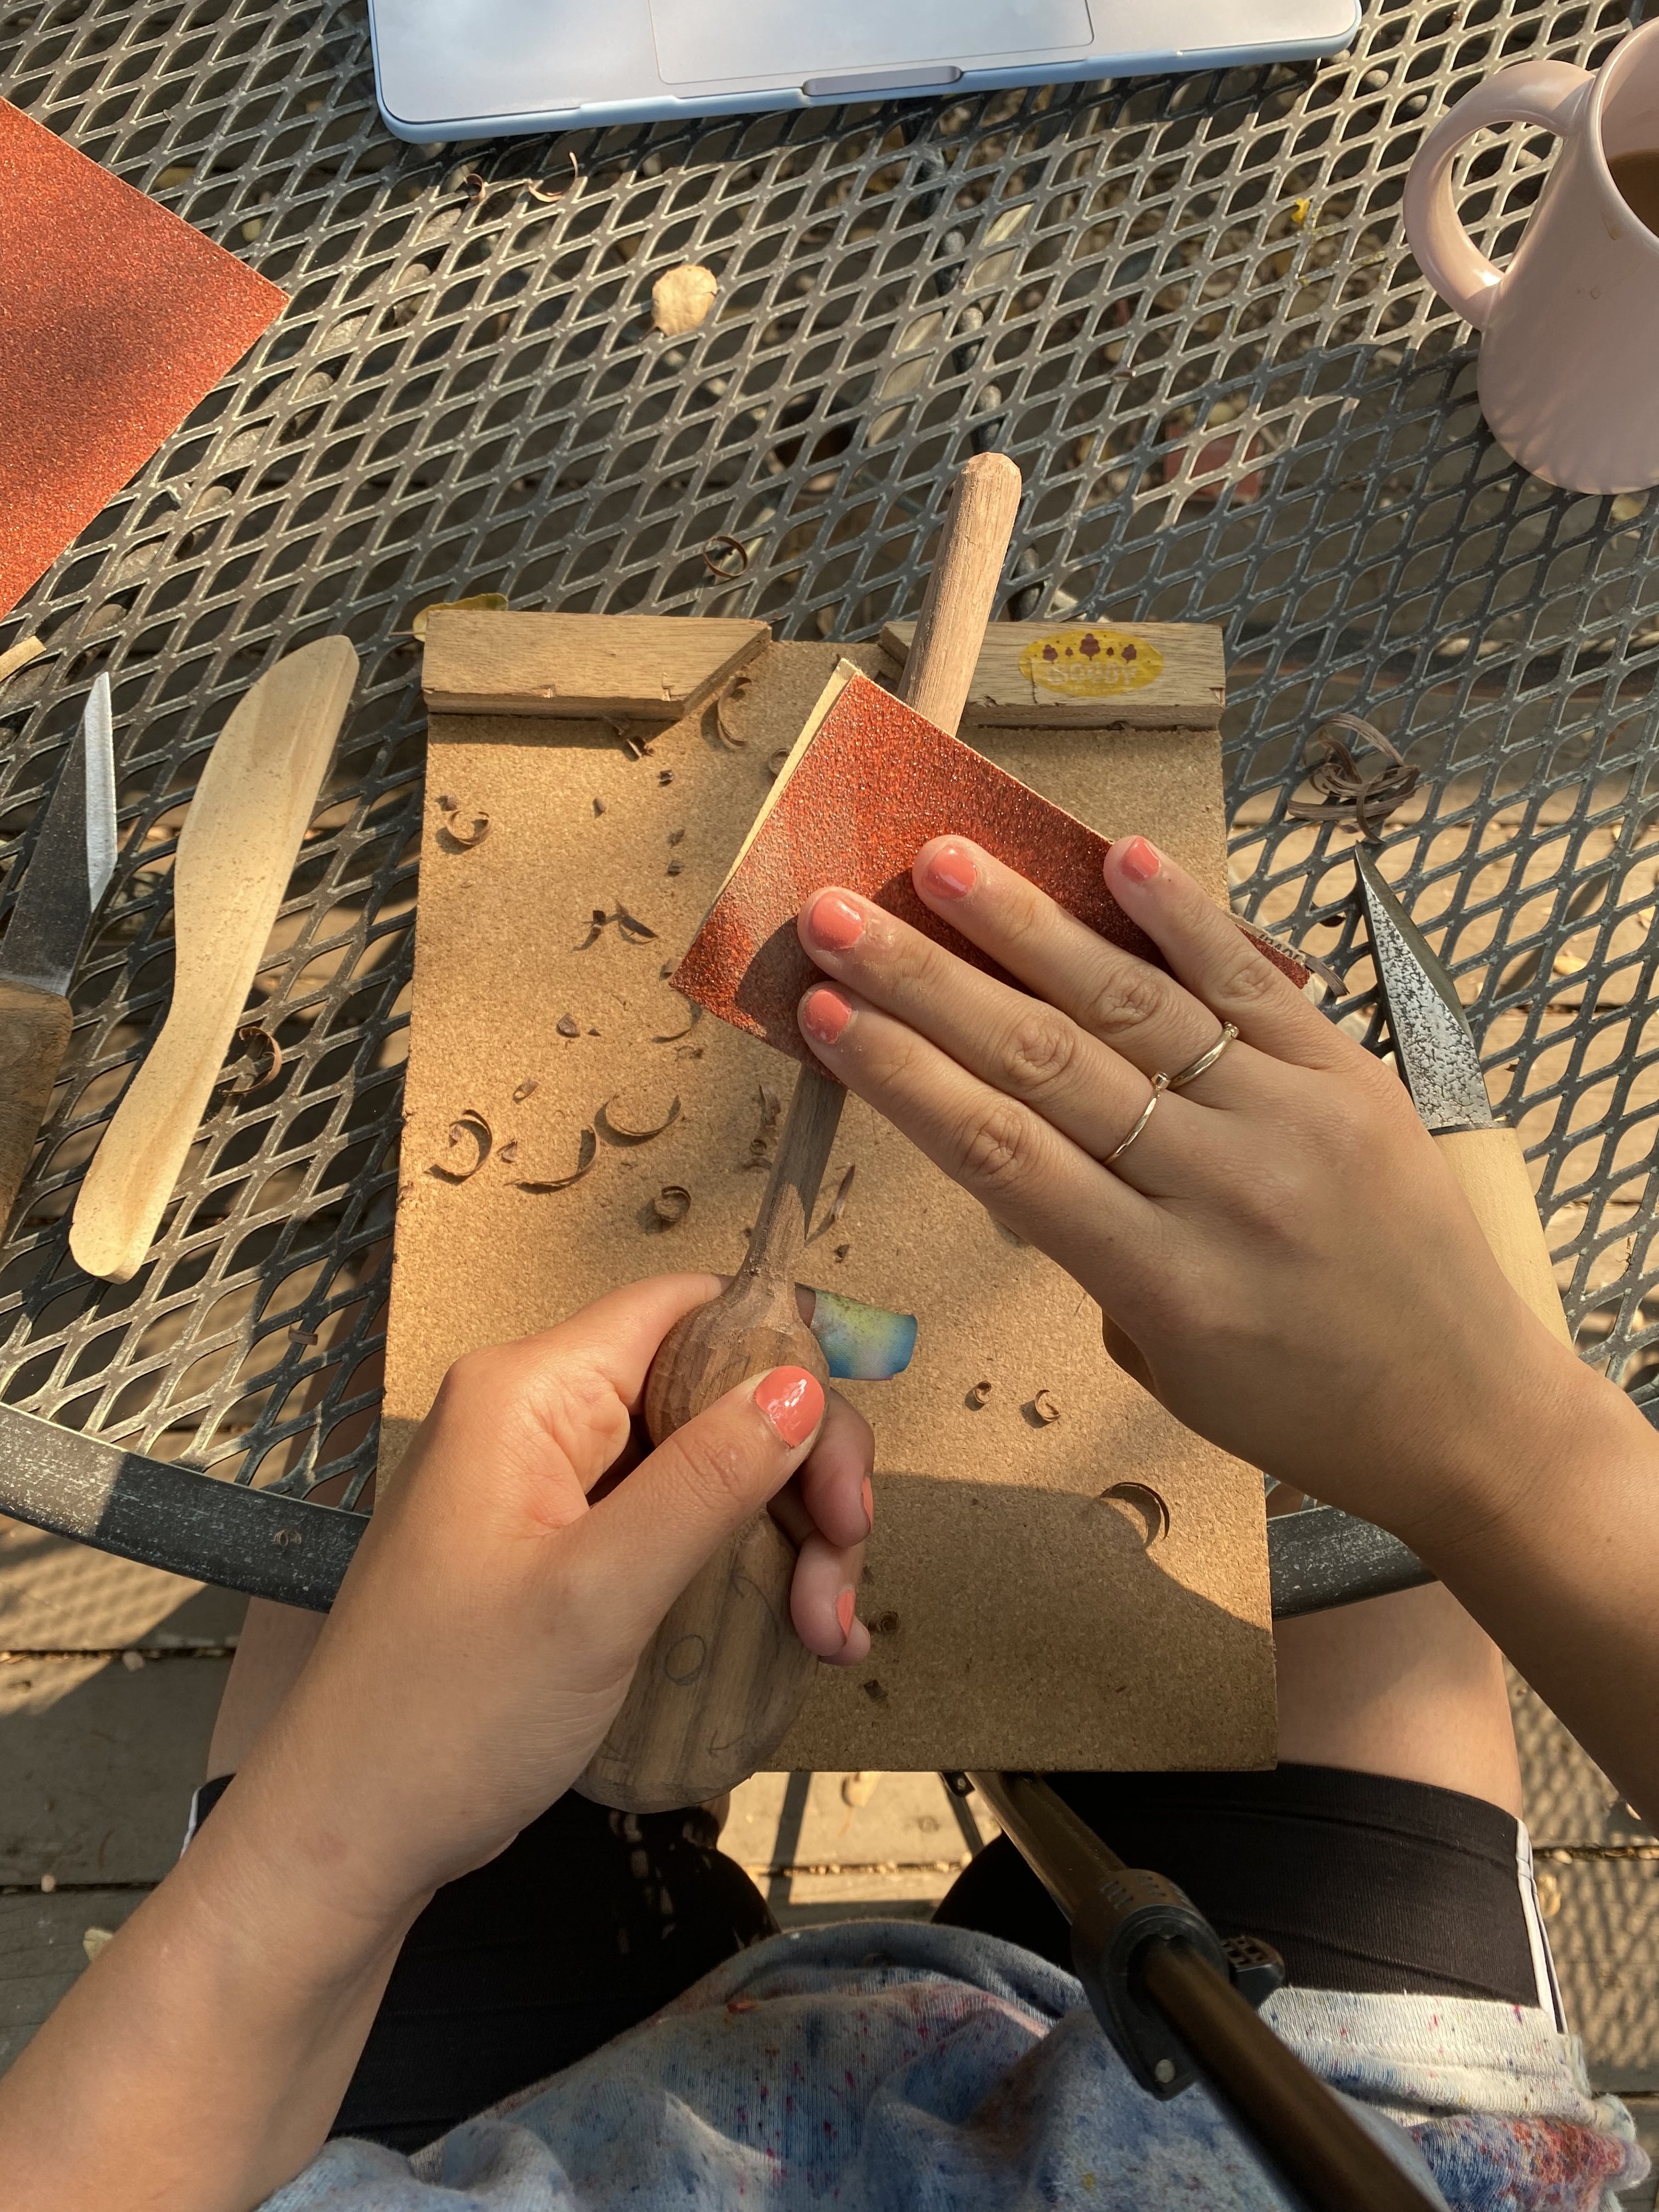
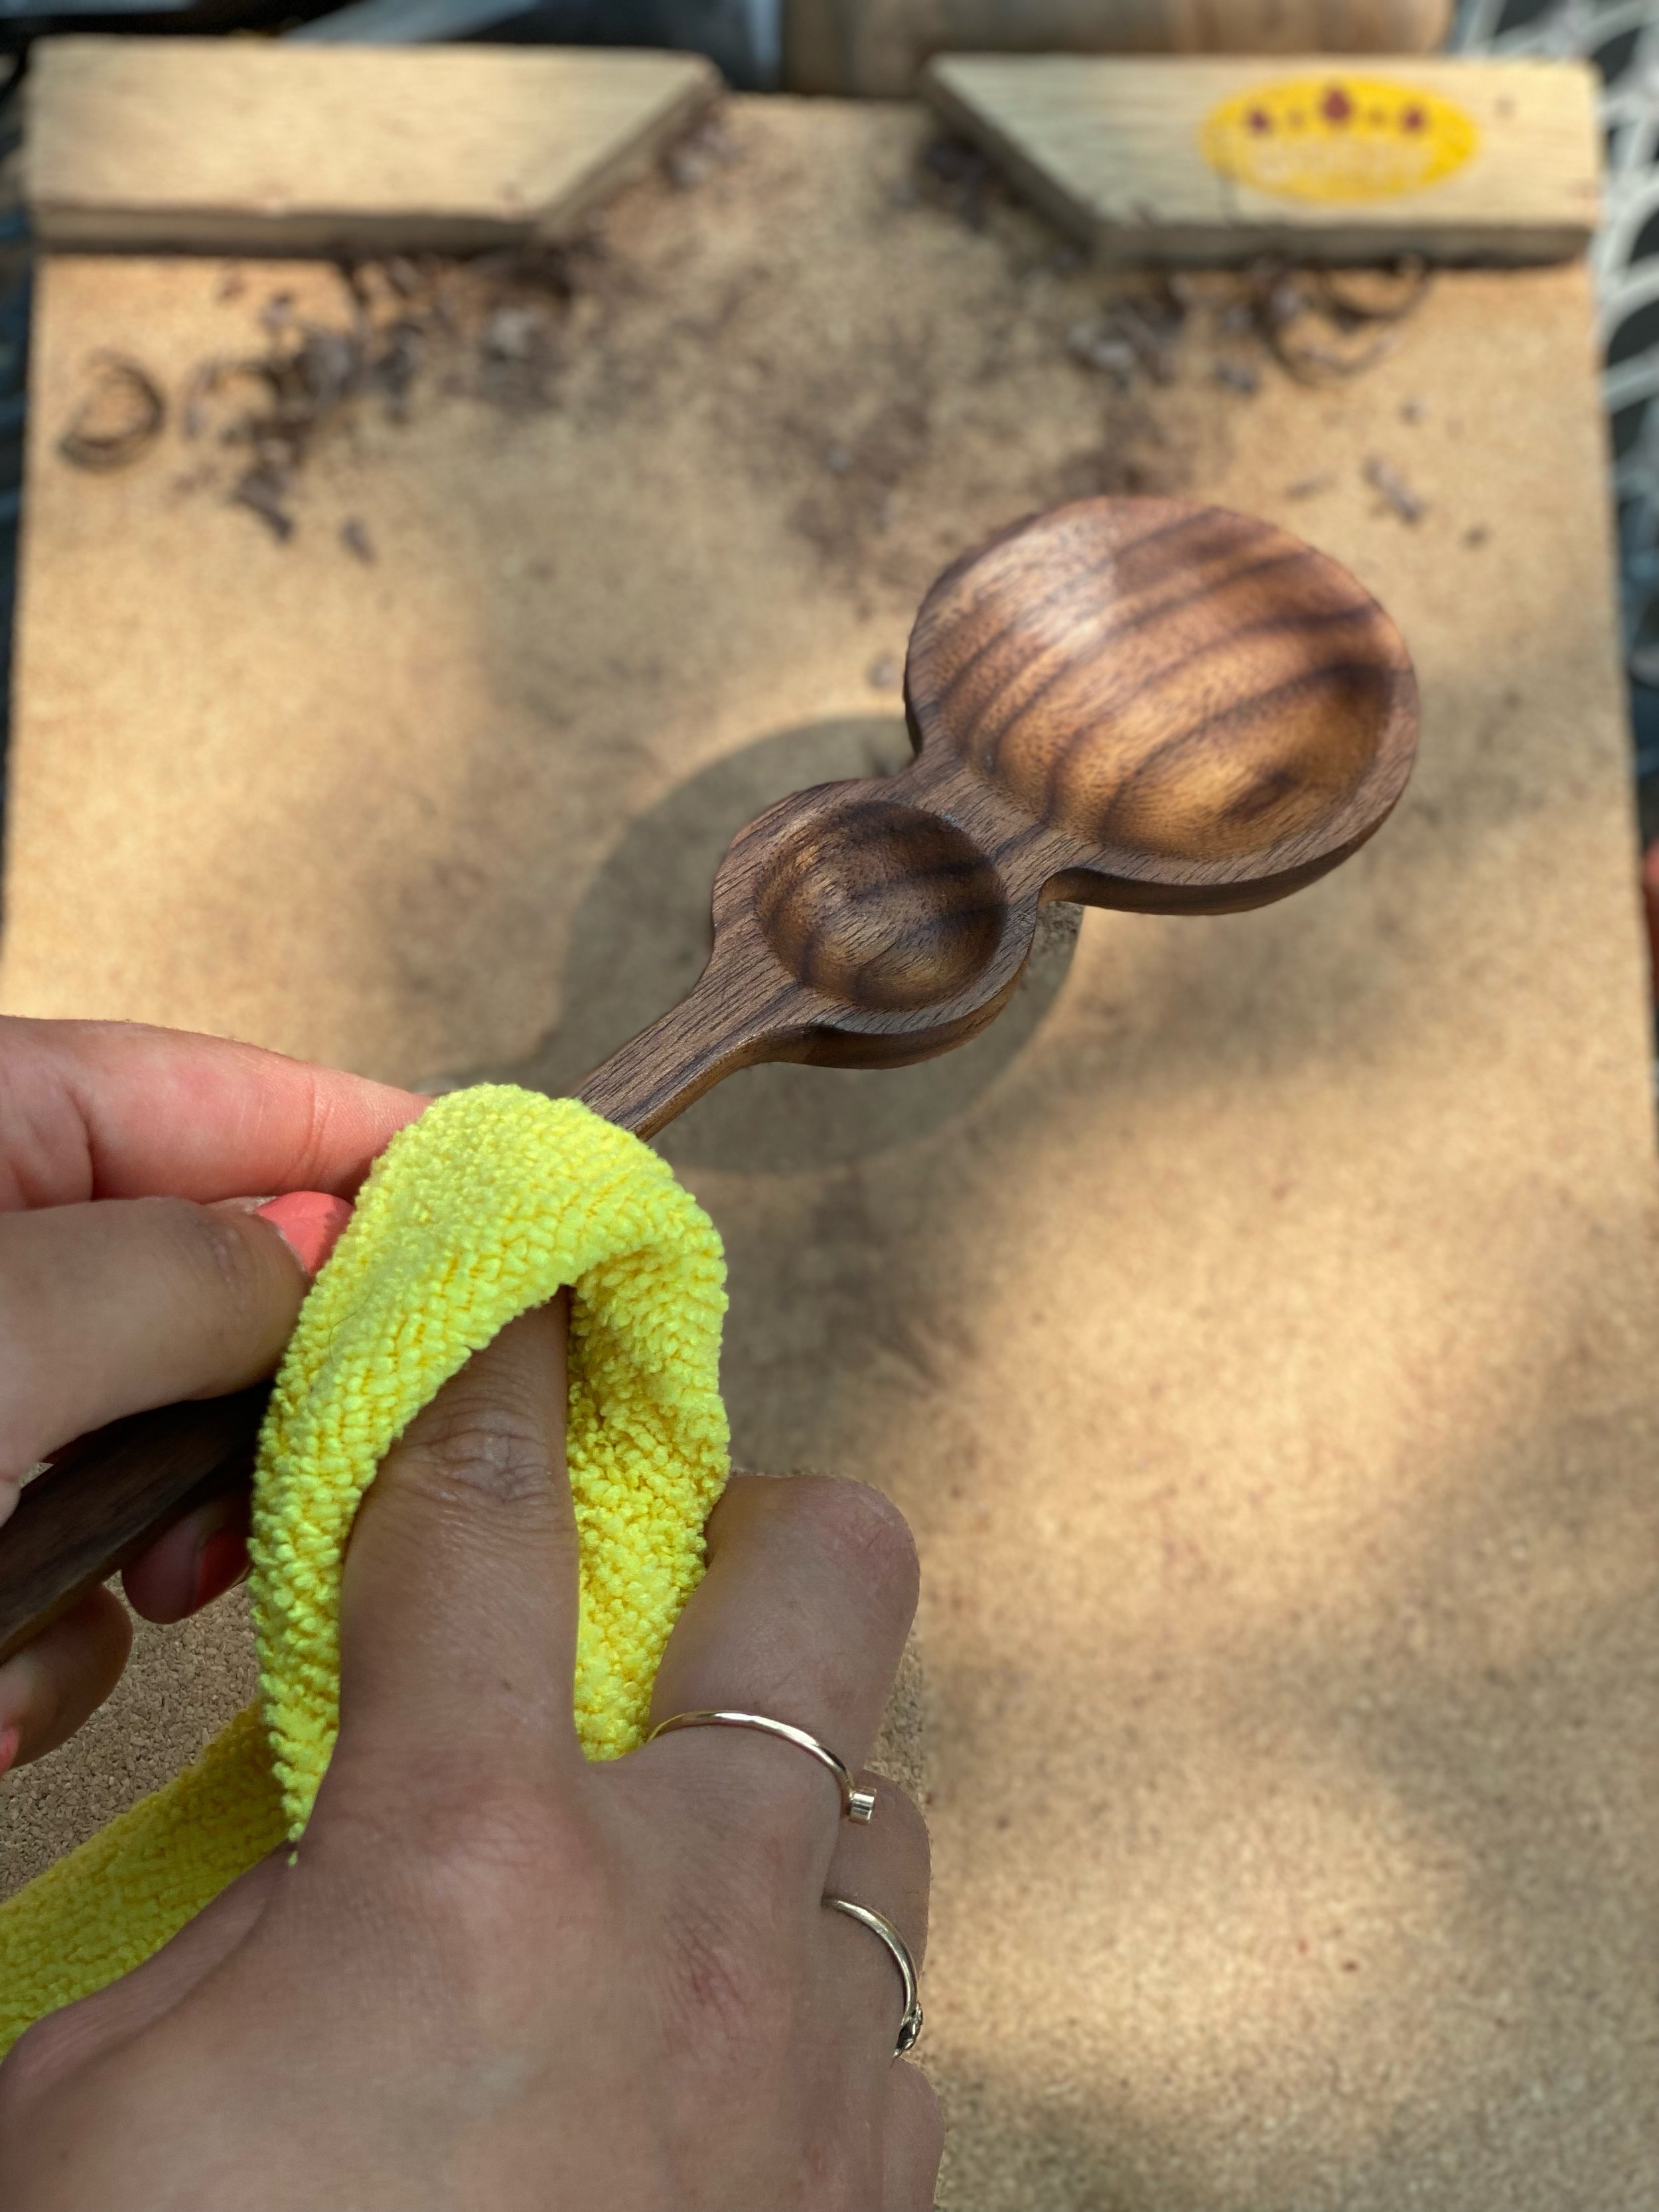
Step 3: SAND, FINISH AND STRING WITH LEATHER
Carve the handle of the spoon using the push-cut and power-cut. Slowly whittle it down until rounded.
Sand each piece with the grain until the wood is even and smooth. Begin sanding with 80 grit and work your way up to 150 then 220 grit as each sandpaper dulls.
Use a cotton cloth to rub your piece with a layer of wood butter. Wipe off any excess. Your piece will be ready to use to stir your favorite soup!
REQUIRED TOOLS

ENJOYED THIS PROJECT?
See what’s coming up next! All summer long we're offering free carving DIY tutorials. Every week we'll have a new project to try. Check our calendar to see what's in store!